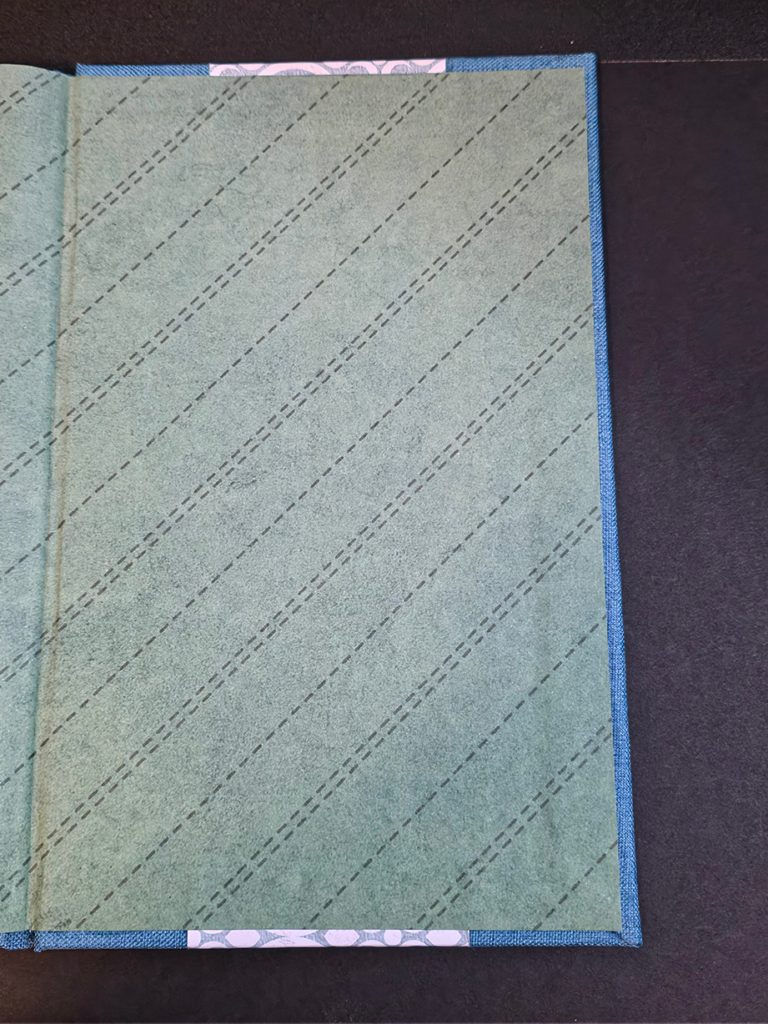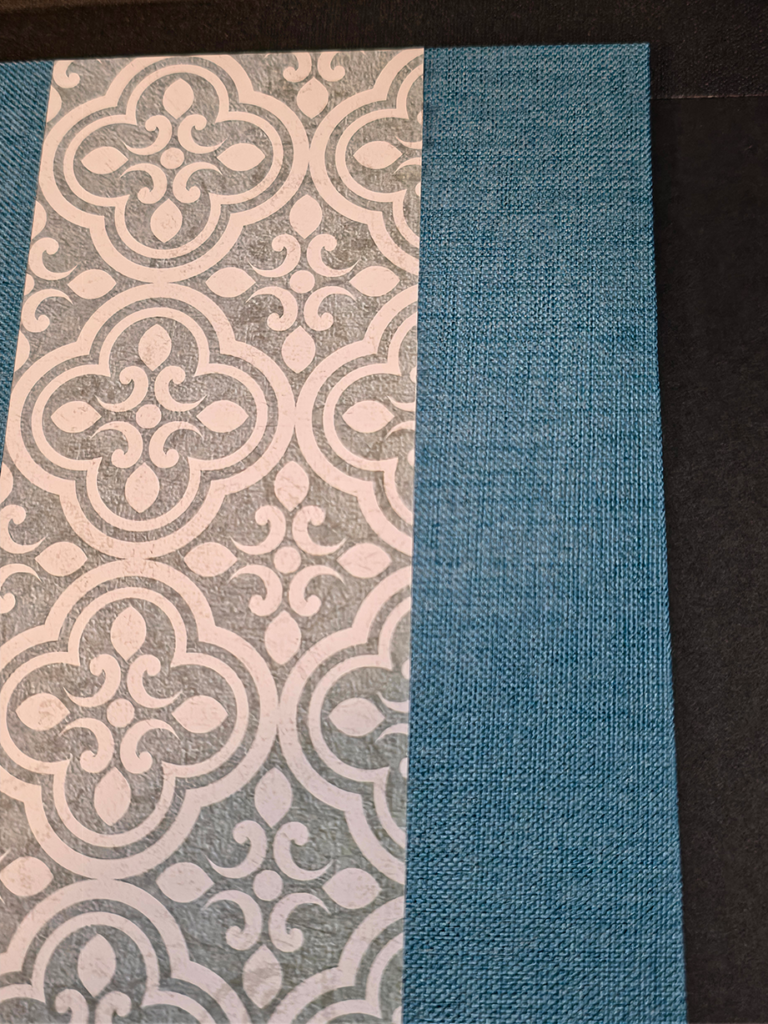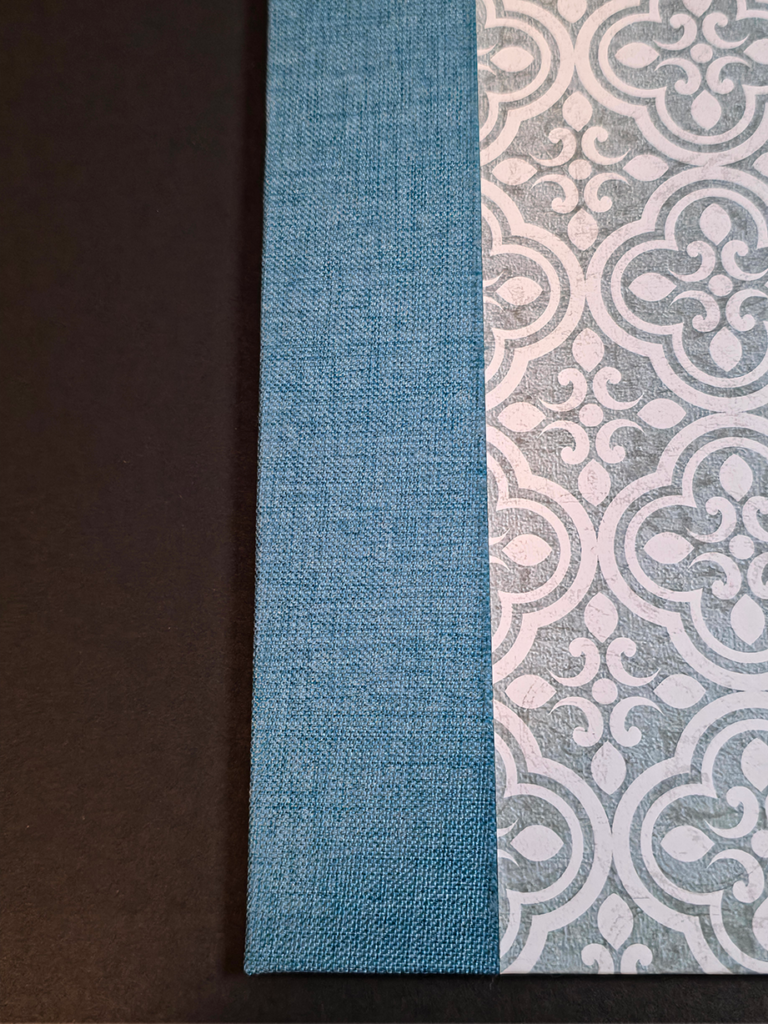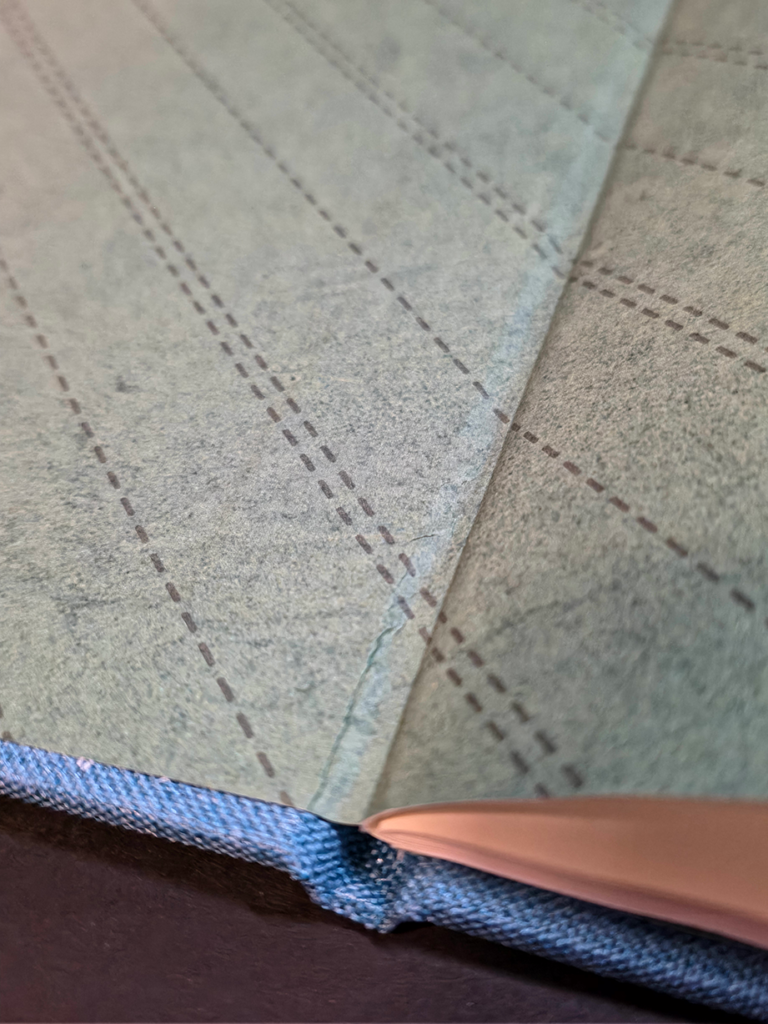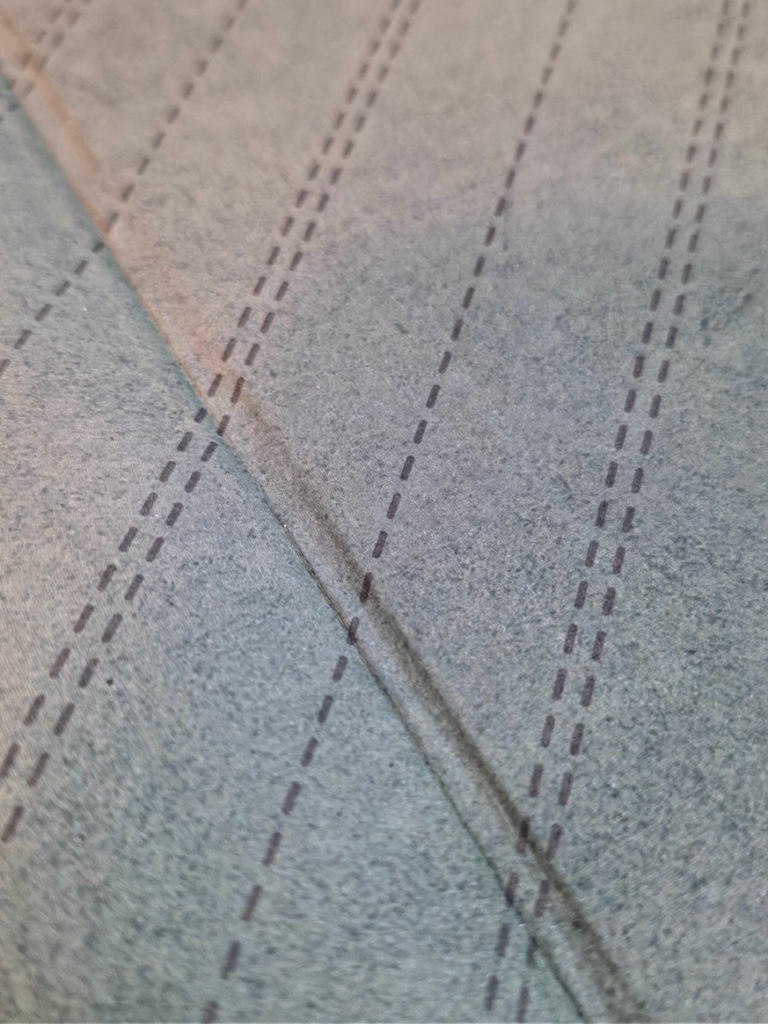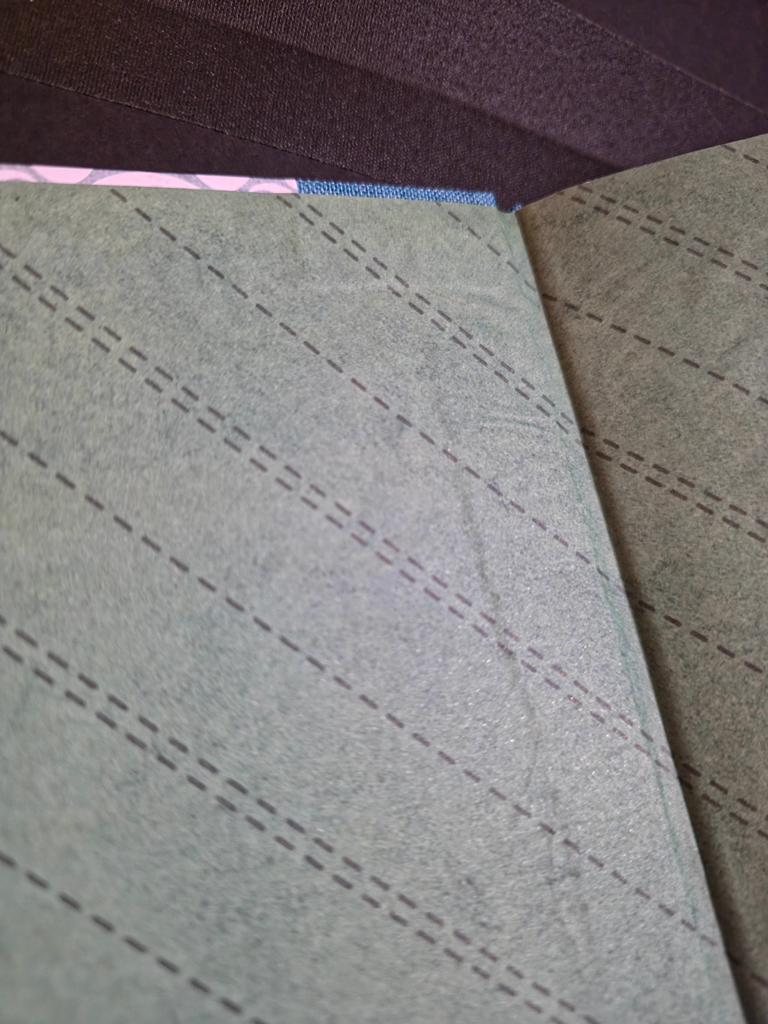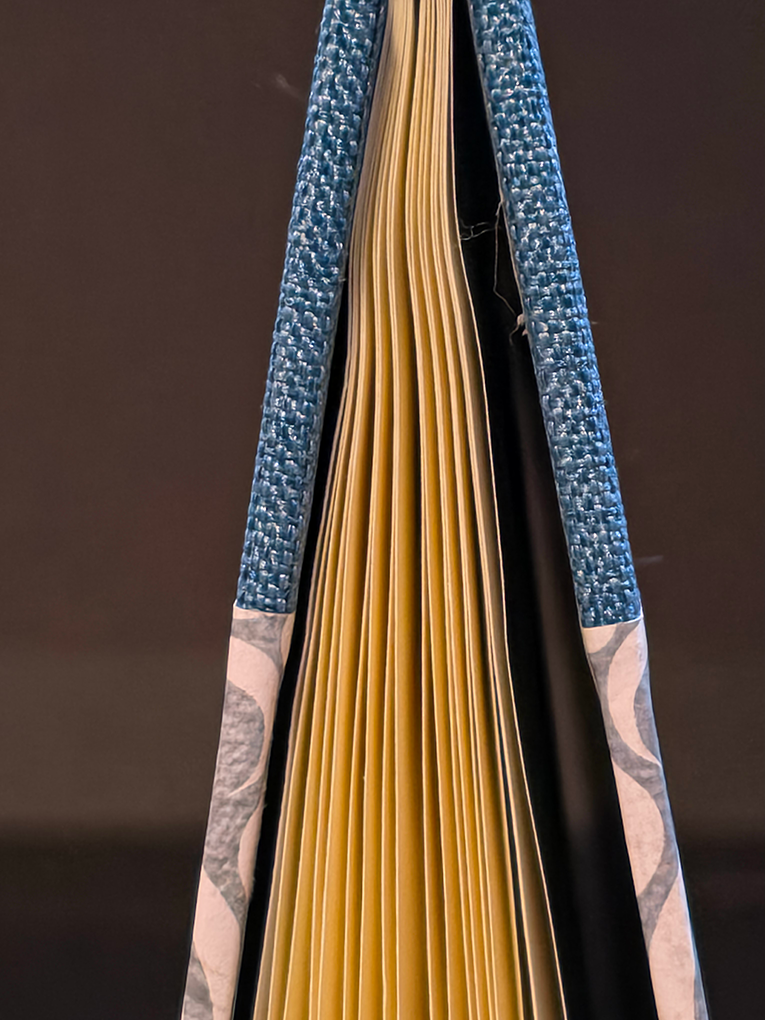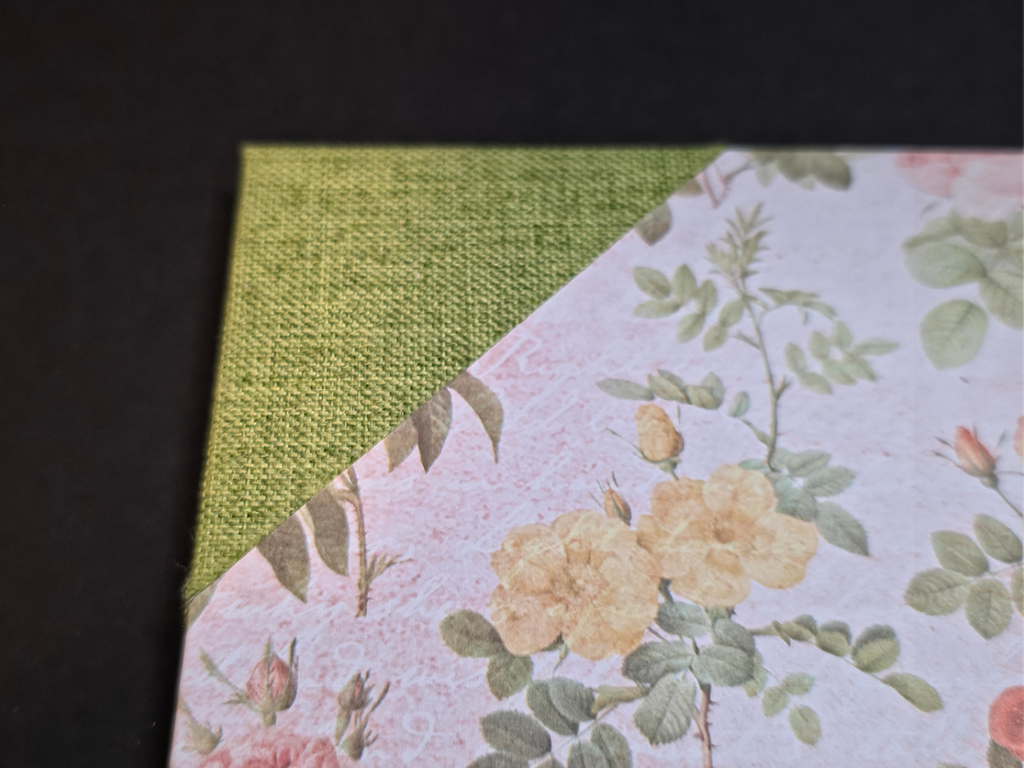
Single-Section, Hard-Back Binding

Project Parameters

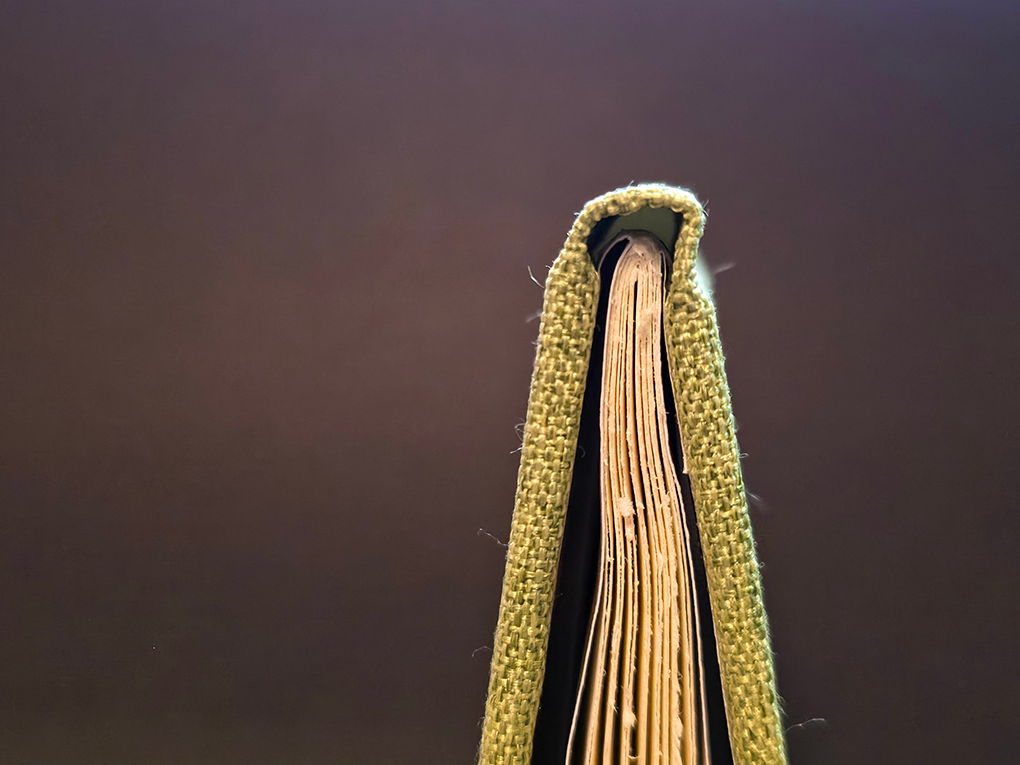
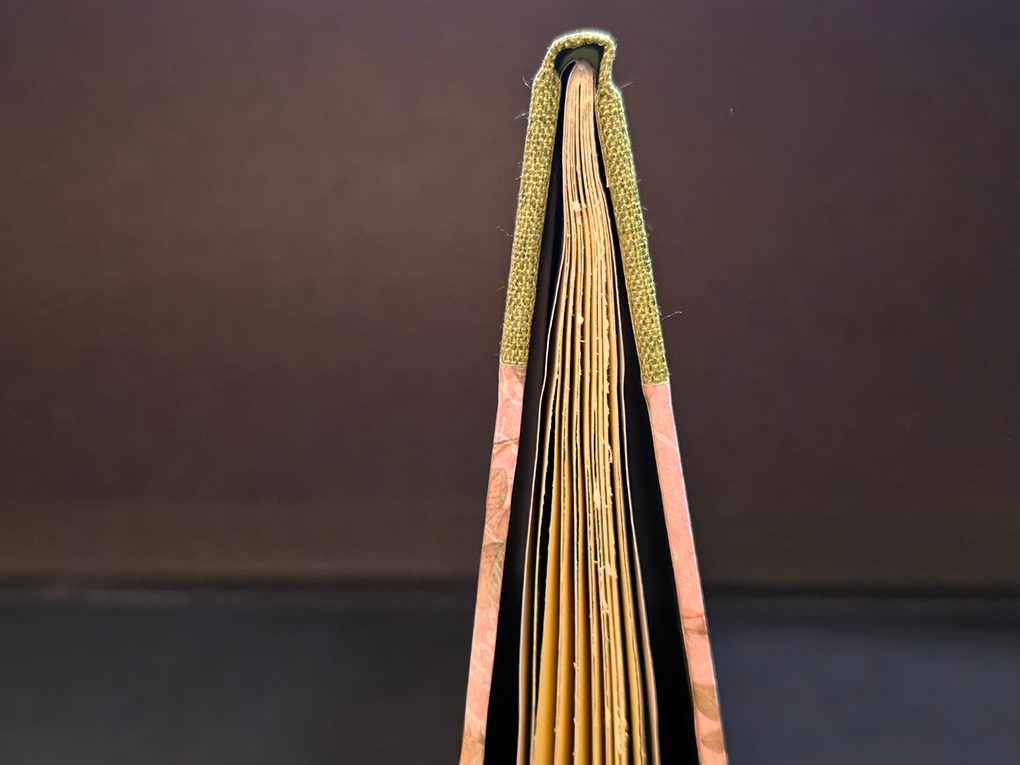
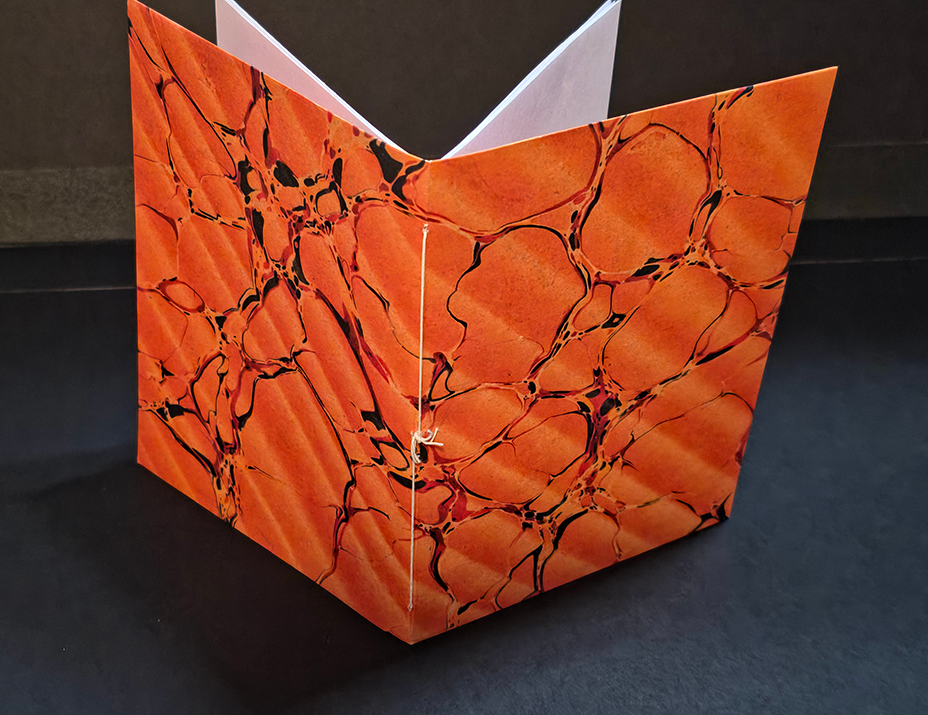
This second project from Abbott’s Bookbinding: A Step-By-Step Guide takes the pamphlet stitched text block and cases it in a hard cover. The project utilizes the quarter binding and both the foredge and corner variations of the half binding producing 3 hard bound volumes. The brief calls for 4 to 6 folios of 80-130gsm text paper and two sheets of 100-130gsm colored paper for endpapers. It builds on the previous pamphlet stitched project by adding tipping on the endpapers and reinforcing the spine of the text block with Fraynot, the construction of the hard cover using 1.5-2.0mm millboard, book cloth, and 100-130gsm decorative paper with PVA, and casing in the text block to the cover with paste.

Execution

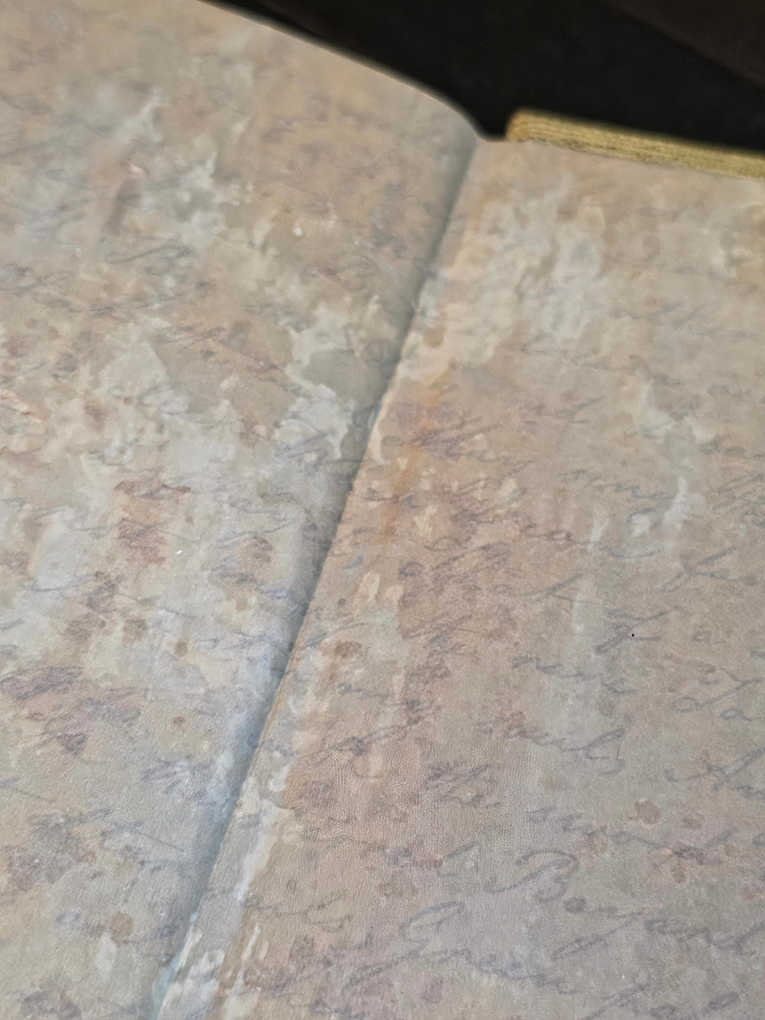
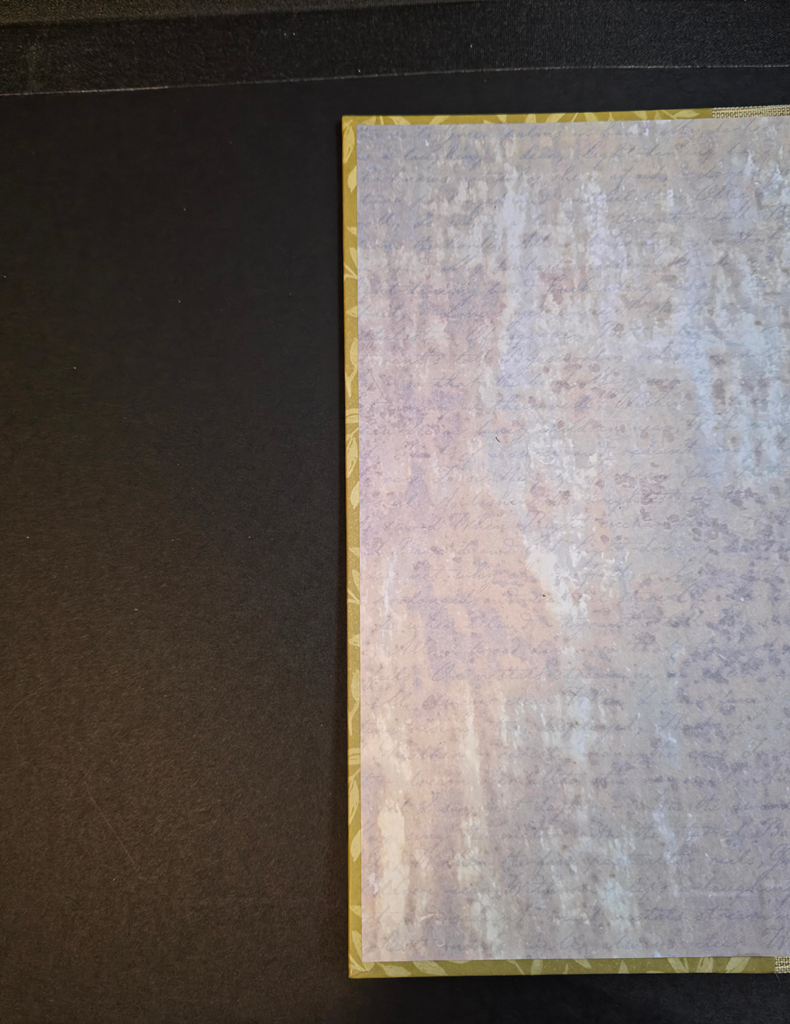
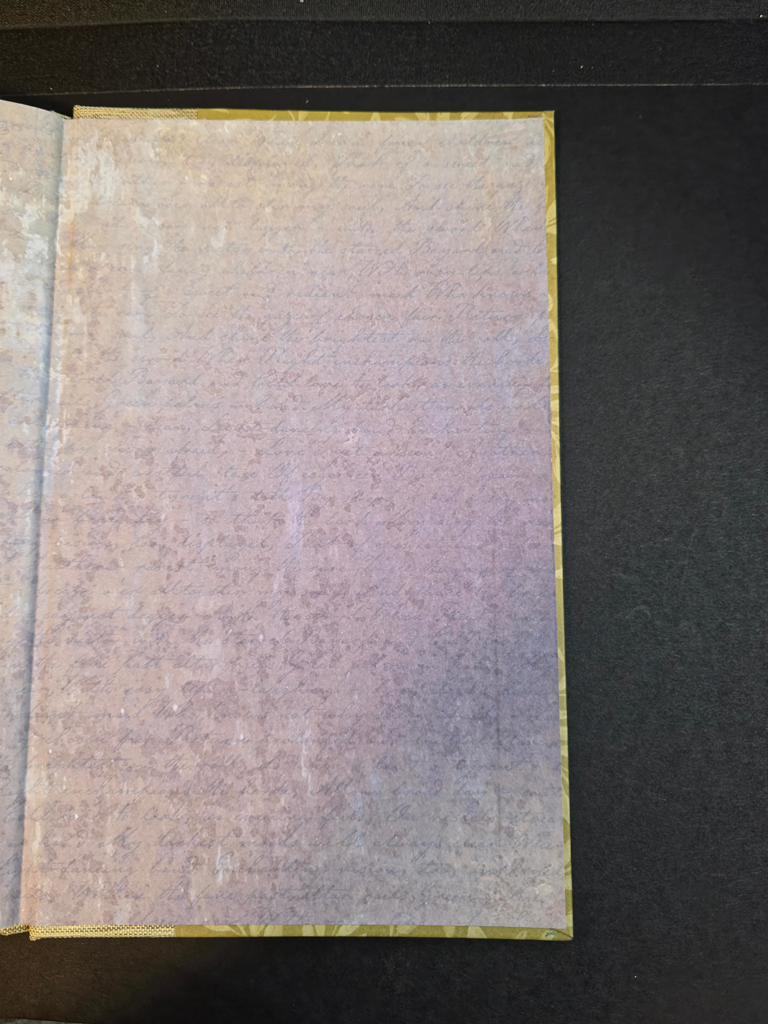
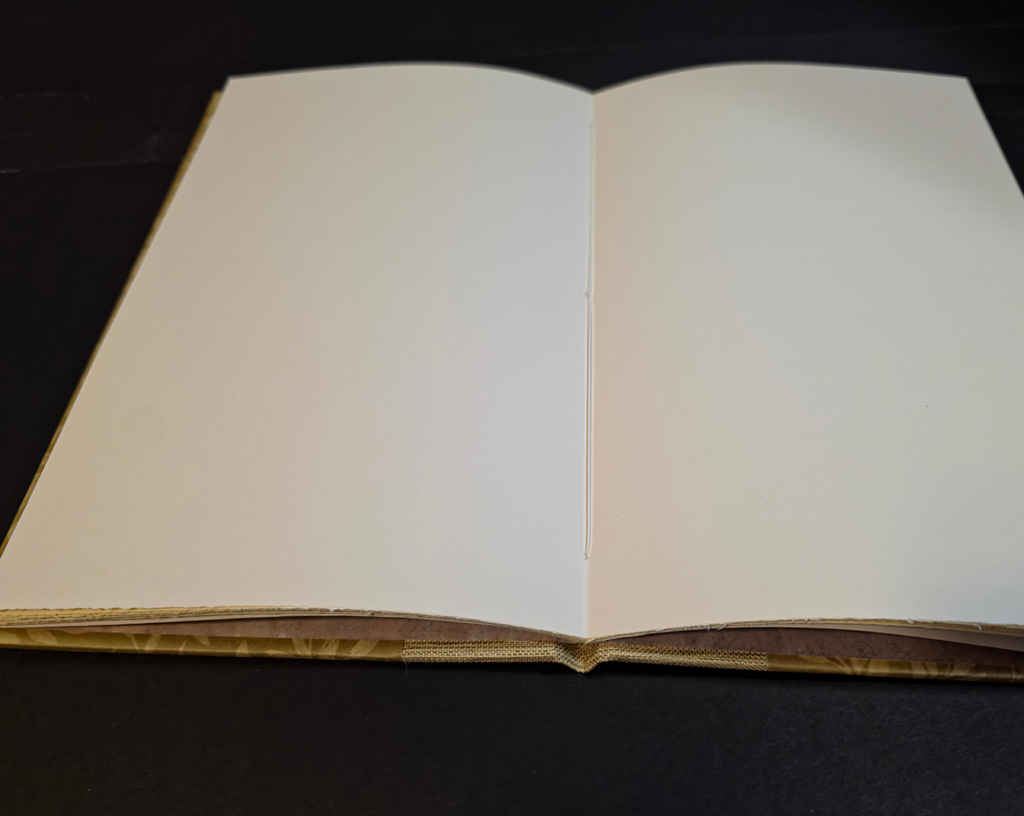
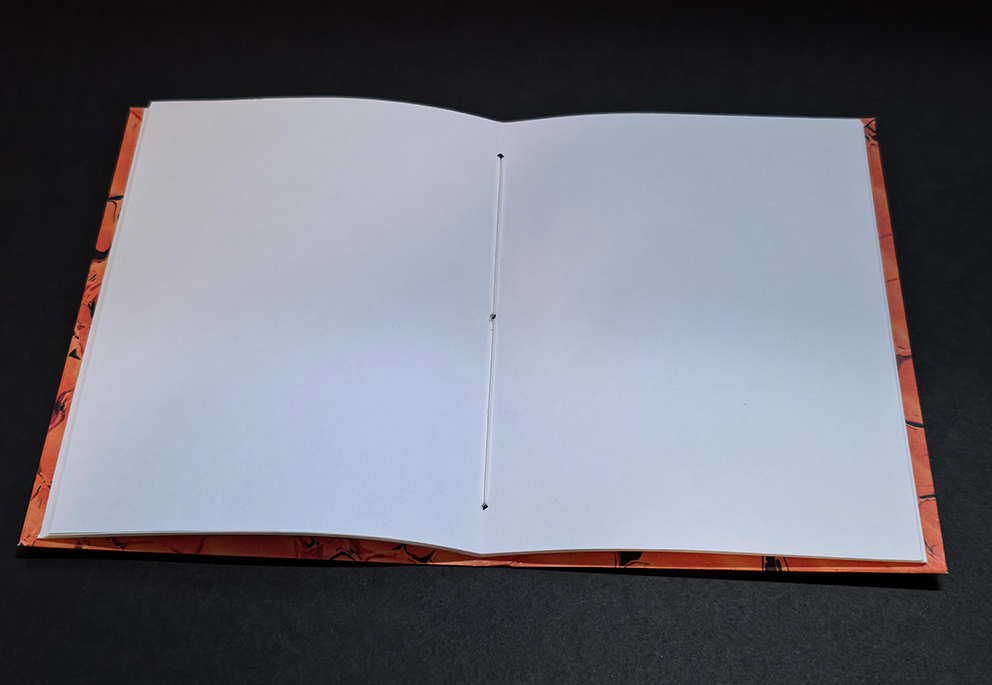
My interpretation of this project’s intent was to build on the  skills from the previous project adding spine reinforcement and a cased cover. It provides the opportunity to work with three common cover forms, the quarter cover, and half cover in both foredge and corner variations. At this point I had received some of the paper ordered and was able to make the textblock from a quality 80gsm laid linen paper. The text blocks were made from 4 sheets (8 folios) of 11″ x 17″ paper. The board used is a low cost/quality common 1.5mm grayboard. Fraynot wasn’t reasonably available so a light weight, loose weave (not as loose as scrip) cotton fabric was used. The book cloth is a low cost/quality thin cloth. And the endpapers and cover paper are 90gsm printed scrapbooking paper. The PVA is an archival neutral PH, and the past is Nori cornstarch paste.

All three text blocks were folded, cut, and sewn at the same time and pressed. The endpapers were all folded and tipped onto the text blocks and pressed. The casing boards and cloth were cut at the same time. Cover papers were cut last as needed. Each case was assembled individually in order.
Book 1 – Quarter Binding

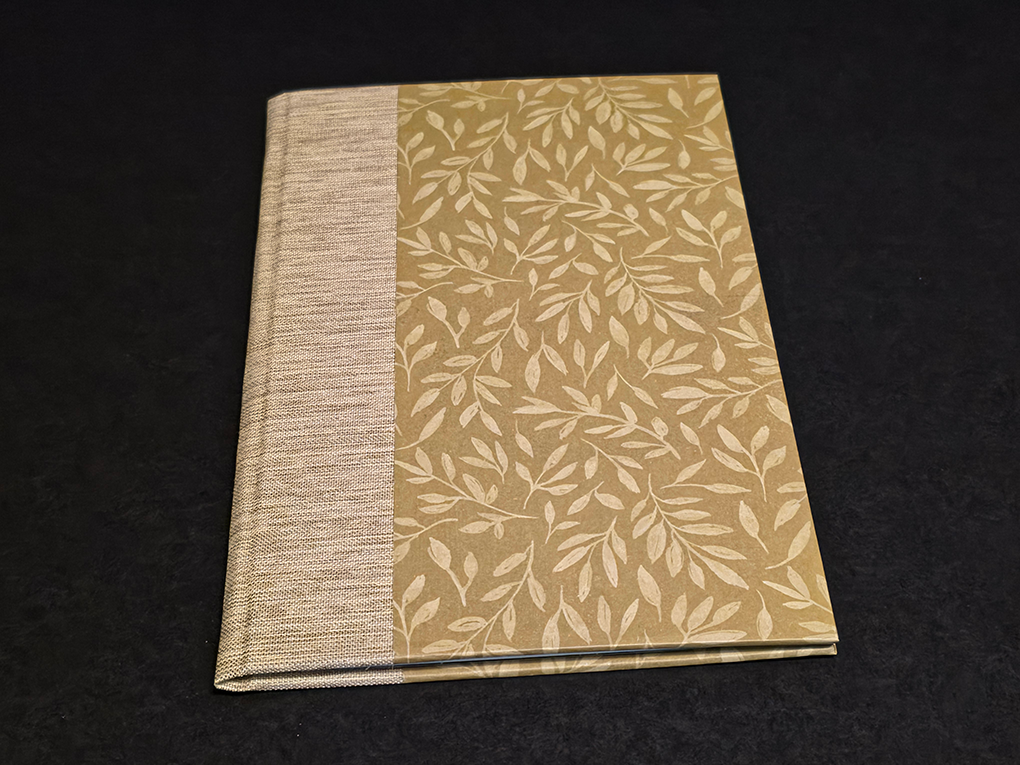
Book 1 (quarter binding): The spine fabric was measured and marked with board edges and the spine allowance of 35mm. The boards were glued to the spine fabric, inside up, and trimmed to 20mm, and turned in. The assembly was flipped over, outside up. The papers were not cut until after they were glued to the board’s outsides with a 1mm overlap, once glued the assembly was flipped over, inside’s up. The papers were trimmed to 20mm from head, tail, and foredge. The corners were clipped to 3mm before turning in head, tail, and foredge in order. The assembled cover was then pressed.
Book 2 – Half Binding – Foredge

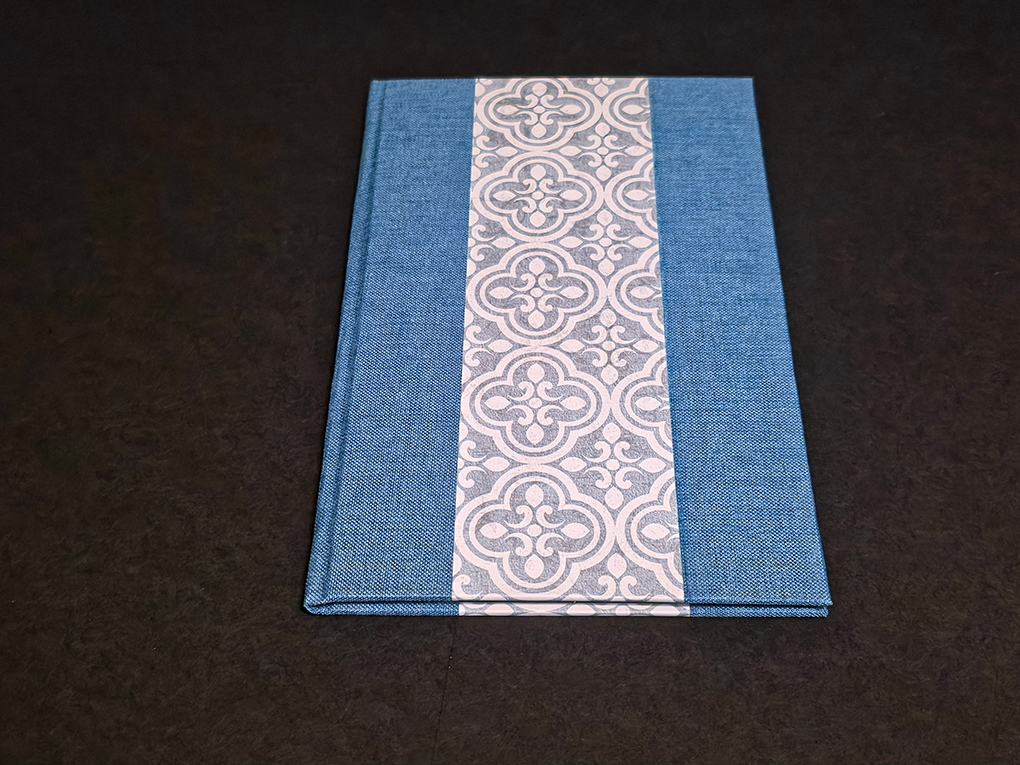
Book 2 (half binding – foredge): The spine fabric was prepared and glued the same as book 1, and the foredge was likewise prepared and glued to the boards with the inside up. The spine was trimmed to 20mm and turned in head and tail, then the foredges were trimmed to 20mm head, tail, and foredge, and the corners clipped to 3mm. The head, tail, and foredge were then turned in, in order. The assembly was flipped over, outside up. The fill papers were then cut to width before gluing to the board’s outsides. After gluing to the outside of the boards, overlapping the fabric 1mm, the assembly was flipped over, inside up, and the head and tail were trimmed to 20mm before turning in head and tail. The assembled cover was then pressed.
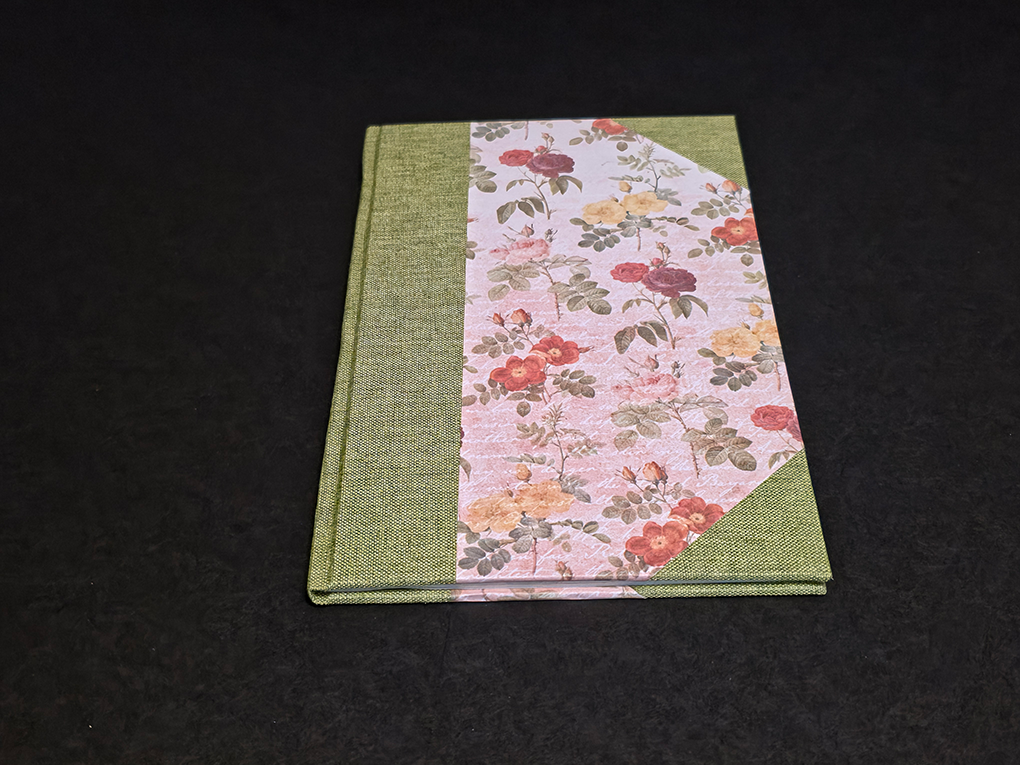
Book 3 – Half Binding – Corners

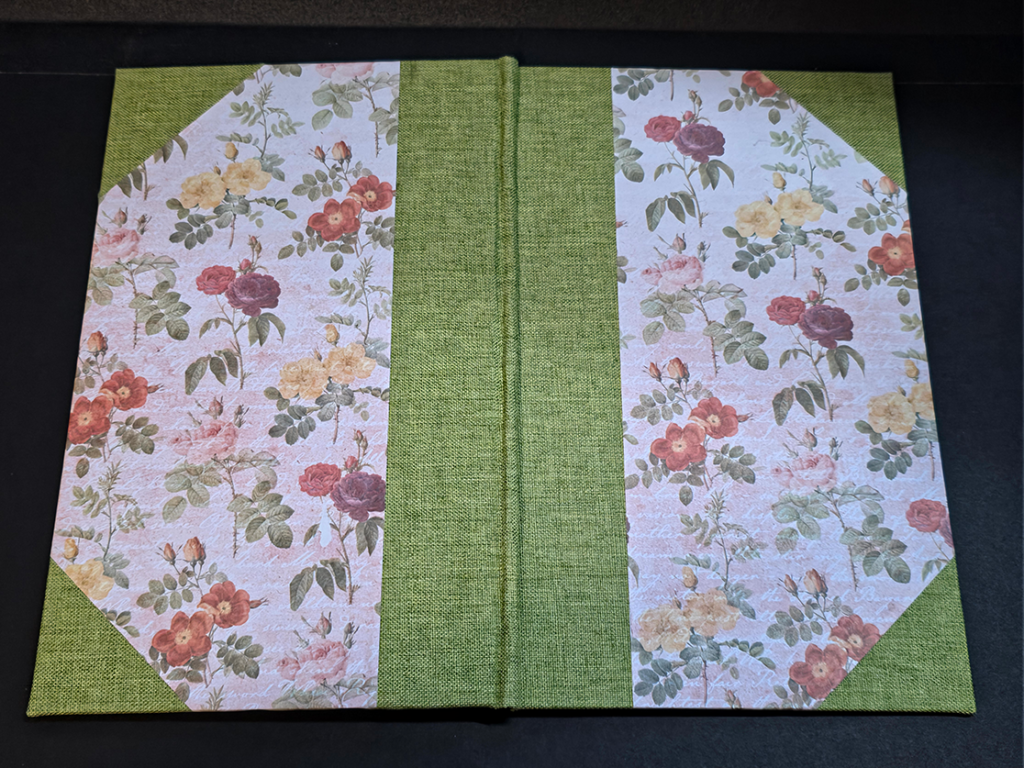
Book 3 (half binding – corner): The spine fabric was prepared and glued the same as book 1, and the corners were likewise prepared and glued to the boards with the inside up. The spine was trimmed to 20mm and turned in head and tail, then the corners were trimmed to 20mm head/tail, and foredge, and the corners clipped to 3mm. Each corner was then turned in, head/tail, and foredge. The assembly was flipped over, outside up. The fill papers were set down dry overlapping the spine fabric 1mm and weighted to prevent movement as the edges of the board were pressed into the paper creasing it. The corners were carefully turned up to crease the paper with a 1mm overlap of the corner fabric. The corners of the paper were then cut off and the papers fit checked before gluing. The paper was then glued and placed carefully at spine overlap, then smoothed down to the corners. The assemble was then flipped, inside up, and the head tail and foredge of the paper trimmed to 20mm and turned in. The assembled cover was then pressed.

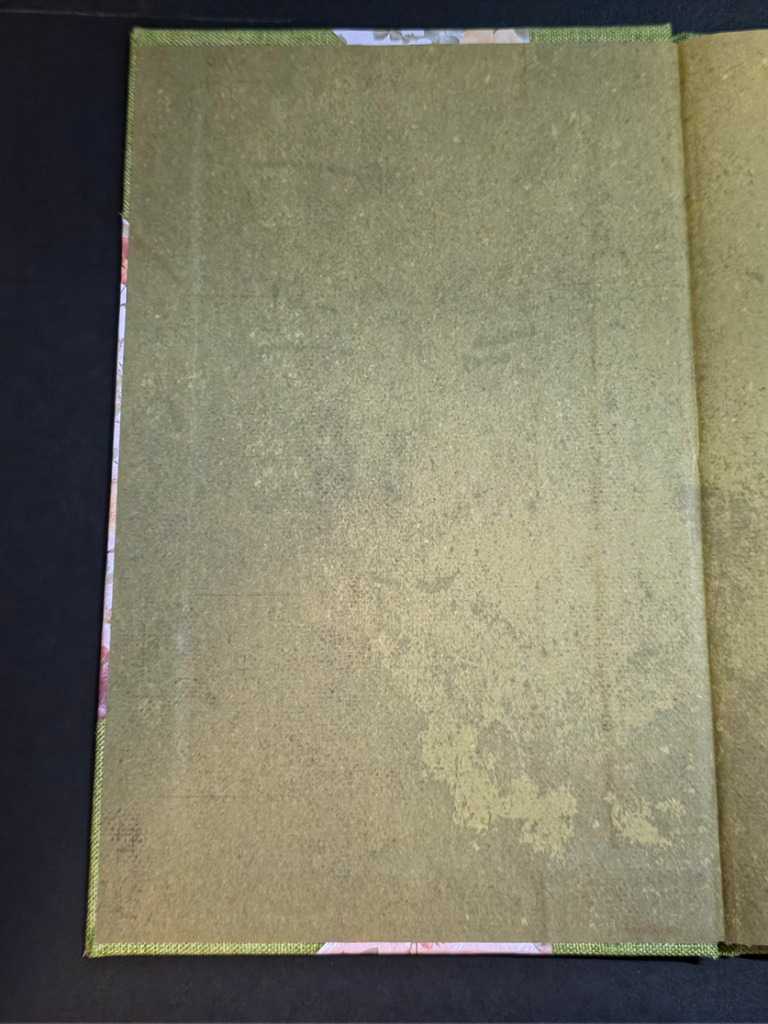
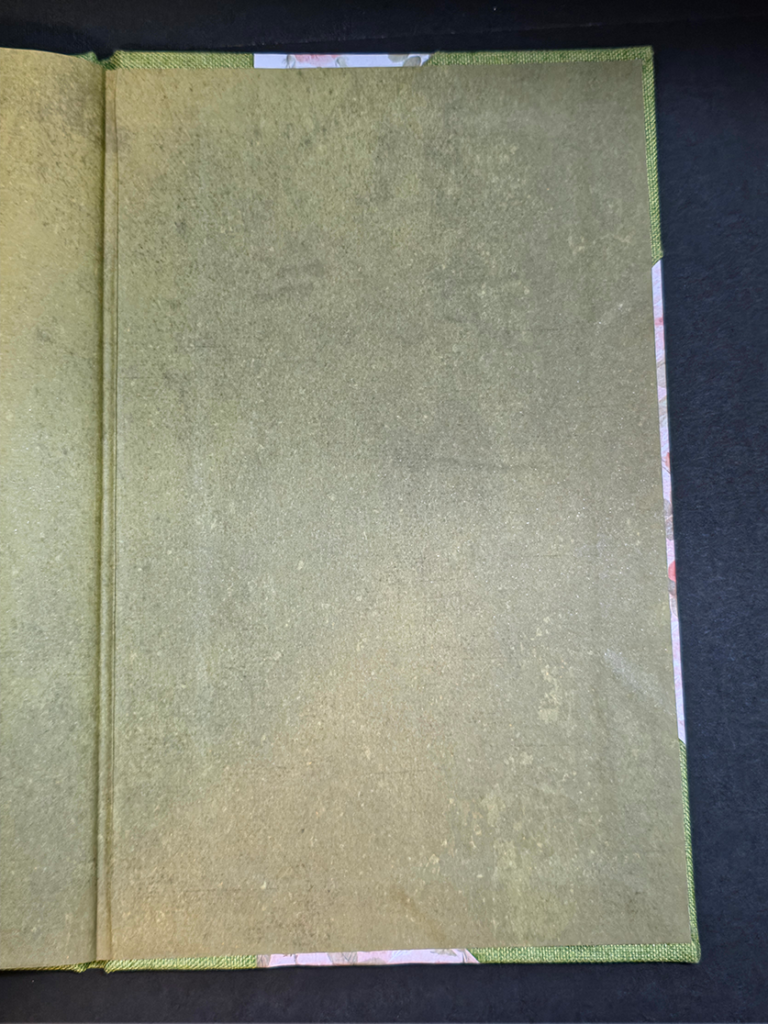
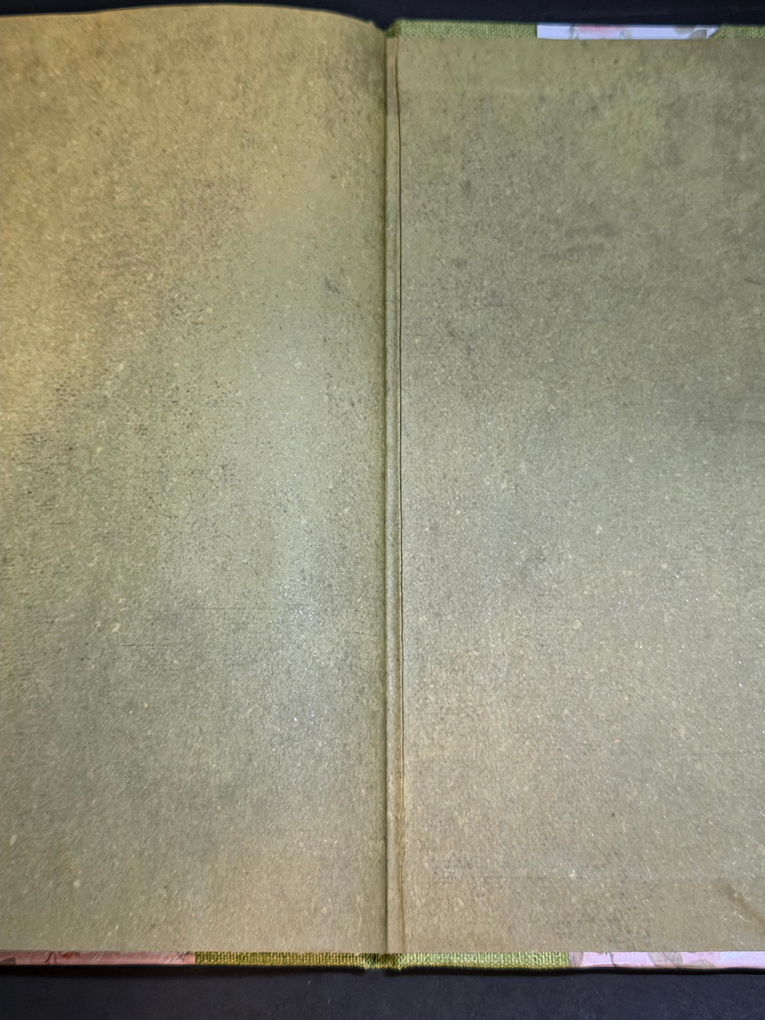
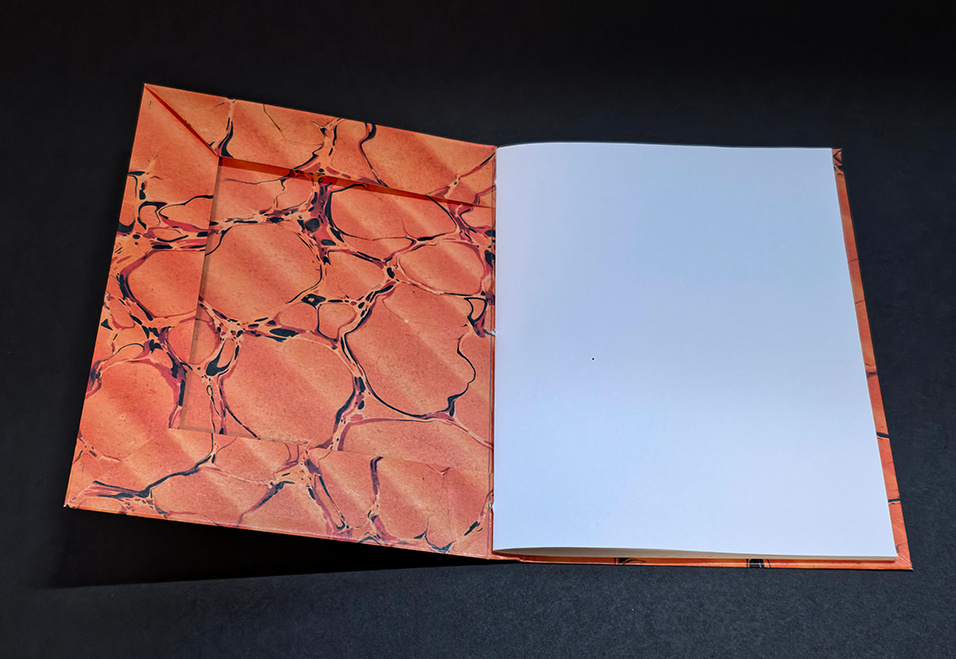
The three text blocks were pared to their covers and cased in one at a time using the same process. The text block was set down, back of the block to the inside of the back cover, and placed with even squares, approximately 3mm. The front cover was laid over the front of the text block, and the squares checked again, also looking for alignment of the head, tail, and foredge of the front of the cover to the back. The spine was set up against the spine of the case. When everything is aligned, a waste sheet is placed in the fold of the endpaper to protect the text block side of the endpaper and text block, the endpaper facing the cover is then pasted, starting at the spine holding the cotton fabric away from the paper. Once the past extended beyond where the cotton lay, the cotton was smoothed down into the paste on the paper and additional paste put onto the cotton evenly. The rest of the endpaper is then pasted, the waste sheet removed, and the cover carefully closed. After checking the alignment and squares, the assembly is turned over, and the pasting process is repeated to paste the back endpaper to the back cover. This entire process is repeated for each book.

Analysis

Book 1: Quarter Binding

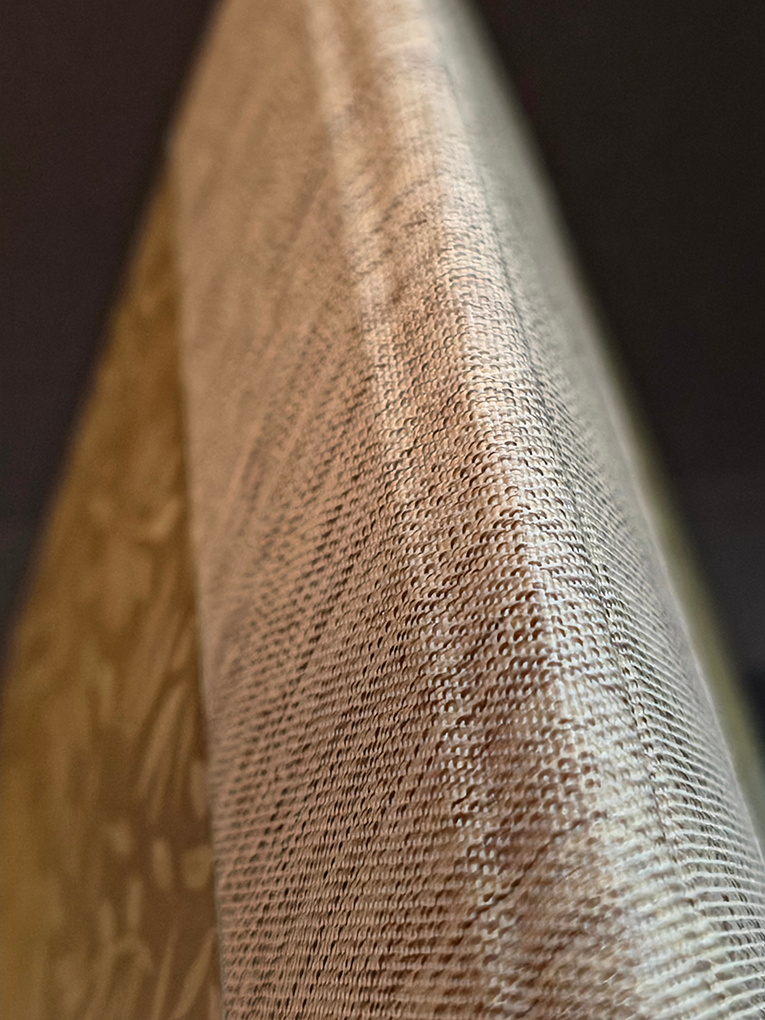
Due to the quality of the book cloth, and having only glued one side of the spine at a time, the book cloth deformed slightly which resulted in a slight curve in the alignment lines before the boards could be set down. this resulted in a slight deformation to the spine. Also due to the thinness of the book cloth, it creased easily which produced some visible crease lines in the spine. The cover papers, being thinner than optimal had a tendency to stretch if pulled on, or bunch if shifted. With care, the cover papers did go on smoothly. The end papers, also thin, easily bunched up. This is more evident in the front cover hinge than the back. With casing in, the text block did not seat as deeply as it should have into the spine. The text block also shifted slightly in position when the back cover was closed . The front cover has nice even squares. This text block was the only one that had a moisture barrier in the fold of the endpapers when pressing. This prevented cockling of the text block.
Book 2: Half Binding – Foredge

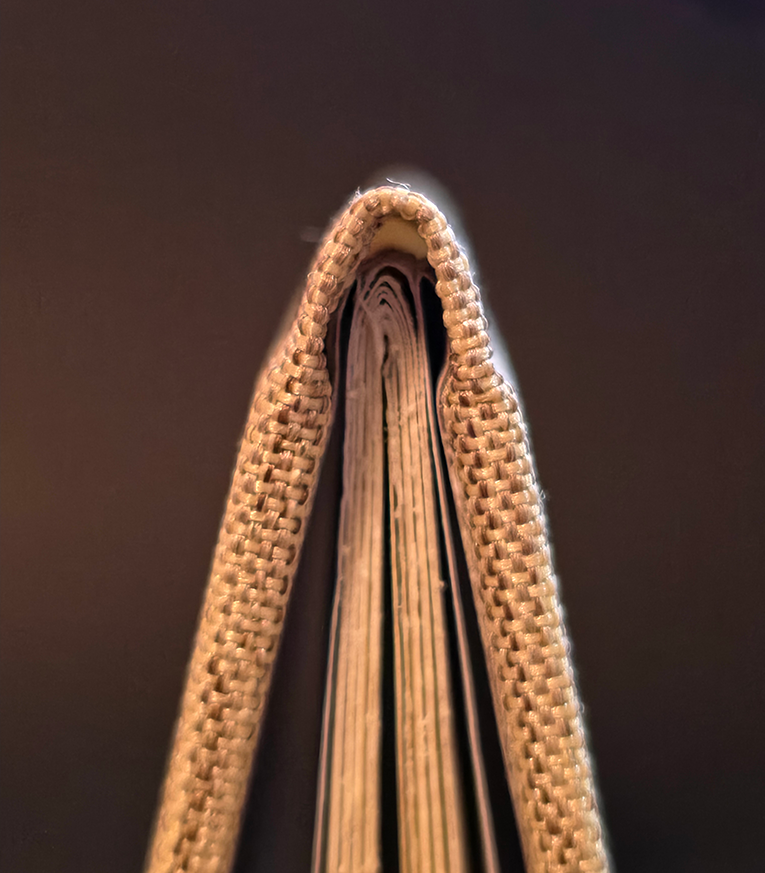
This is likely the best of the three bindings. The text block is seated to the back of the spine, the hinges are clean front and back, and the squares are even front and back. The book cloth did deform slightly and a curve in the fabric grain is visible in the foredges. A smaller pattern in the cover paper would probably look nicer, but the front and back match in positioning so it is uniform. There is a small bit of bunching on the back endpaper at the spine. Because of the thinness of the endpapers, the book cloth, cover paper, and hinge reinforcement fabric do stand out a little stronger than usual. The text block is slightly cockled because a moisture barrier was not placed in the endpaper fold when pressed.
Book 3: Half Binding – Corners

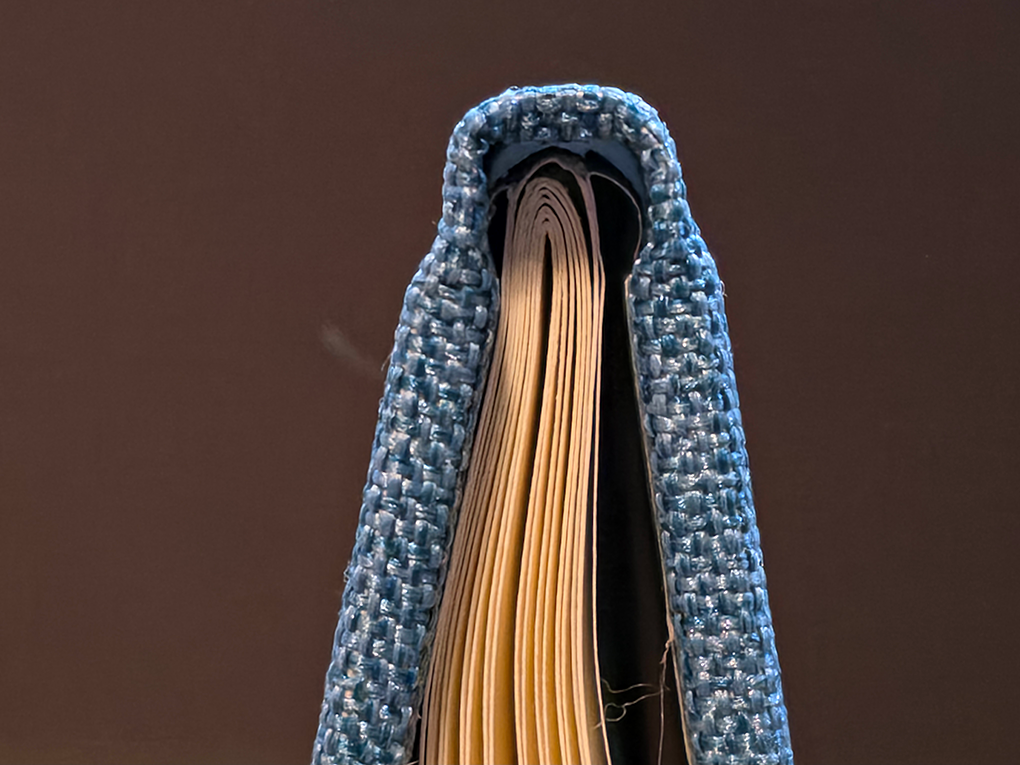
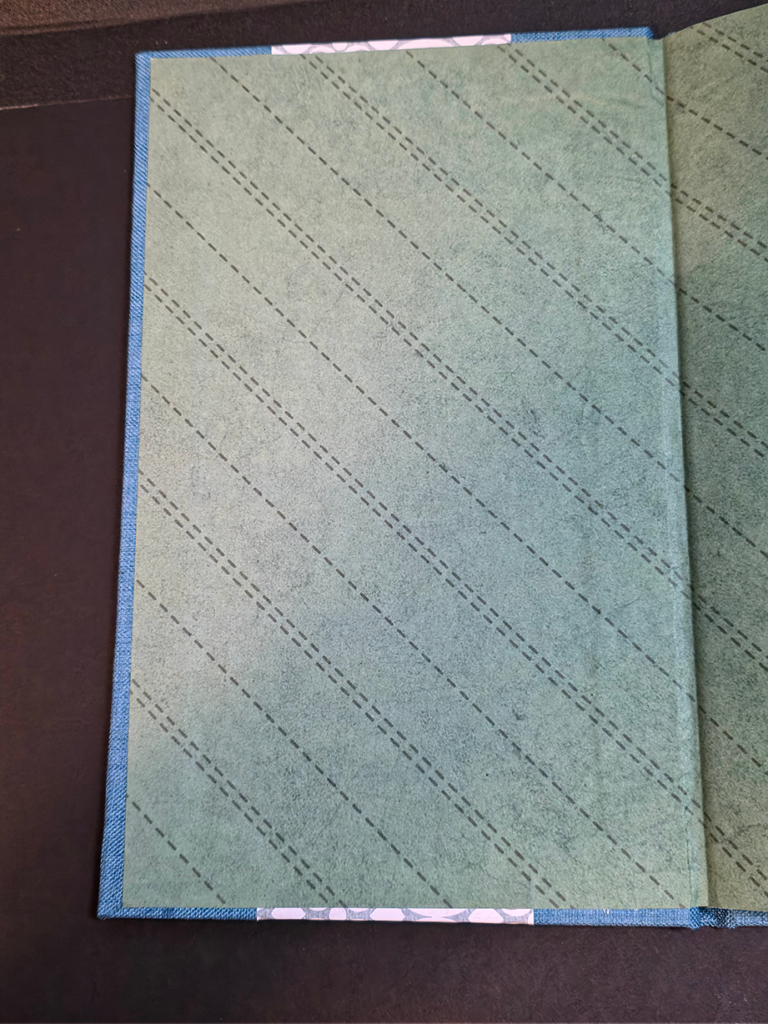
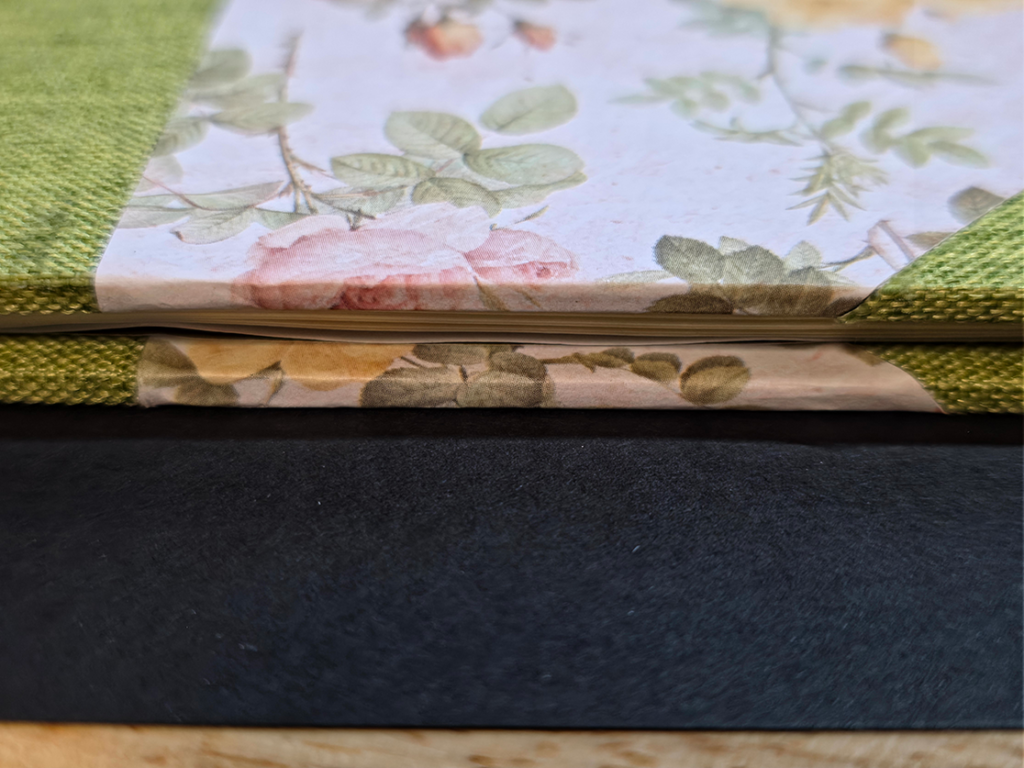
The cover looks good. The book cloth grain is mostly straight and matches across the spine and corners, front and back. The cover paper is clean and tight on the spine front and back, and the front corners. The head end back corner paper is cut a hair off and doesn’t quite overlap the entire corner. The outer edges fall right at the edge of the book cloth. The text block did not stay in place when cased in. It shifted head to tail and spine to foredge on the front cover and the back cover is also head to tail and spine to foredge but skewed slightly in both. The skew appears to be due to some bunching at the hinge, more at the head than tail. Like book 2, the text block is cockled.
Conclusion

Over all, the three projects turned out fair. Each binding has its flaws and there were a few process lessons learned. The books are functional, and if not looked at too closely, most of the defects might be overlooked. The biggest issue with the materials is common across all of them, they are too thin. The book cloth easily shifted if pulled even slightly, as did the paper. The cover paper and endpapers were from the same 12″ x 12″ scrapbooking pad. These papers are not appropriate for this application. As for processes, trying to assembly-line covers is a bad idea, at least for me, and at this time. It is far too easy to make measuring mistakes, mixing grain directions, and getting careless. A slower, careful pace makes precision more likely. There was only one instance when not all of the materials was ready for use but this did cause some frustration and a need to redo something.

The biggest takeaways from this exercise are: use the best materials you can get your hands on, walk through the operation “dry” before committing to actually doing it, and take your time working through each process.

Sources

Abbott, Kathy. Bookbinding: A Step-By-Step Guide. The Crowood Press, 2010. 30-41.
Paper-Cover Single-Section

Project Parameters

This is the first project from Abbott’s Bookbinding: A Step-By-Step Guide. It is a simple single-section, or gathering, composed of three sheets of A4 (80-130gsm) text paper folded quarto with a cover made from a single sheet of A4 (150-180) cover paper. The cover if folded to the section size plus a 2mm square at the head, tail, and foredge. The cover and text block together are sewn with a three-hole pamphlet stitch.

Execution

My interpretation of this project’s intent was to practice the basic skills of folding a text block from a larger sheet to a smaller form, and to provide a protective outer cover of similar paper. When working on this project,

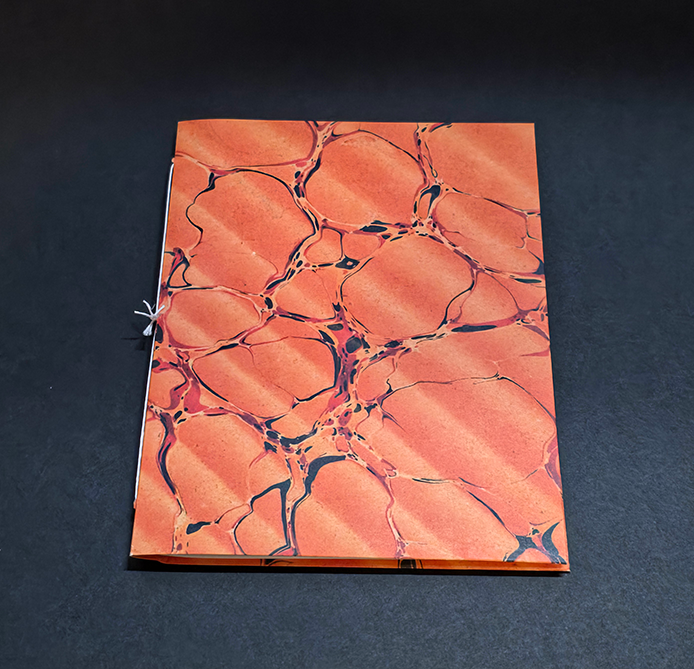
several paper orders were still pending, and as the interpreted intent was skill building rather than the object itself, I opted to use 20 lb. 8.5″ x 11″ printer paper for the text bock, and a piece of scrapbook printed marbled paper, also 20 lb.

Analysis

The execution was relatively smooth. The text block paper was thinner than that specified in the project documentation. A thicker and better quality paper would have produced a more useful and better quality end product. The cover paper was thinner than that specified as well. A thicker cover paper better resist damage and provide a less floppy feeling to the booklet. The sewing was well executed. The text block and cover are tight and uniform, but not too tight. The pages don’t show any resistance to movement parallel to the hinge-line and resist any perpendicular movement.

Conclusion

The form has many application possibilities. Certainly a higher quality paper, sized for a specific purpose or standard form would produce a useful form. Likewise, a quality cover paper of appropriate weight would provide protection for a pamphlet or booklet. A protective coating such as beeswax on the cover material could further protect the contents.

As a conservation or preservation, the form could be used to provide extra protection for a fragile pamphlet that already needed resewing or would be best served with sewing and covering, possibly one that required guarding to restore the hinge fold. In this form, an object so preserved could remain accessible for historical research.

Sources

Abbott, Kathy. Bookbinding: A Step-By-Step Guide. The Crowood Press, 2010. 24-29.

Wood

From a historical perspective, books and woodwork are closely connected. Before the days of wood pulp paper, the tools of the book trades were made primarily of wood. From the vats used to pulp linen rag in the paper trade, the printing press with woodcut pictures and wood text blocks in the printing trade, to the stitching frame and presses used in the binding trade. To this day, many of the bookbinder’s tools are wooden. As a hand tool woodworker, this makes establishing a traditional hand bindery an exercise in experimental history.

I am embarking on a long-term and expansive set of projects in the book arts and bibliography as an experimental historian. The first phase is to get the workshop back to a hand tool wood shop. This involves scaling back in several areas, and building the infrastructure necessary for woodworking and book arts. The primary piece of infrastructure the rest of the shop is built around is the workbench.

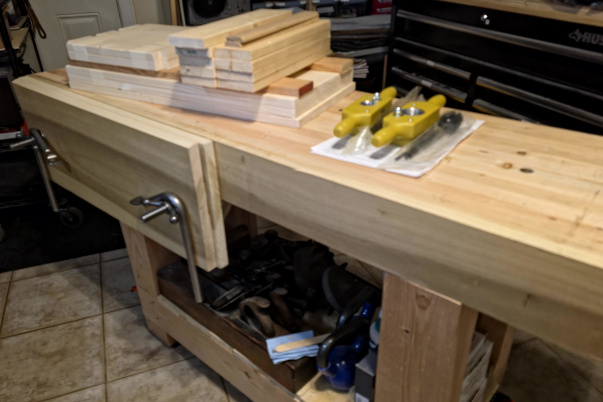
This joiner’s bench has a Moxon-style face vise with 24 inches between the screws. It is a relatively small bench at just 5 feet long and 17 inches wide. A typical joiner’s bench is 7 to 8 feet long; some are as long as 12 feet or more, and the typical joiner’s bench is 24 to 30 inches wide. This bench is made from Douglas Fir except for the face board and vise, which is Maple; it still weighs in at over 300 pounds unloaded. The workshop space available is small, just over 150 square feet of usable space, this set the scale of the bench.

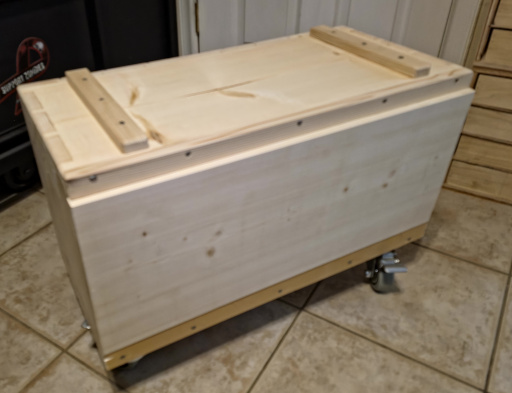
The second step is to remove all of the existing factory-made shop furniture and replace it with options that save floor space and are custom-designed for the space and the work at hand. The first project is a Dutch tool chest.1 The chest being built is a little different from the ones in the book in that this chest has two smaller detached chests under the double shelf version of the main tool chest. The one pictured below is the bottom chest with heavy-duty casters. This chest is 27 inches wide, 14 inches tall, and 12 inches deep. The middle chest is the pile of cut lumber sitting on the workbench and is 27 x 13 x 12. That build starts tomorrow. The top chest build should start within the next two weeks; its final dimensions have not yet been determined, but should come in around 27 x 31 x 12. The total height of the three should be between 60 and 65 inches.

Once all three sections of the tool chest are completed, the factory-made furnishings can be emptied, either into the Dutch chest(s), or into temporary storage containers. The factory tool chest and rolling cabinet/bench will be sold, and the workshop’s cabinetry projects can begin.

The keen observer might have noticed the two wood tap and die sets on the workbench to the right of the lumber. These will be for a set of parallel projects. The 1-inch tap and die is for making the wooden screws for a stitching frame, and the 1 1/2 inch set is for the screws of a finishing vise and trimming frame. A small nipping press will also use a 1 1/2 inch screw. The factory-made wood tap and die sets were purchased for expediency. Down the project path, there will be a need for 2-inch, 4-inch, and 6-inch tap and die sets that will be shop-made. These large shop-made tap and die sets will be substantial projects in and of themselves. As one might expect, the projects requiring such large wood screws will be epic adventures.

Between the cabinetry and bookbinding workshop infrastructure projects, research will continue with an emphasis on bookbinding and bibliographically adjacent subjects as the workshop and bindery come into their own. The workspace and bindery are just the beginning. The journey will be filled with research and experimentation with materials, processes, and equipment. Along the way, conservation and preservation projects will be popping in from time to time, expanding opportunities. I have several 18th, 19th, and 20th century books and documents that need some love and should start making appearances this summer.

Things are beginning to take shape. It will be a very interesting and informative long and windy road. ‘Tis an adventure to my liking.

  1. Fitzpatrick, Megan. Dutch Tool Chests. Lost Art Press, 2004. ↩︎

The Impecunious Bibliophile

My earliest memories contain books; if not central to the memories, they are adjacent to or on the periphery of them. My grandmother was an avid and studious reader, a librarian, and a teacher by trade. There were always piles of books on her desk at home, most from one library or another. On rare occasions, she would bring a special book home from work that needed extra care in its repair and return to service. She was not, to speak, a collector of books, nor did she keep many at home. Her preservation techniques were distinctly focused on returning books to library service, not the fastidious preservation of a curator or collector. Books did not become a key element of my memories of my mother until later in her life, when she began to accumulate books of interest. At this time in her life, she was wheelchair-bound, and library trips could be difficult. This was likely a factor in her choice to buy rather than borrow. Though she was not as curious in a broad sense as my grandmother, she did find herself going down rabbit holes on occasion. One could say, I come by my afflictions honestly.

Books can bring many things to those who appreciate them. For most, they provide a sense of escapism in one form or another. For many, it is to inform or educate. For others, it is to reinforce their worldview. Others seek wisdom and inspiration in the writings of great thinkers. It is likely, dear reader, that you find some comfort in each of these from time to time. A rather small and obsessed group finds the medium itself to be the most fascinating collection of trades and practices. It is in this small group that I find my people. Though I am at the earliest stages of my serious, dare I say professional, bibliographic journey, I find myself counting gatherings and looking for chains, formulating how the text block was constructed, and how it was cased. Who published this volume? Who printed it? What edition and pressing? What are its points?

The making of books has always been of great interest. From the laying of paper and sizing, pressing it to wood and metal, transferring pigment, folding and stitching the gatherings into a text block. Treatment of the text block, cut or not, opened or not, gilded or painted edges, how will it be cased, and with what materials? All decisions that will affect the owner’s relationship with the volume, on their shelf, in their hand, and in their hearts. That I would collect and deal in these jewels of humanity was a foregone conclusion, as is the need to have a closer, more intimate relationship with the form; to bring new volumes to life, yes, but also to preserve and protect those already formed.

Books and history, history and books. The path is broad and open. Where it leads is over the horizon, yet down the path I go, books in hand.