
Project Parameters
This second project from Abbott’s Bookbinding: A Step-By-Step Guide takes the pamphlet stitched text block and cases it in a hard cover. The project utilizes the quarter binding and both the foredge and corner variations of the half binding producing 3 hard bound volumes. The brief calls for 4 to 6 folios of 80-130gsm text paper and two sheets of 100-130gsm colored paper for endpapers. It builds on the previous pamphlet stitched project by adding tipping on the endpapers and reinforcing the spine of the text block with Fraynot, the construction of the hard cover using 1.5-2.0mm millboard, book cloth, and 100-130gsm decorative paper with PVA, and casing in the text block to the cover with paste.
Execution
My interpretation of this project’s intent was to build on the skills from the previous project adding spine reinforcement and a cased cover. It provides the opportunity to work with three common cover forms, the quarter cover, and half cover in both foredge and corner variations. At this point I had received some of the paper ordered and was able to make the textblock from a quality 80gsm laid linen paper. The text blocks were made from 4 sheets (8 folios) of 11″ x 17″ paper. The board used is a low cost/quality common 1.5mm grayboard. Fraynot wasn’t reasonably available so a light weight, loose weave (not as loose as scrip) cotton fabric was used. The book cloth is a low cost/quality thin cloth. And the endpapers and cover paper are 90gsm printed scrapbooking paper. The PVA is an archival neutral PH, and the past is Nori cornstarch paste.
All three text blocks were folded, cut, and sewn at the same time and pressed. The endpapers were all folded and tipped onto the text blocks and pressed. The casing boards and cloth were cut at the same time. Cover papers were cut last as needed. Each case was assembled individually in order.
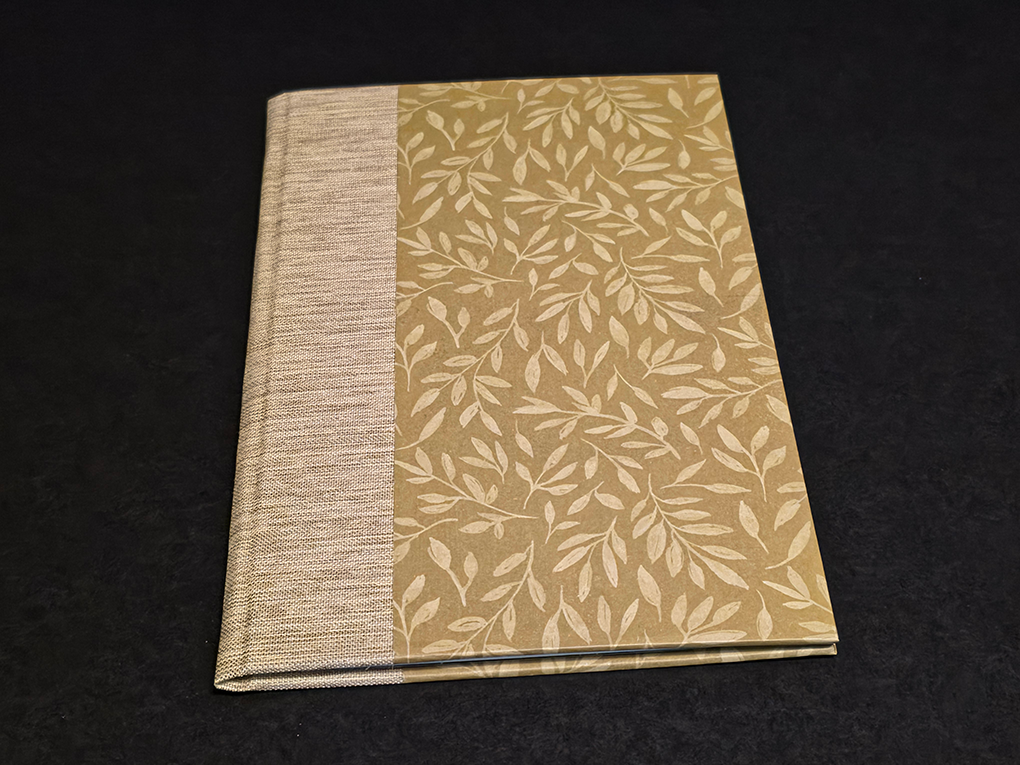
Book 1 (quarter binding): The spine fabric was measured and marked with board edges and the spine allowance of 35mm. The boards were glued to the spine fabric, inside up, and trimmed to 20mm, and turned in. The assembly was flipped over, outside up. The papers were not cut until after they were glued to the board’s outsides with a 1mm overlap, once glued the assembly was flipped over, inside’s up. The papers were trimmed to 20mm from head, tail, and foredge. The corners were clipped to 3mm before turning in head, tail, and foredge in order. The assembled cover was then pressed.
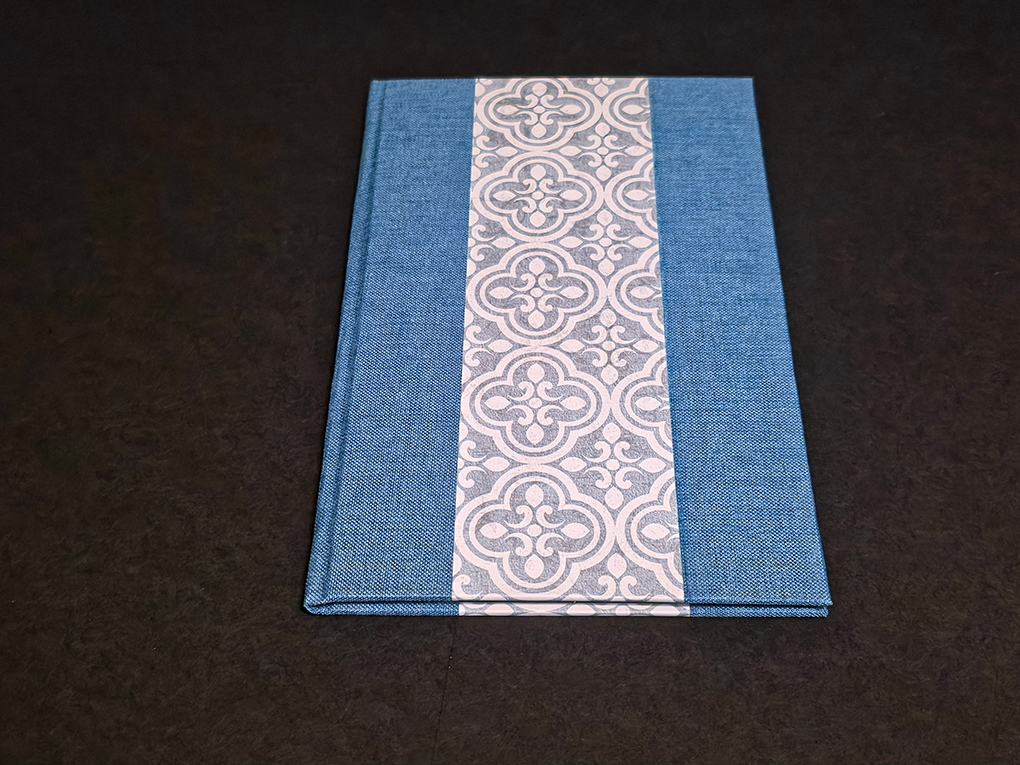
Book 2 (half binding – foredge): The spine fabric was prepared and glued the same as book 1, and the foredge was likewise prepared and glued to the boards with the inside up. The spine was trimmed to 20mm and turned in head and tail, then the foredges were trimmed to 20mm head, tail, and foredge, and the corners clipped to 3mm. The head, tail, and foredge were then turned in, in order. The assembly was flipped over, outside up. The fill papers were then cut to width before gluing to the board’s outsides. After gluing to the outside of the boards, overlapping the fabric 1mm, the assembly was flipped over, inside up, and the head and tail were trimmed to 20mm before turning in head and tail. The assembled cover was then pressed.
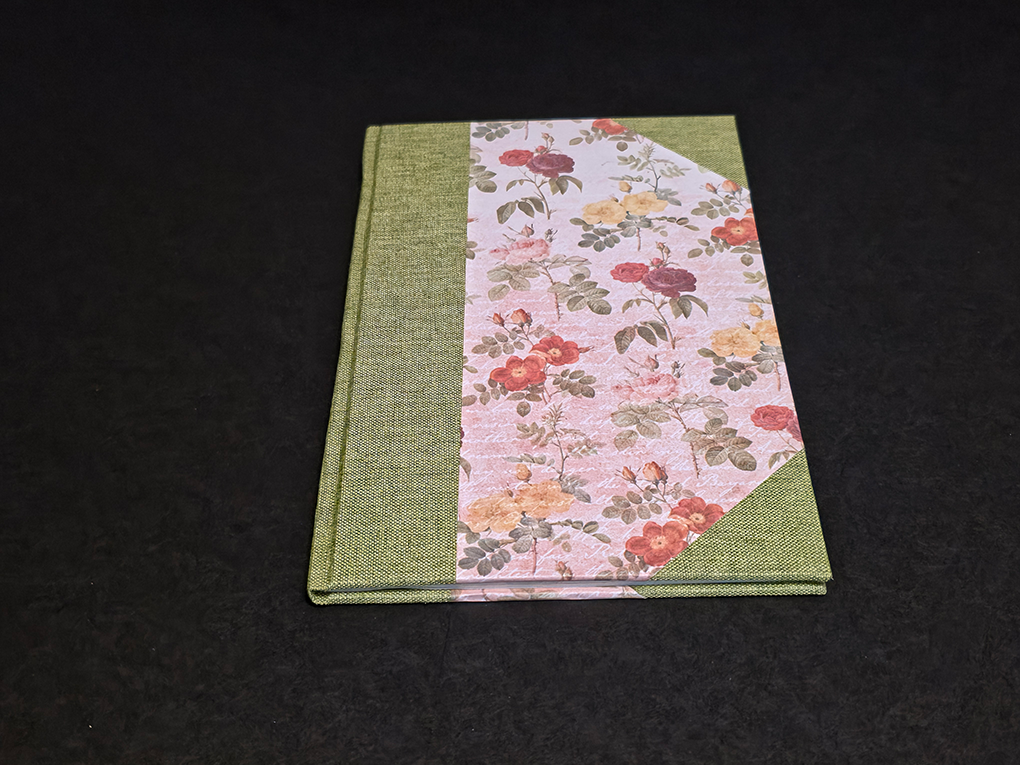
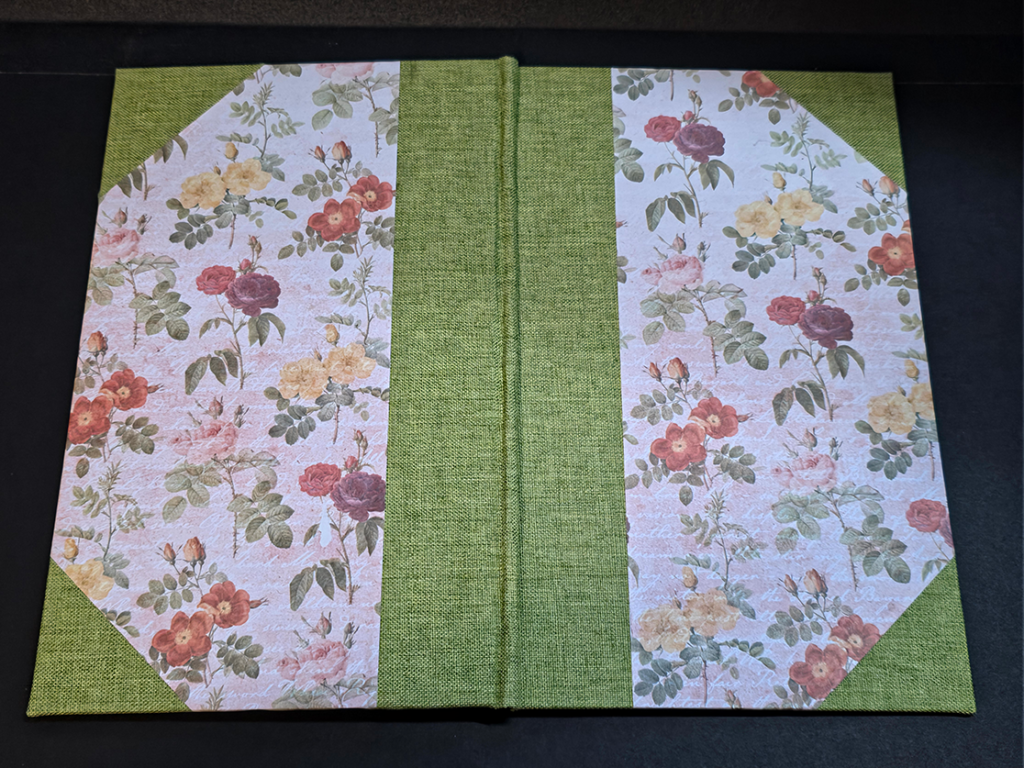
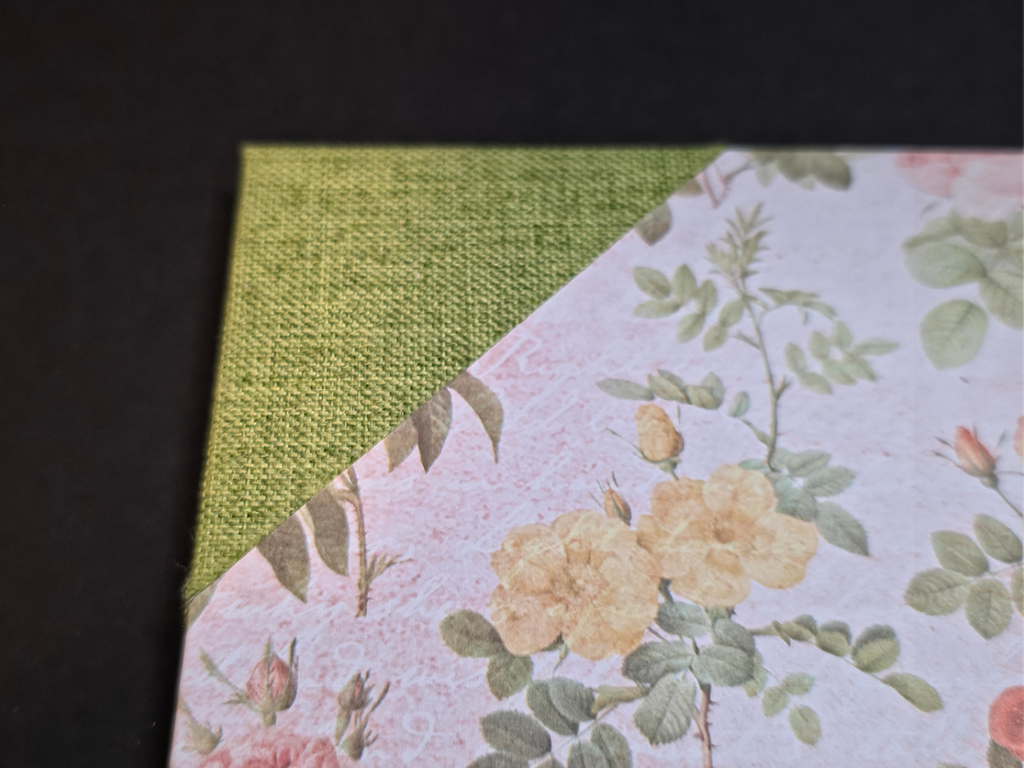
Book 3 (half binding – corner): The spine fabric was prepared and glued the same as book 1, and the corners were likewise prepared and glued to the boards with the inside up. The spine was trimmed to 20mm and turned in head and tail, then the corners were trimmed to 20mm head/tail, and foredge, and the corners clipped to 3mm. Each corner was then turned in, head/tail, and foredge. The assembly was flipped over, outside up. The fill papers were set down dry overlapping the spine fabric 1mm and weighted to prevent movement as the edges of the board were pressed into the paper creasing it. The corners were carefully turned up to crease the paper with a 1mm overlap of the corner fabric. The corners of the paper were then cut off and the papers fit checked before gluing. The paper was then glued and placed carefully at spine overlap, then smoothed down to the corners. The assemble was then flipped, inside up, and the head tail and foredge of the paper trimmed to 20mm and turned in. The assembled cover was then pressed.
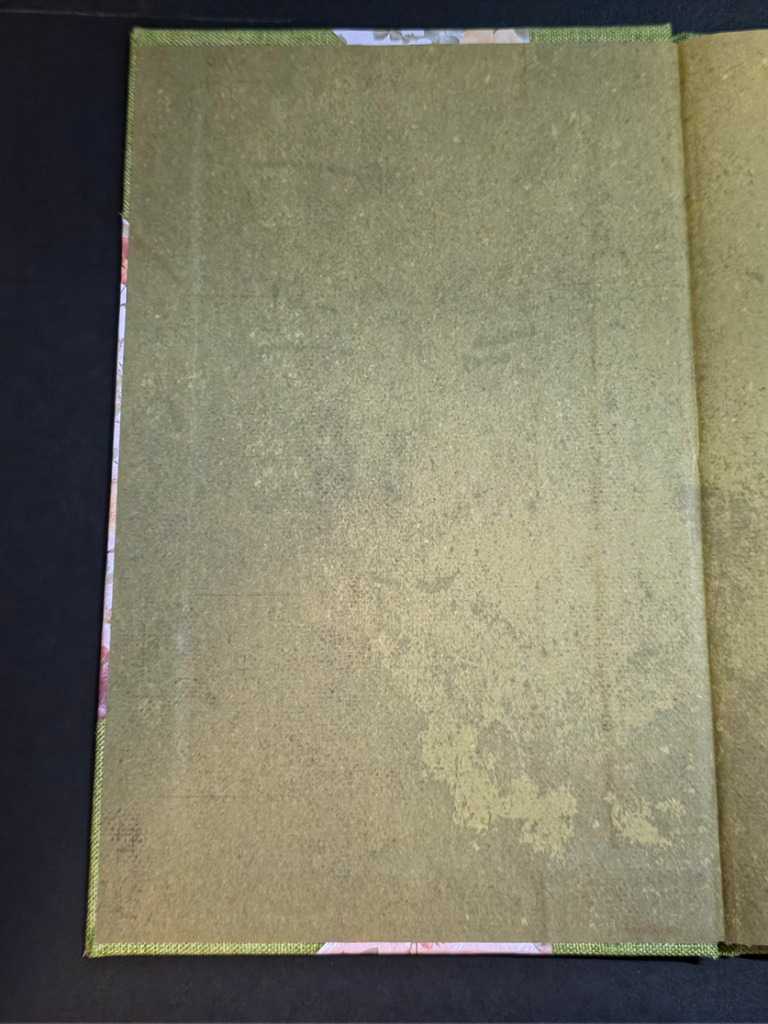
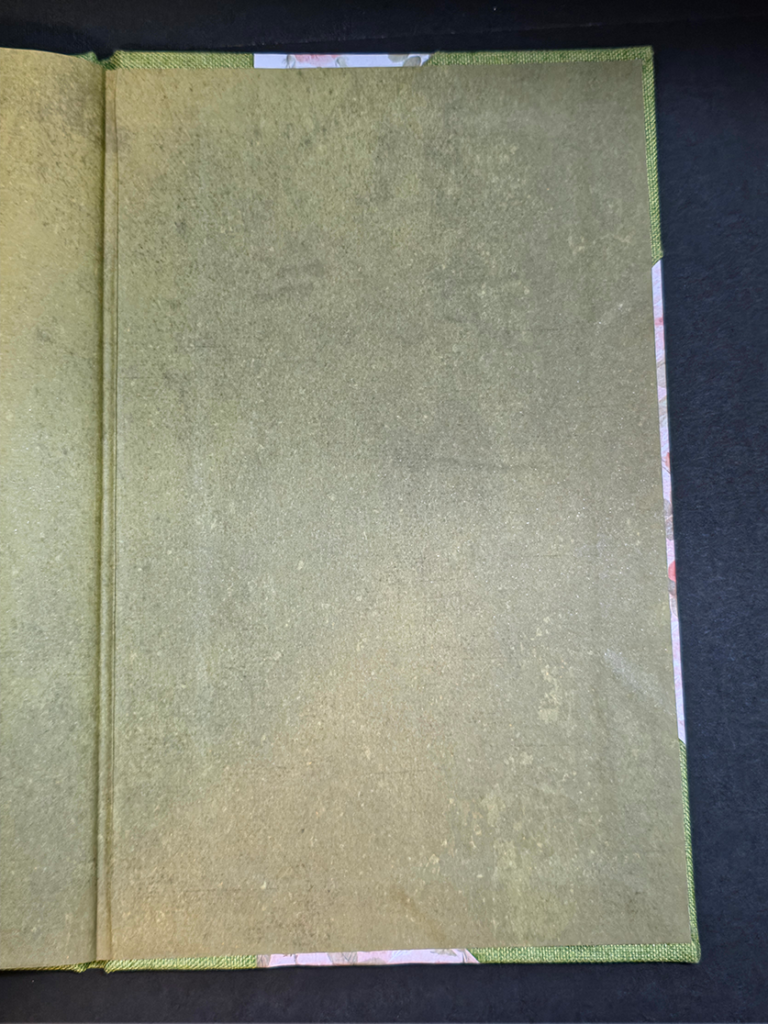
The three text blocks were pared to their covers and cased in one at a time using the same process. The text block was set down, back of the block to the inside of the back cover, and placed with even squares, approximately 3mm. The front cover was laid over the front of the text block, and the squares checked again, also looking for alignment of the head, tail, and foredge of the front of the cover to the back. The spine was set up against the spine of the case. When everything is aligned, a waste sheet is placed in the fold of the endpaper to protect the text block side of the endpaper and text block, the endpaper facing the cover is then pasted, starting at the spine holding the cotton fabric away from the paper. Once the past extended beyond where the cotton lay, the cotton was smoothed down into the paste on the paper and additional paste put onto the cotton evenly. The rest of the endpaper is then pasted, the waste sheet removed, and the cover carefully closed. After checking the alignment and squares, the assembly is turned over, and the pasting process is repeated to paste the back endpaper to the back cover. This entire process is repeated for each book.
Analysis
Book 1: Quarter Binding
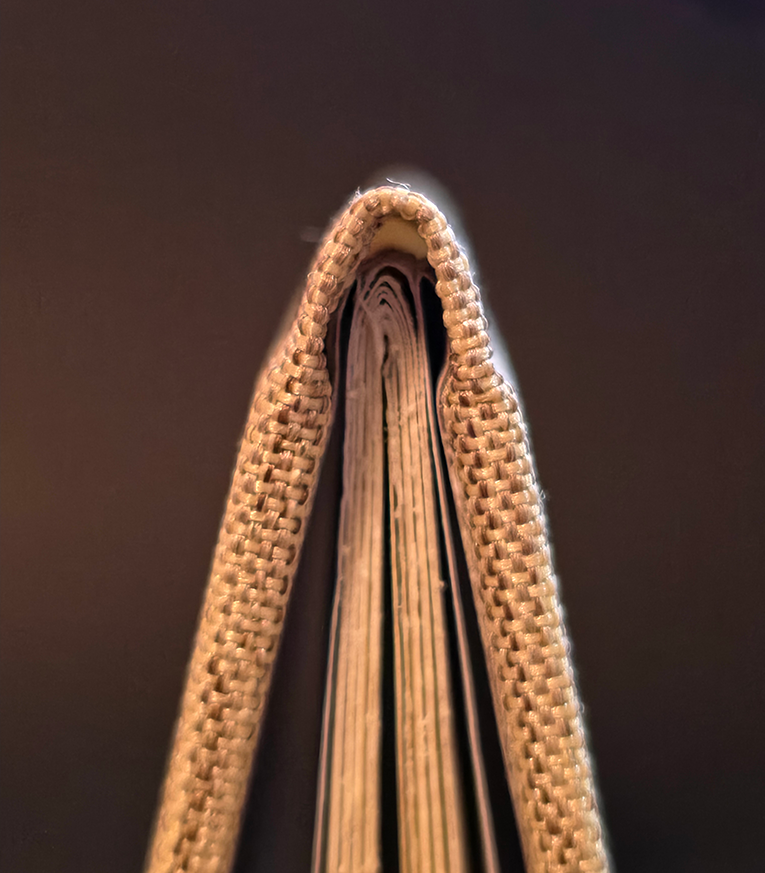
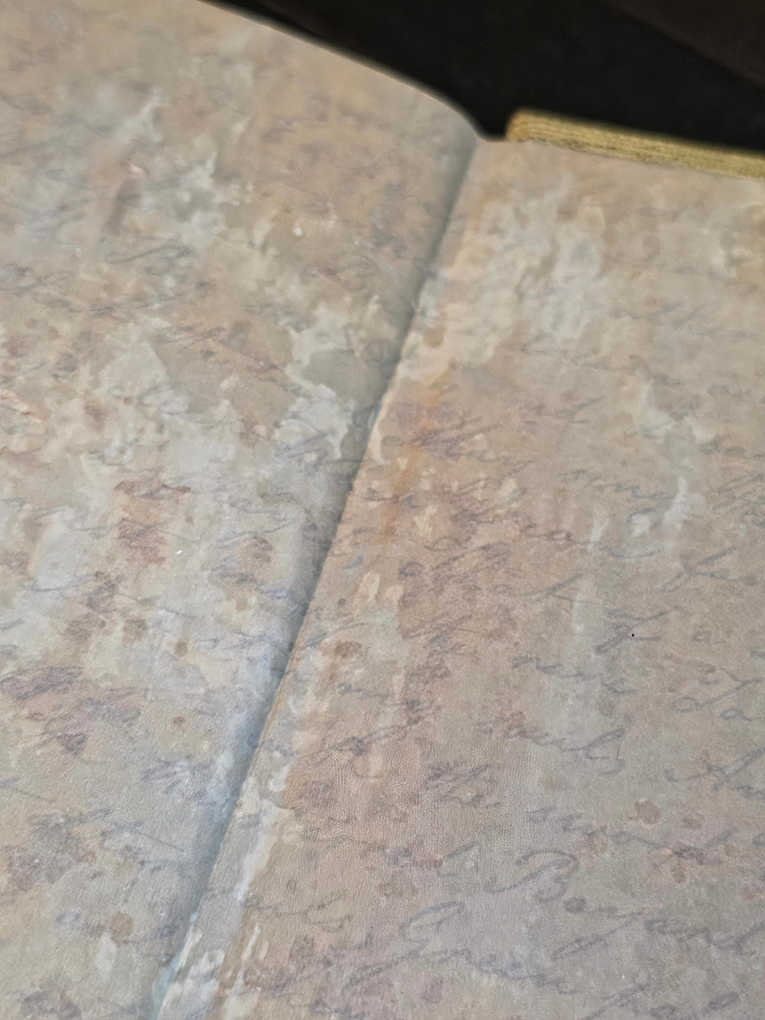
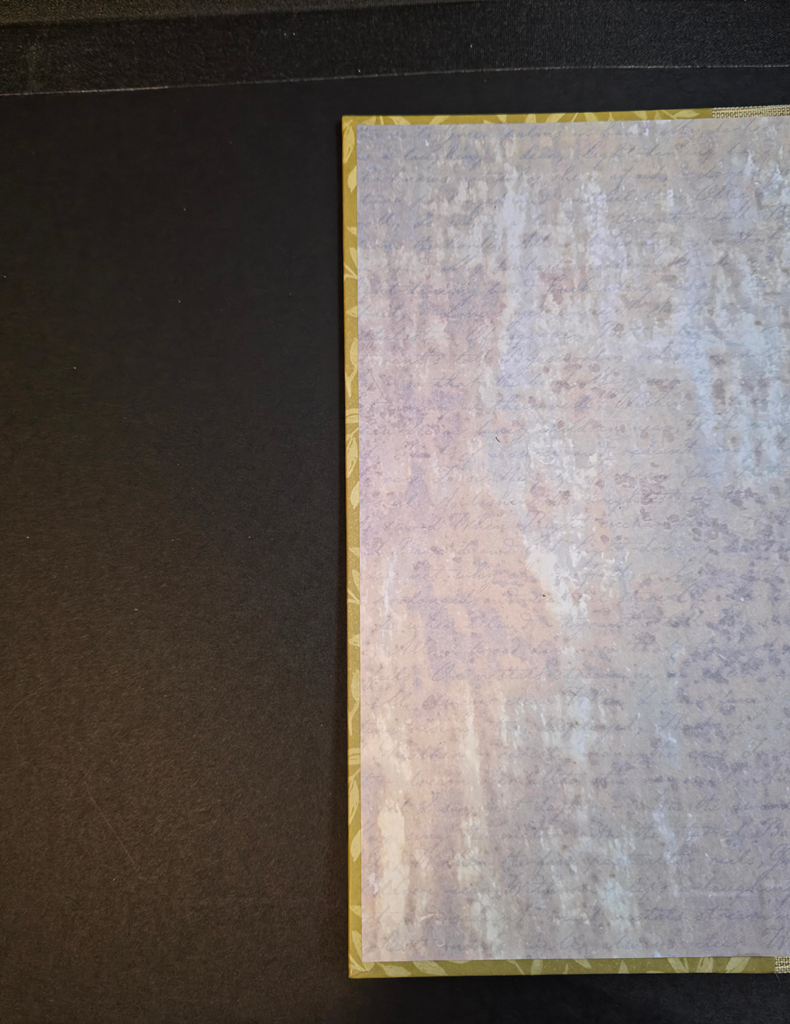
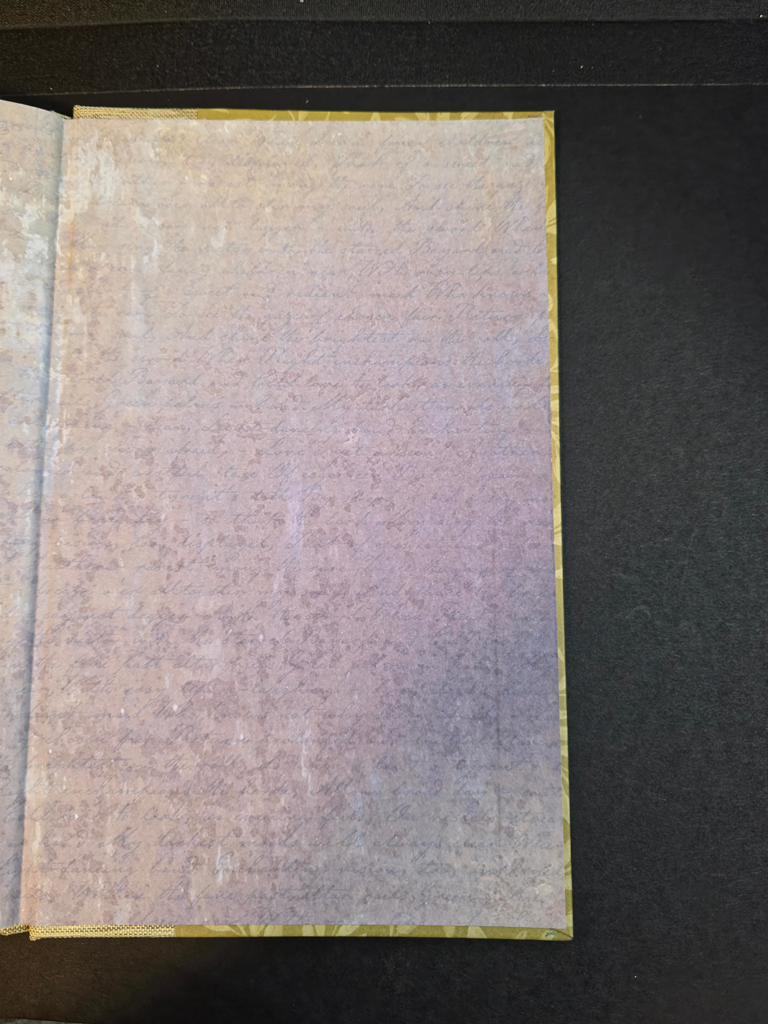
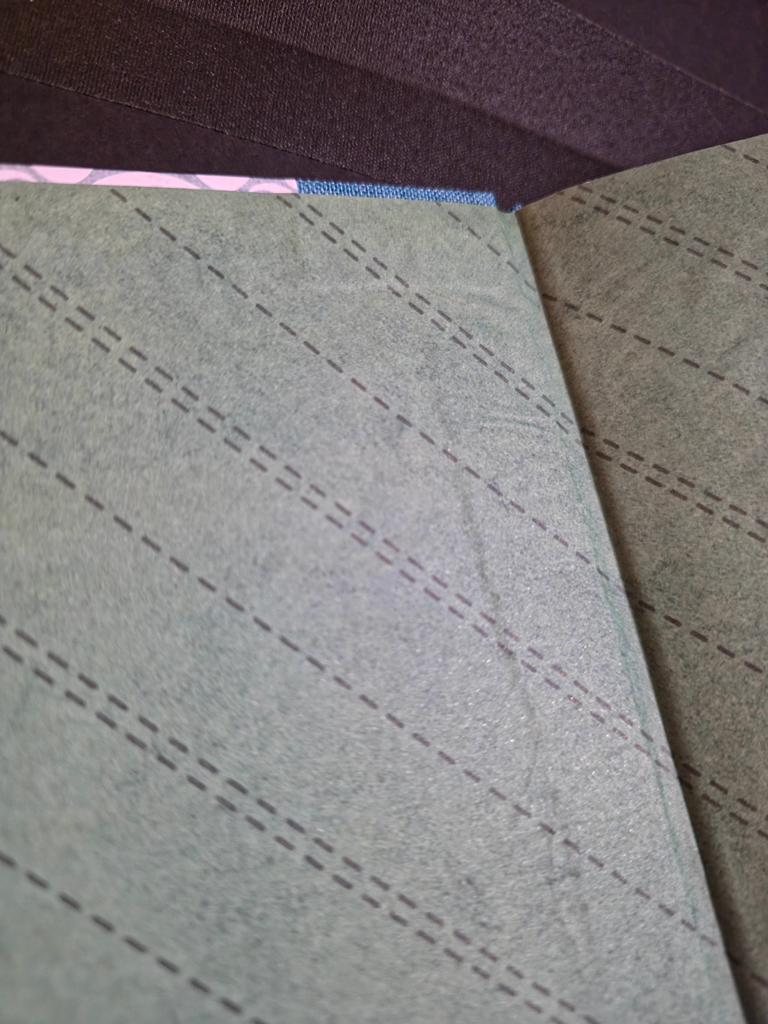
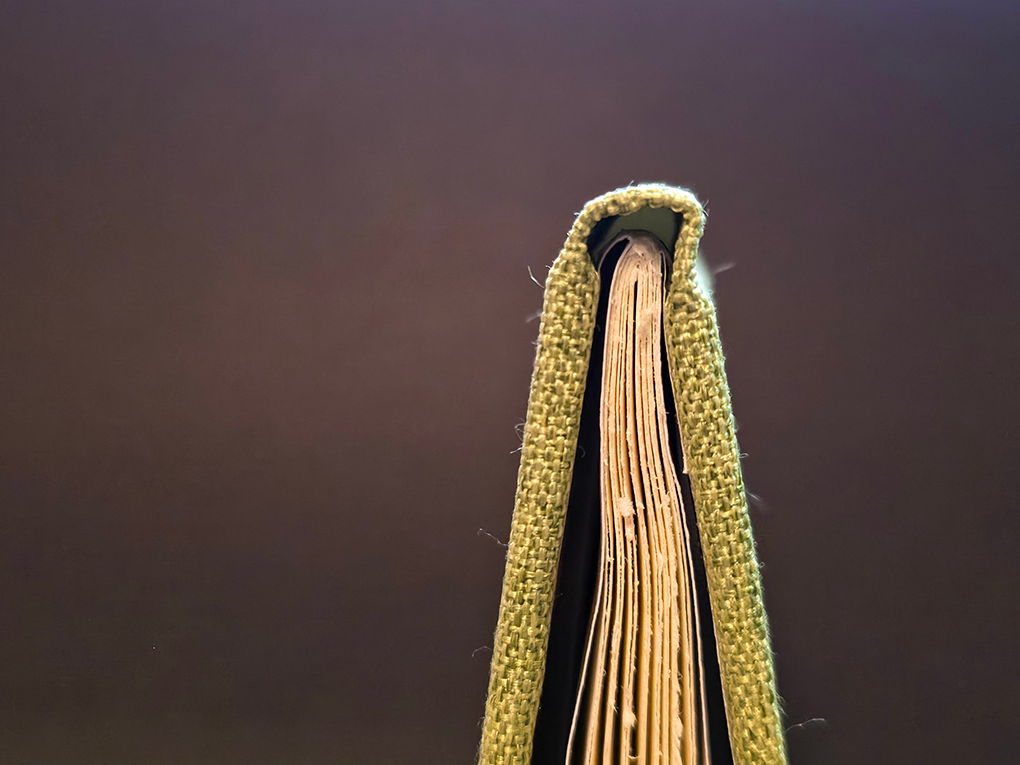
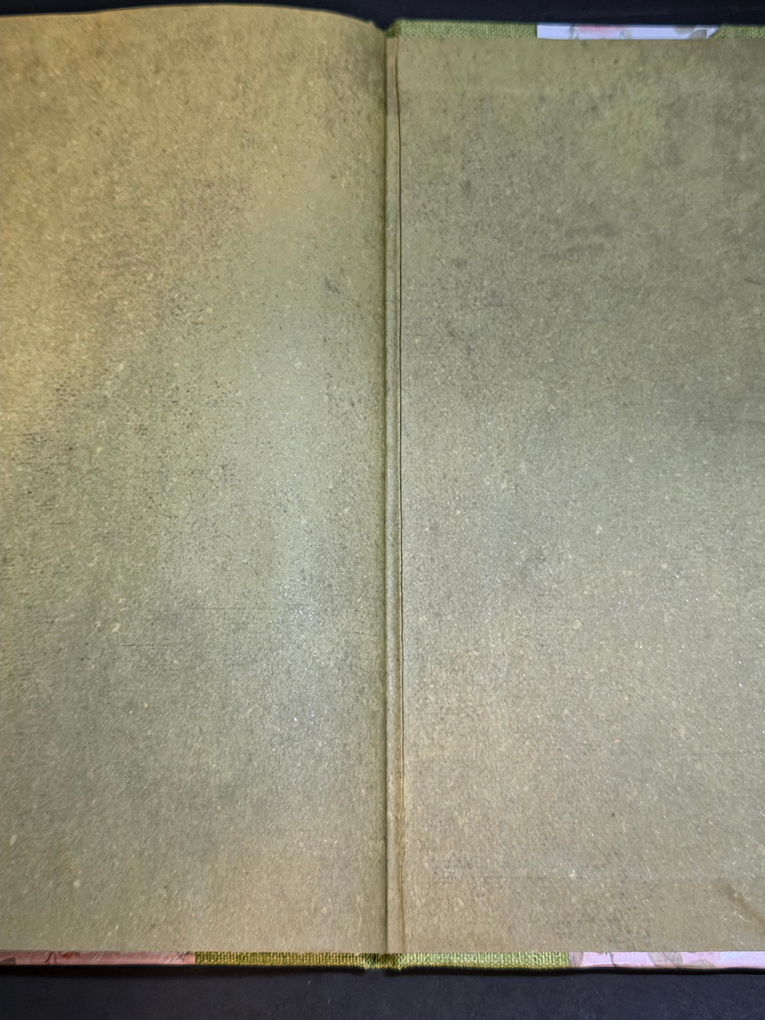
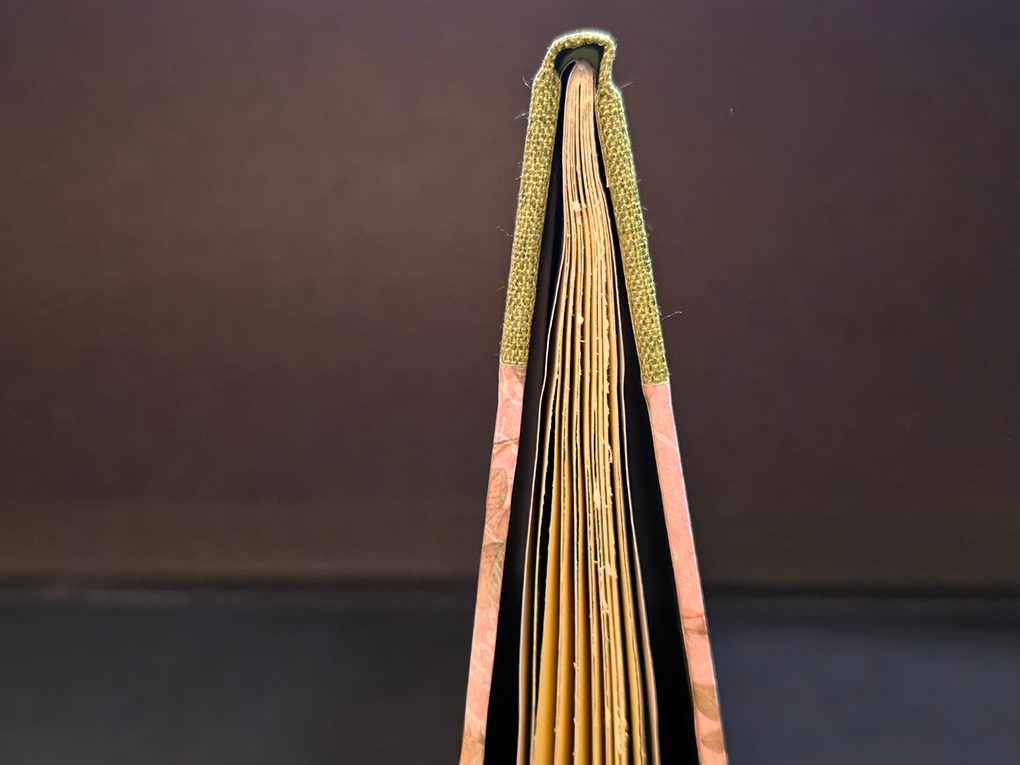
Due to the quality of the book cloth, and having only glued one side of the spine at a time, the book cloth deformed slightly which resulted in a slight curve in the alignment lines before the boards could be set down. this resulted in a slight deformation to the spine. Also due to the thinness of the book cloth, it creased easily which produced some visible crease lines in the spine. The cover papers, being thinner than optimal had a tendency to stretch if pulled on, or bunch if shifted. With care, the cover papers did go on smoothly. The end papers, also thin, easily bunched up. This is more evident in the front cover hinge than the back. With casing in, the text block did not seat as deeply as it should have into the spine. The text block also shifted slightly in position when the back cover was closed . The front cover has nice even squares. This text block was the only one that had a moisture barrier in the fold of the endpapers when pressing. This prevented cockling of the text block.
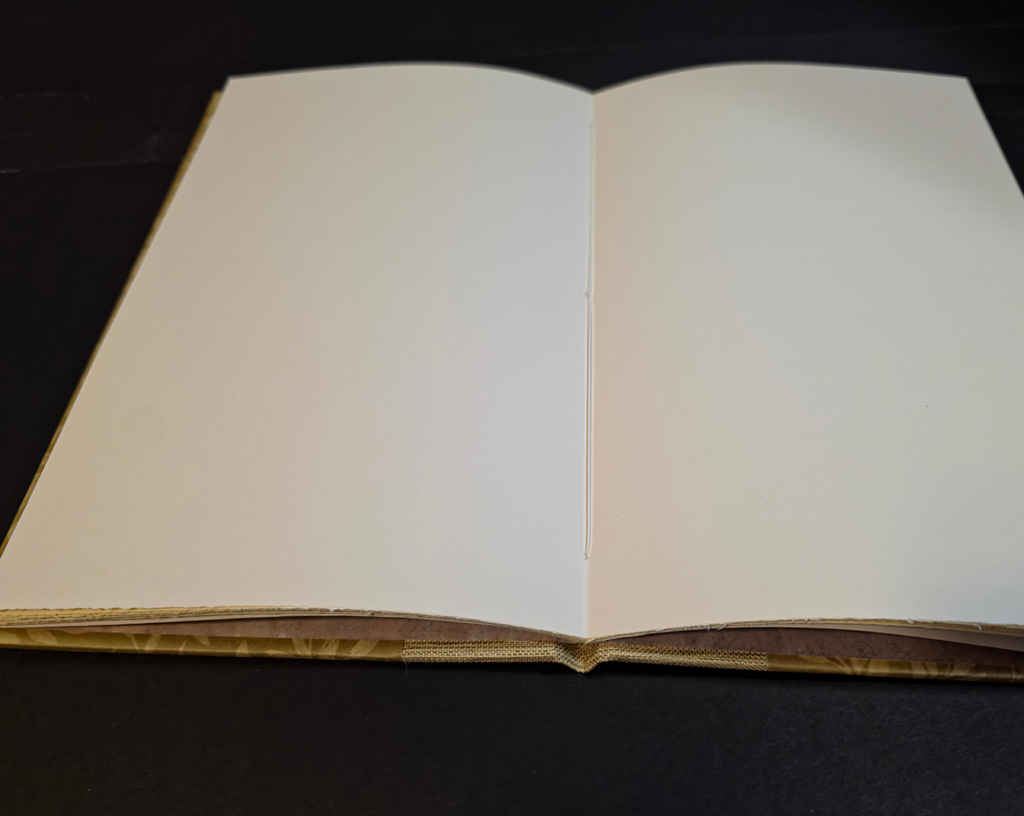
Book 2: Half Binding – Foredge
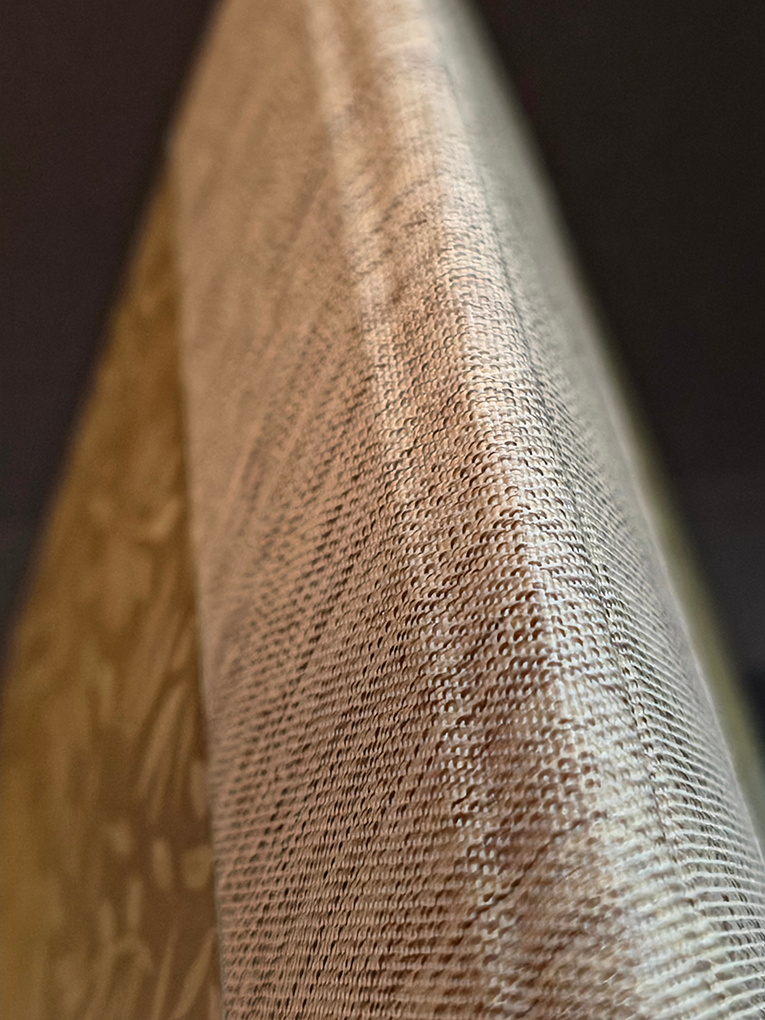
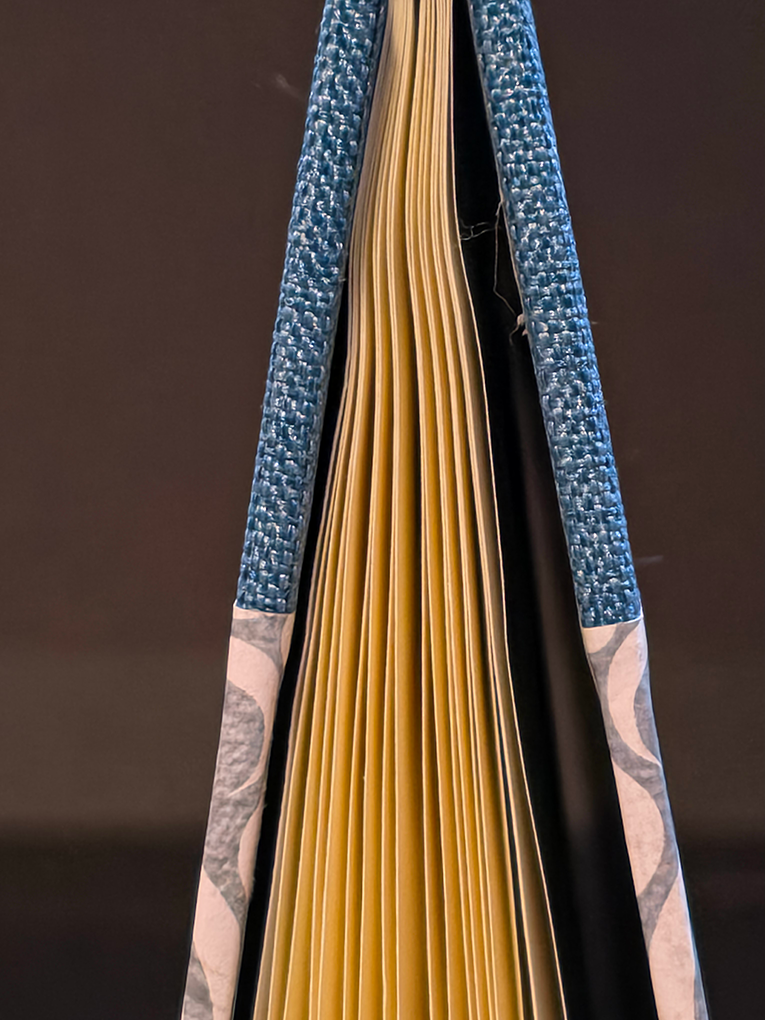
This is likely the best of the three bindings. The text block is seated to the back of the spine, the hinges are clean front and back, and the squares are even front and back. The book cloth did deform slightly and a curve in the fabric grain is visible in the foredges. A smaller pattern in the cover paper would probably look nicer, but the front and back match in positioning so it is uniform. There is a small bit of bunching on the back endpaper at the spine. Because of the thinness of the endpapers, the book cloth, cover paper, and hinge reinforcement fabric do stand out a little stronger than usual. The text block is slightly cockled because a moisture barrier was not placed in the endpaper fold when pressed.
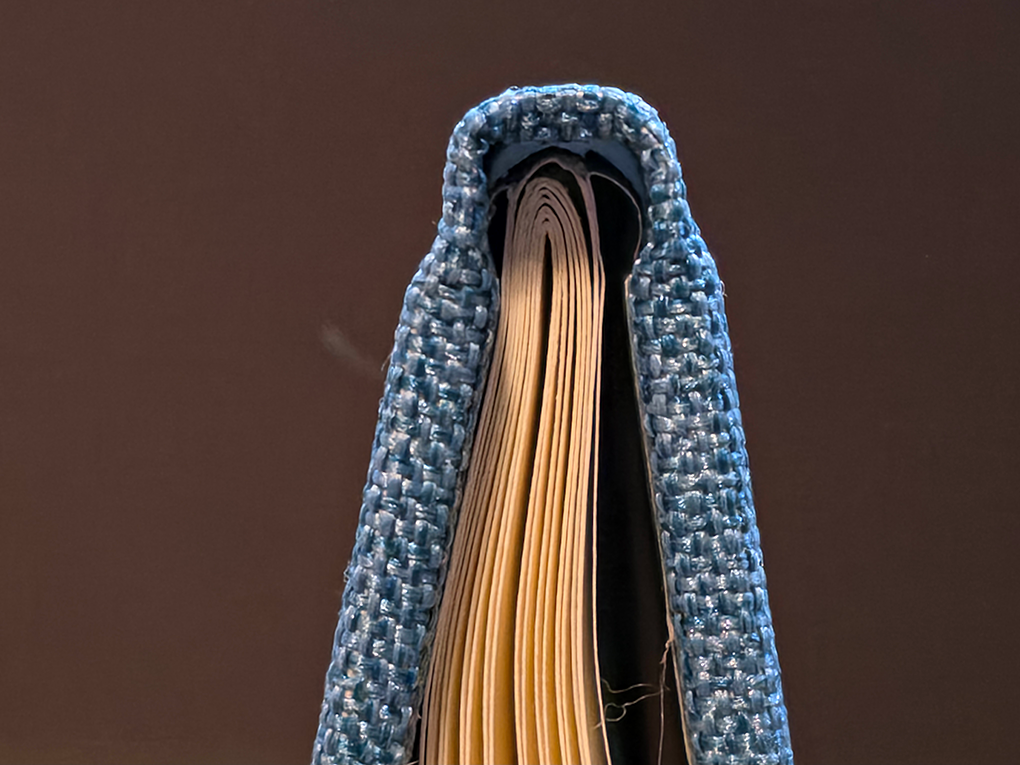
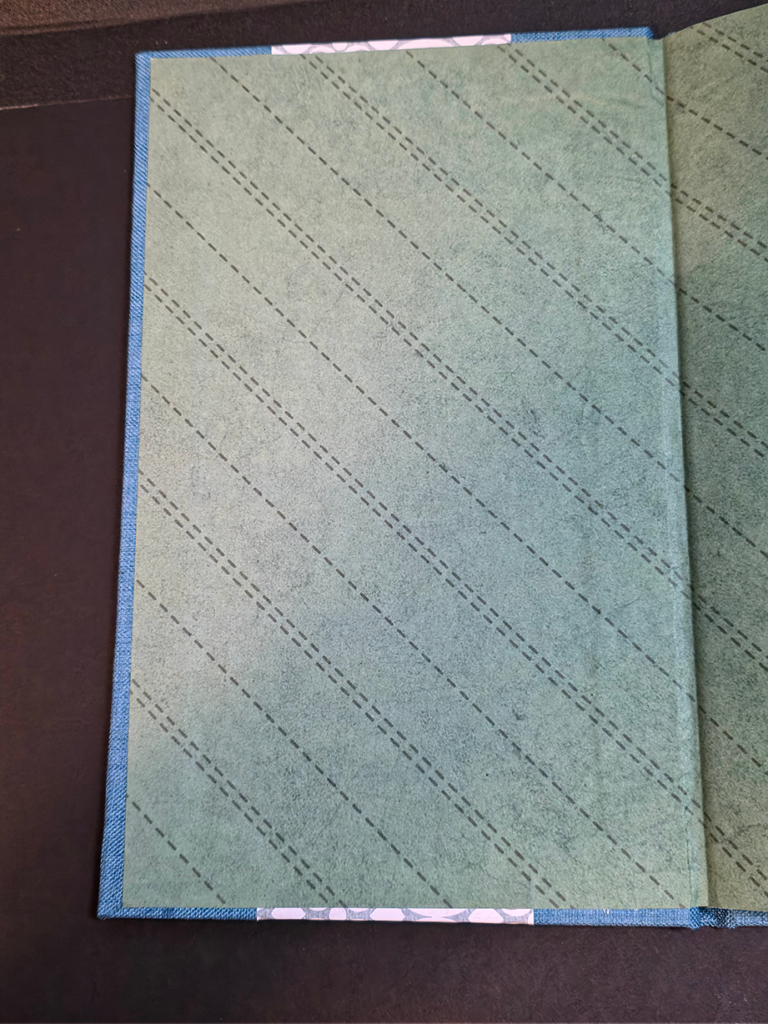
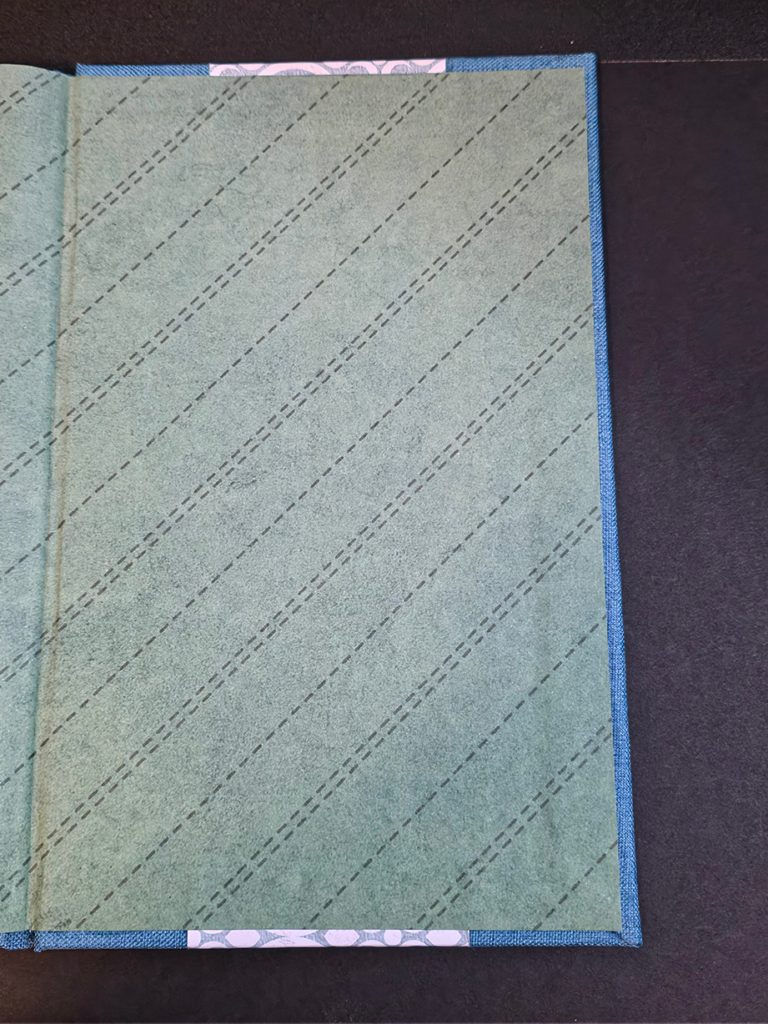
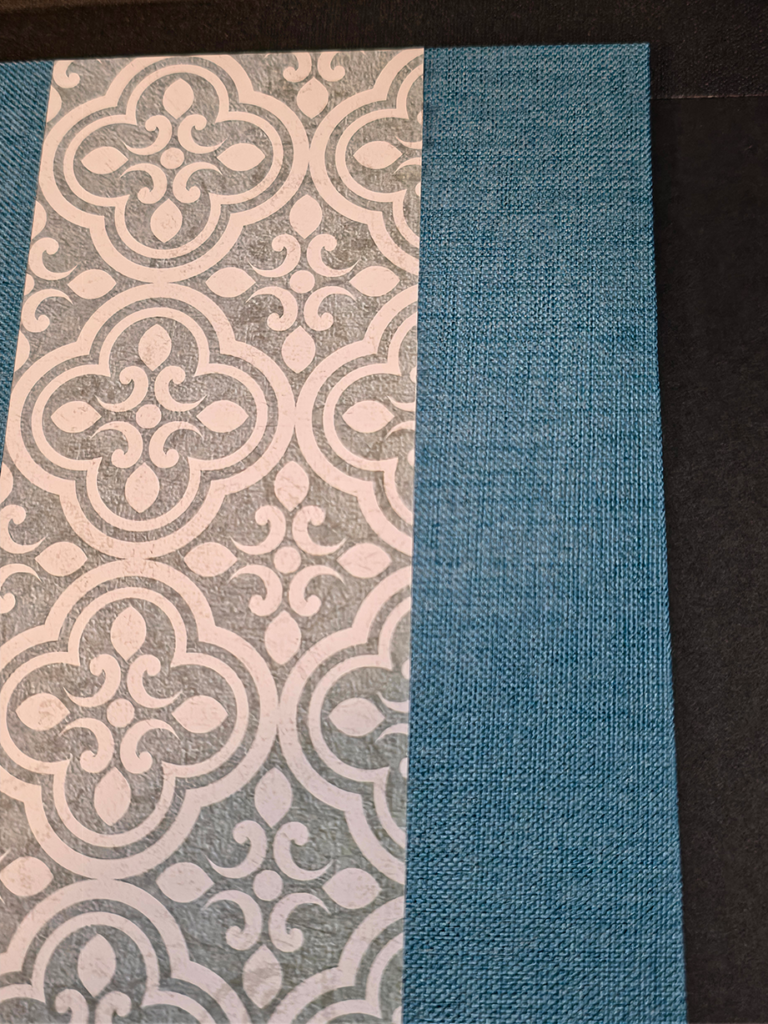
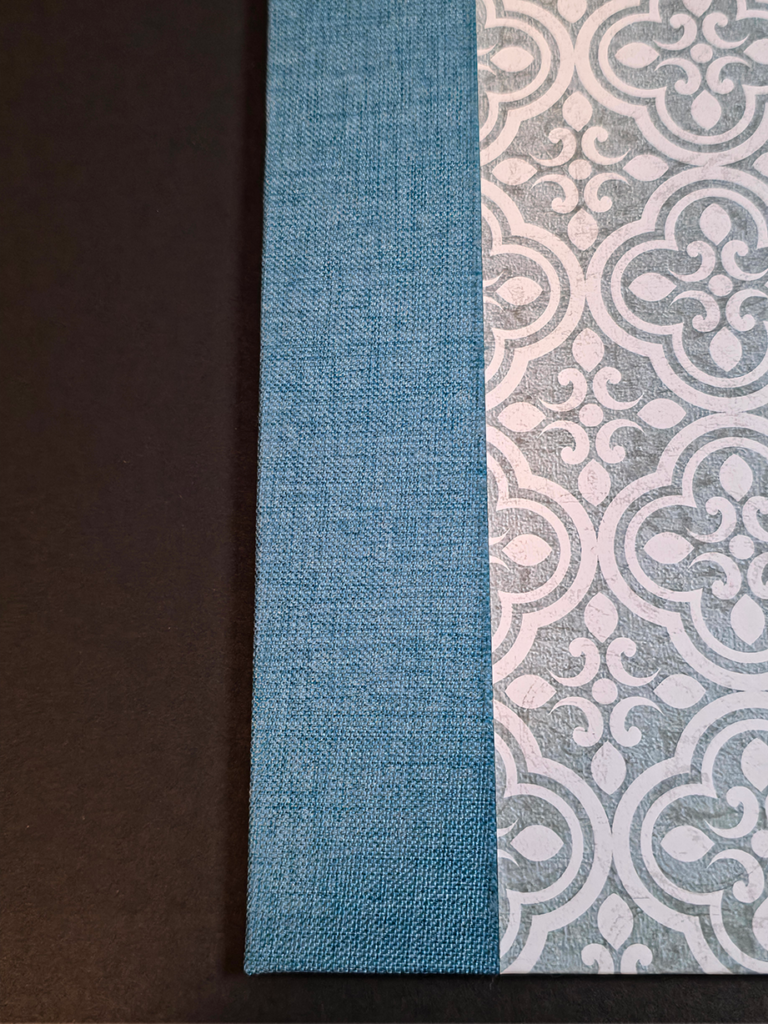
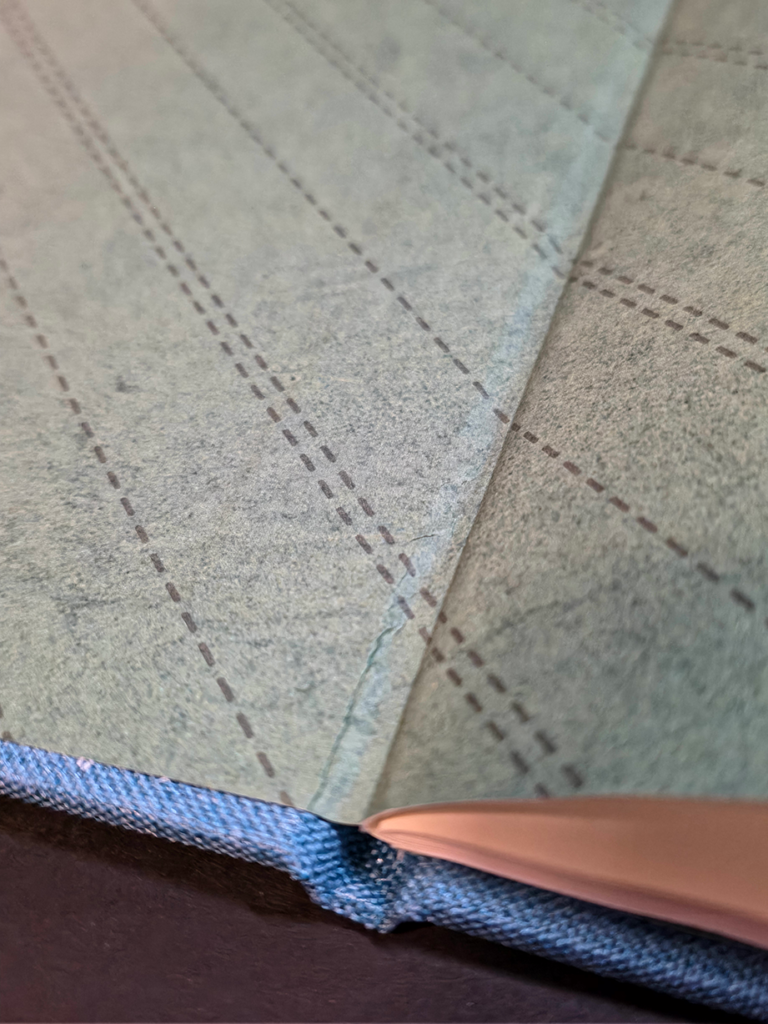
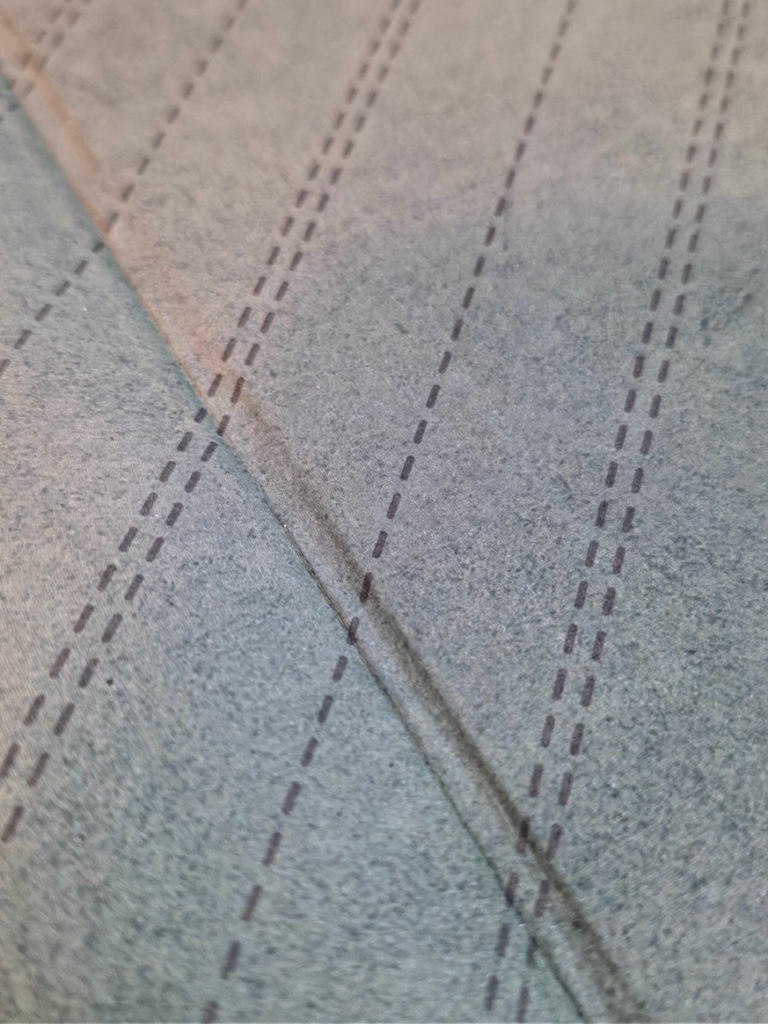
Book 3: Half Binding – Corners
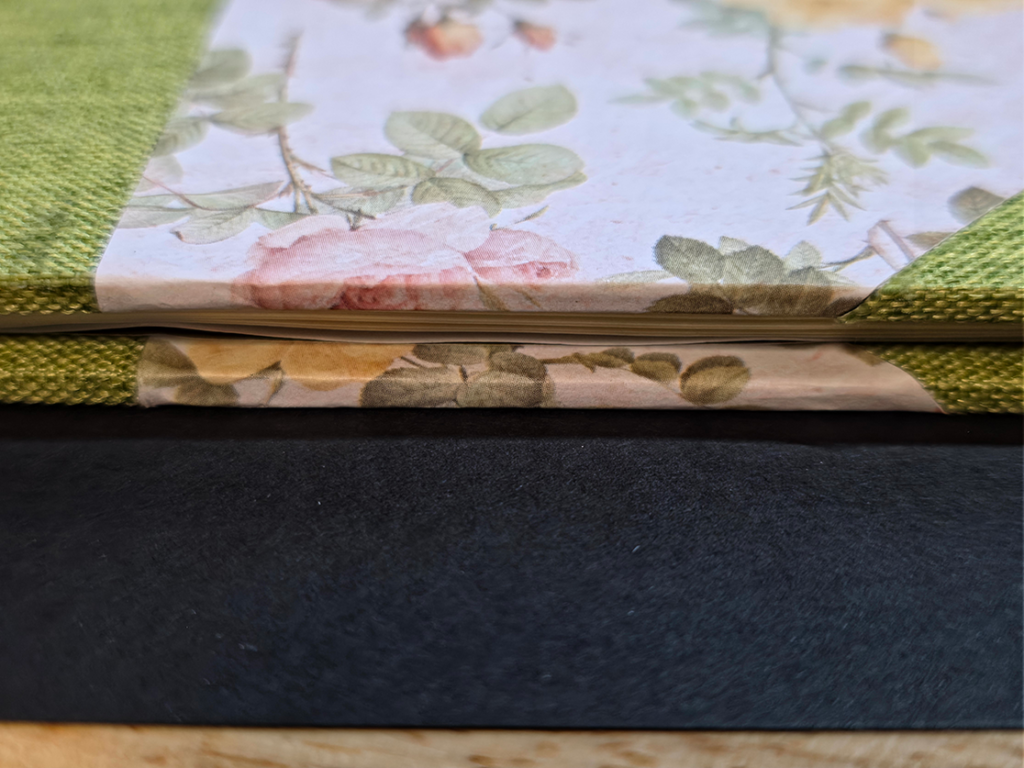
The cover looks good. The book cloth grain is mostly straight and matches across the spine and corners, front and back. The cover paper is clean and tight on the spine front and back, and the front corners. The head end back corner paper is cut a hair off and doesn’t quite overlap the entire corner. The outer edges fall right at the edge of the book cloth. The text block did not stay in place when cased in. It shifted head to tail and spine to foredge on the front cover and the back cover is also head to tail and spine to foredge but skewed slightly in both. The skew appears to be due to some bunching at the hinge, more at the head than tail. Like book 2, the text block is cockled.
Conclusion
Over all, the three projects turned out fair. Each binding has its flaws and there were a few process lessons learned. The books are functional, and if not looked at too closely, most of the defects might be overlooked. The biggest issue with the materials is common across all of them, they are too thin. The book cloth easily shifted if pulled even slightly, as did the paper. The cover paper and endpapers were from the same 12″ x 12″ scrapbooking pad. These papers are not appropriate for this application. As for processes, trying to assembly-line covers is a bad idea, at least for me, and at this time. It is far too easy to make measuring mistakes, mixing grain directions, and getting careless. A slower, careful pace makes precision more likely. There was only one instance when not all of the materials was ready for use but this did cause some frustration and a need to redo something.
The biggest takeaways from this exercise are: use the best materials you can get your hands on, walk through the operation “dry” before committing to actually doing it, and take your time working through each process.
Sources
Abbott, Kathy. Bookbinding: A Step-By-Step Guide. The Crowood Press, 2010. 30-41.