Single-Section, Hard-Back Binding

Project Parameters

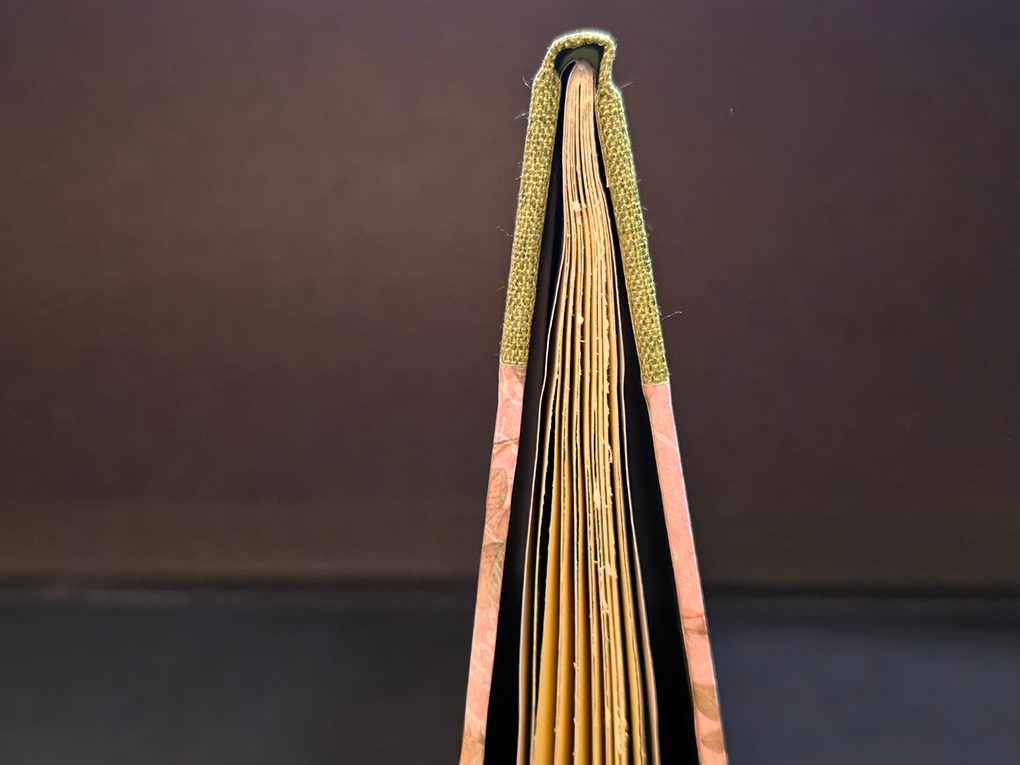
This second project from Abbott’s Bookbinding: A Step-By-Step Guide takes the pamphlet stitched text block and cases it in a hard cover. The project utilizes the quarter binding and both the foredge and corner variations of the half binding producing 3 hard bound volumes. The brief calls for 4 to 6 folios of 80-130gsm text paper and two sheets of 100-130gsm colored paper for endpapers. It builds on the previous pamphlet stitched project by adding tipping on the endpapers and reinforcing the spine of the text block with Fraynot, the construction of the hard cover using 1.5-2.0mm millboard, book cloth, and 100-130gsm decorative paper with PVA, and casing in the text block to the cover with paste.

Execution

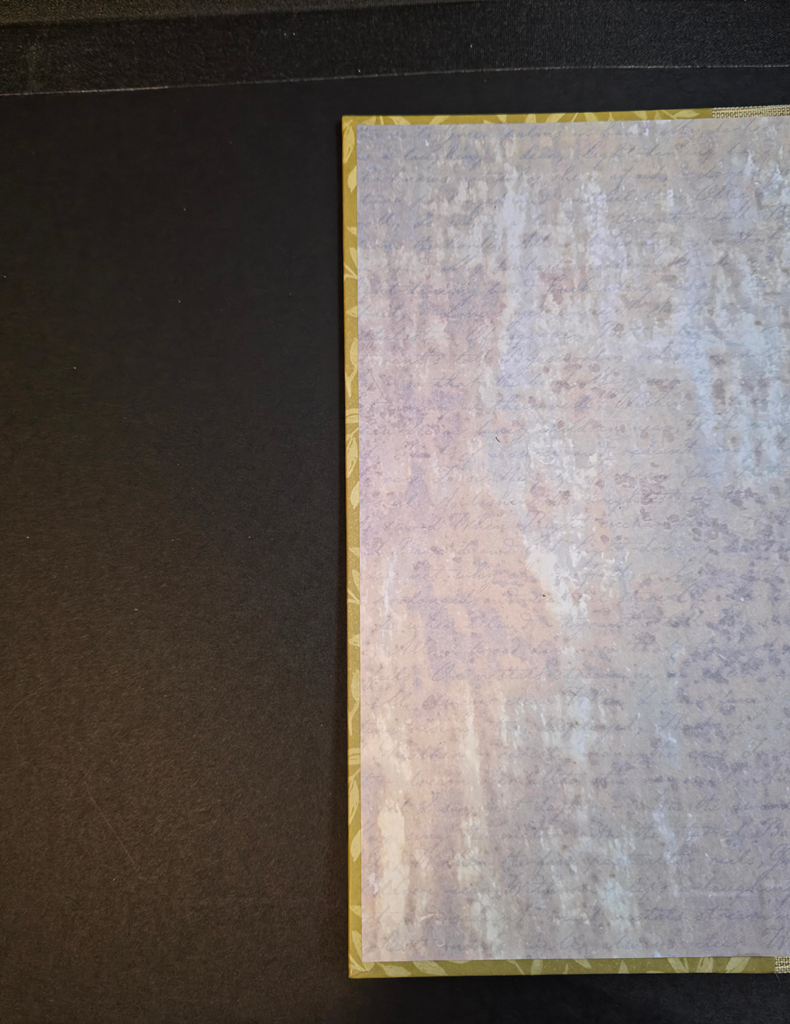
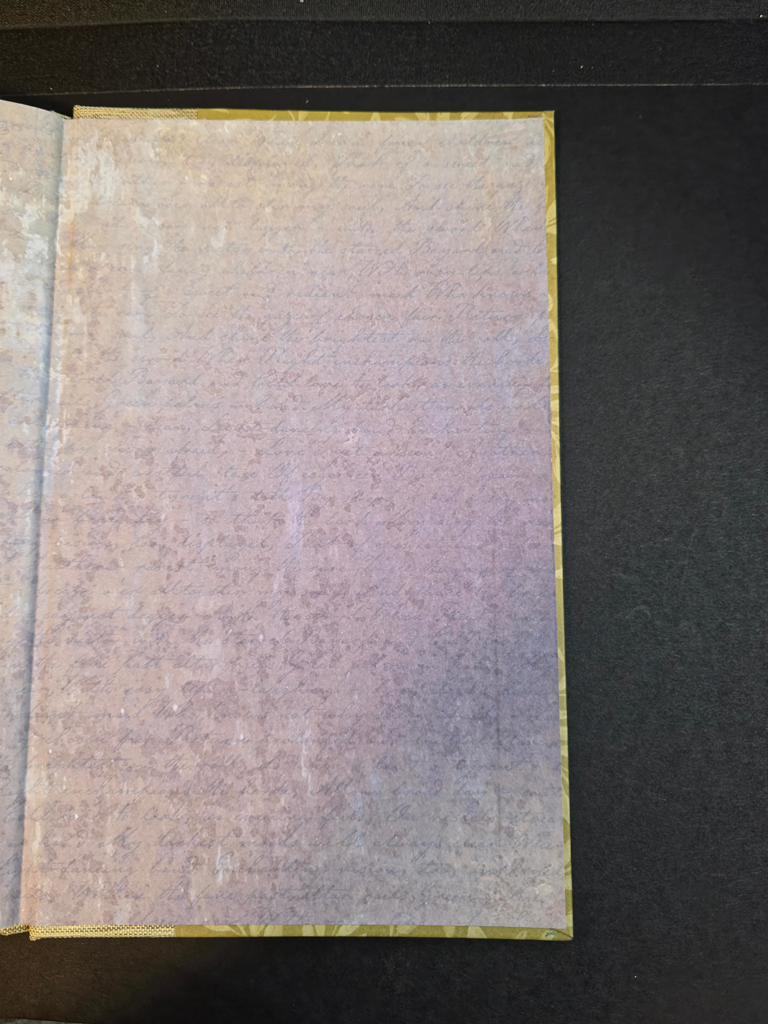
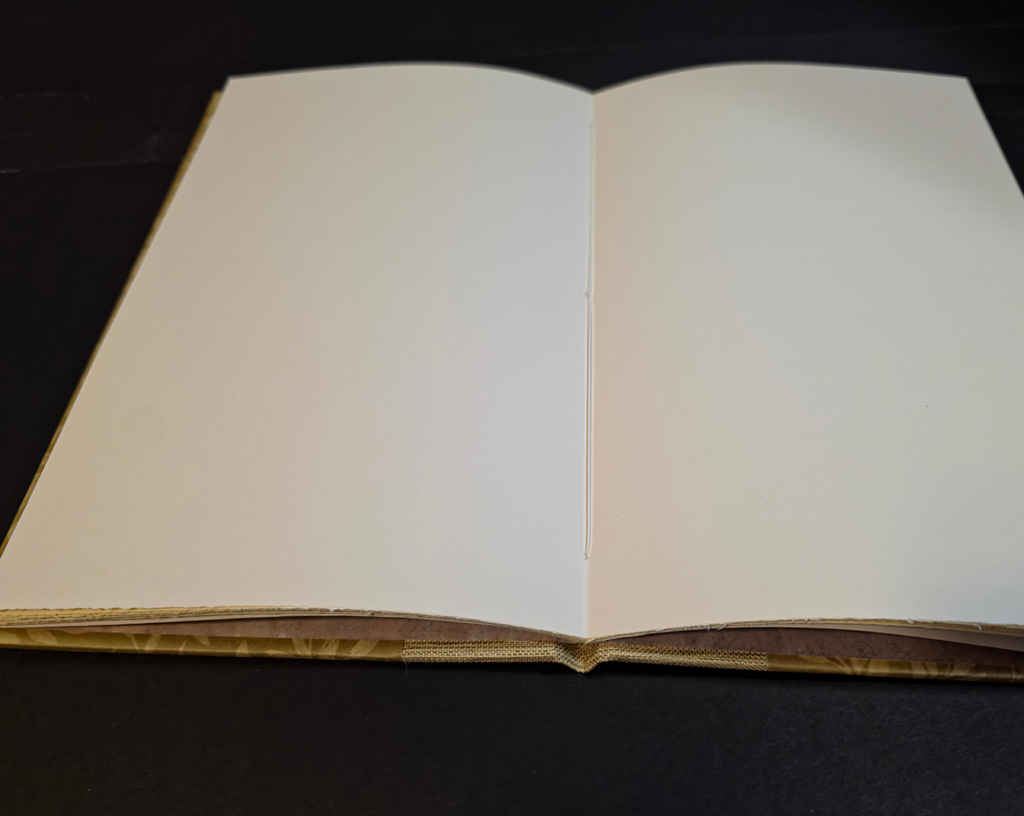
My interpretation of this project’s intent was to build on the  skills from the previous project adding spine reinforcement and a cased cover. It provides the opportunity to work with three common cover forms, the quarter cover, and half cover in both foredge and corner variations. At this point I had received some of the paper ordered and was able to make the textblock from a quality 80gsm laid linen paper. The text blocks were made from 4 sheets (8 folios) of 11″ x 17″ paper. The board used is a low cost/quality common 1.5mm grayboard. Fraynot wasn’t reasonably available so a light weight, loose weave (not as loose as scrip) cotton fabric was used. The book cloth is a low cost/quality thin cloth. And the endpapers and cover paper are 90gsm printed scrapbooking paper. The PVA is an archival neutral PH, and the past is Nori cornstarch paste.

All three text blocks were folded, cut, and sewn at the same time and pressed. The endpapers were all folded and tipped onto the text blocks and pressed. The casing boards and cloth were cut at the same time. Cover papers were cut last as needed. Each case was assembled individually in order.
Book 1 – Quarter Binding

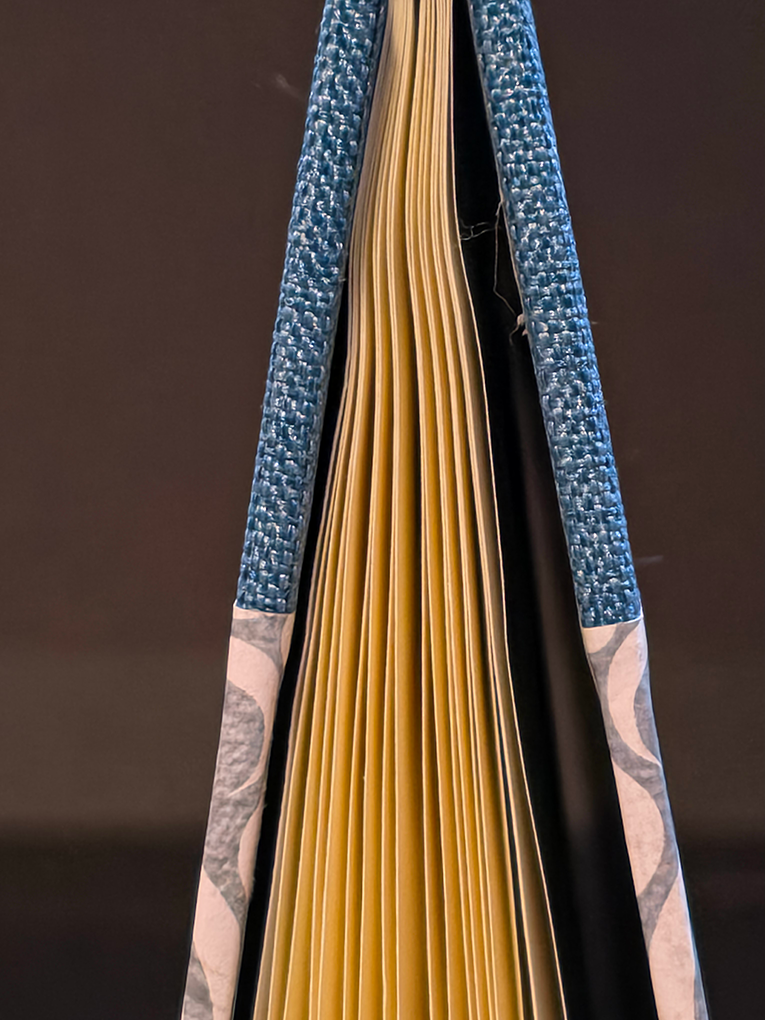
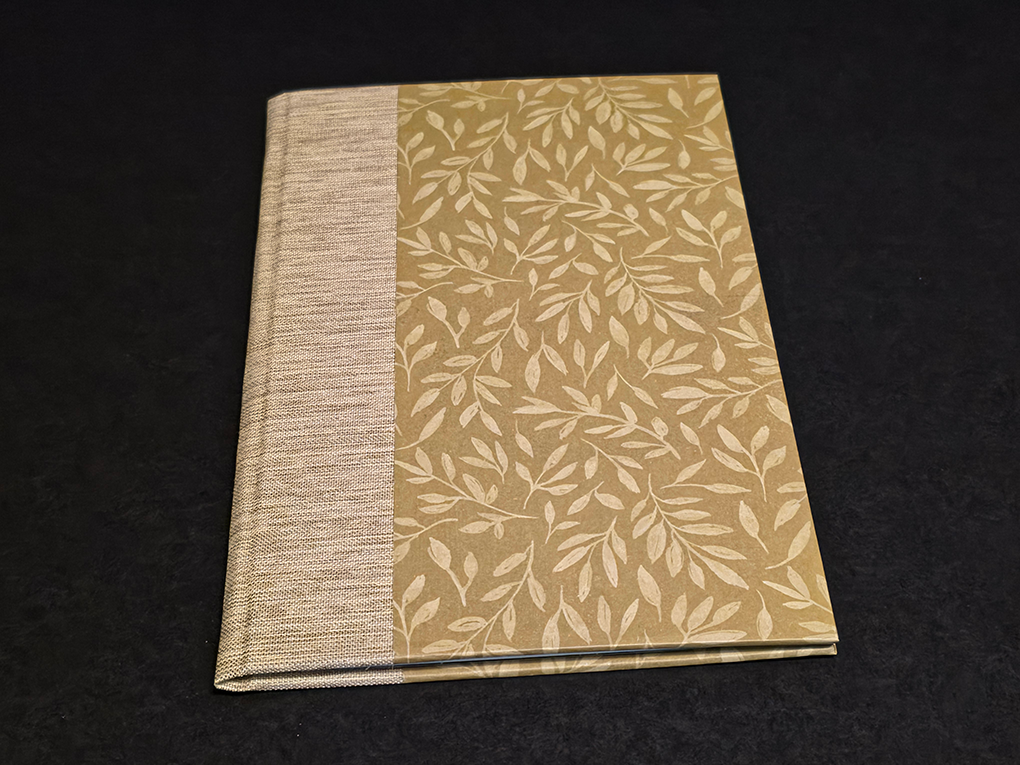
Book 1 (quarter binding): The spine fabric was measured and marked with board edges and the spine allowance of 35mm. The boards were glued to the spine fabric, inside up, and trimmed to 20mm, and turned in. The assembly was flipped over, outside up. The papers were not cut until after they were glued to the board’s outsides with a 1mm overlap, once glued the assembly was flipped over, inside’s up. The papers were trimmed to 20mm from head, tail, and foredge. The corners were clipped to 3mm before turning in head, tail, and foredge in order. The assembled cover was then pressed.
Book 2 – Half Binding – Foredge

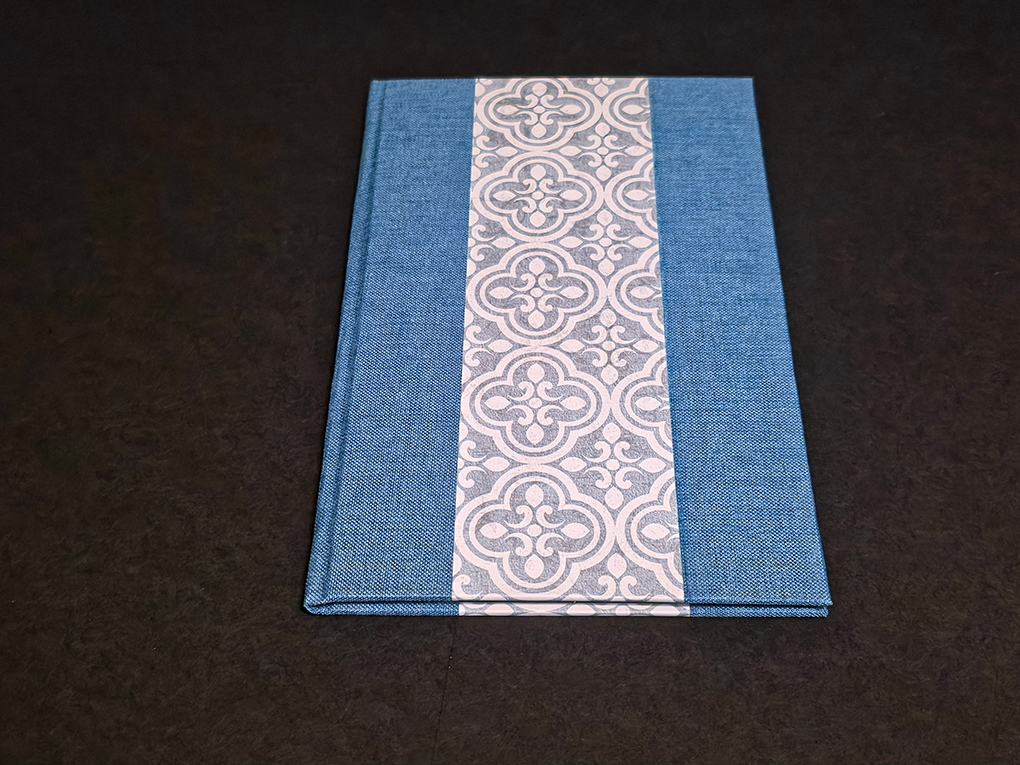
Book 2 (half binding – foredge): The spine fabric was prepared and glued the same as book 1, and the foredge was likewise prepared and glued to the boards with the inside up. The spine was trimmed to 20mm and turned in head and tail, then the foredges were trimmed to 20mm head, tail, and foredge, and the corners clipped to 3mm. The head, tail, and foredge were then turned in, in order. The assembly was flipped over, outside up. The fill papers were then cut to width before gluing to the board’s outsides. After gluing to the outside of the boards, overlapping the fabric 1mm, the assembly was flipped over, inside up, and the head and tail were trimmed to 20mm before turning in head and tail. The assembled cover was then pressed.
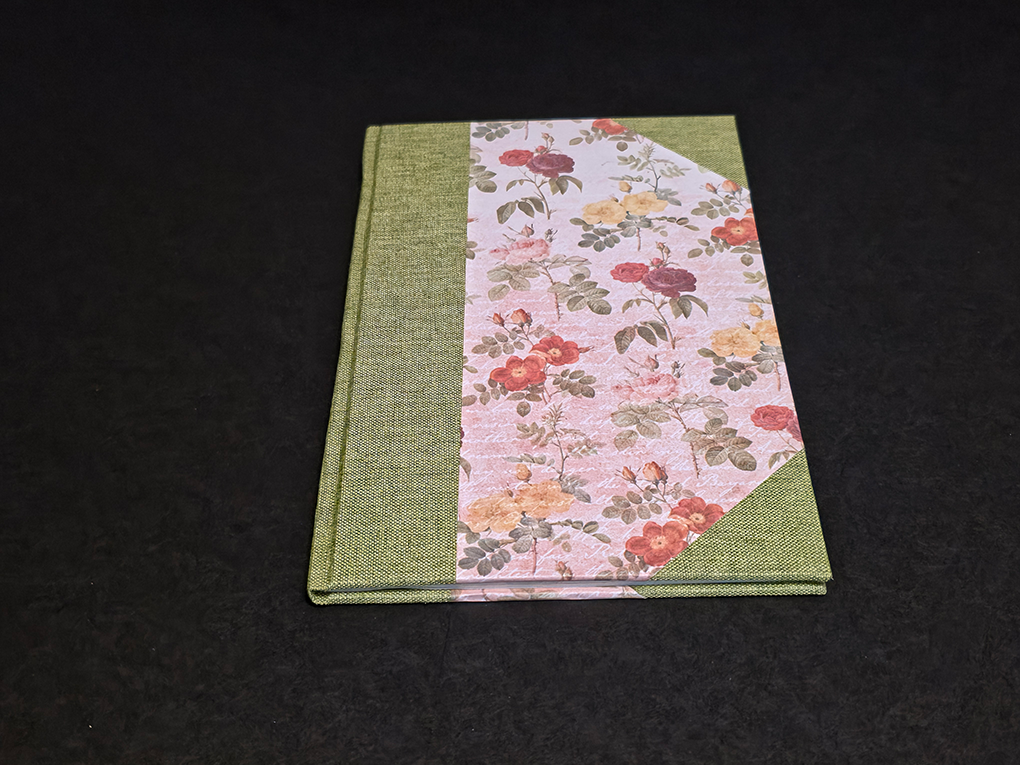
Book 3 – Half Binding – Corners

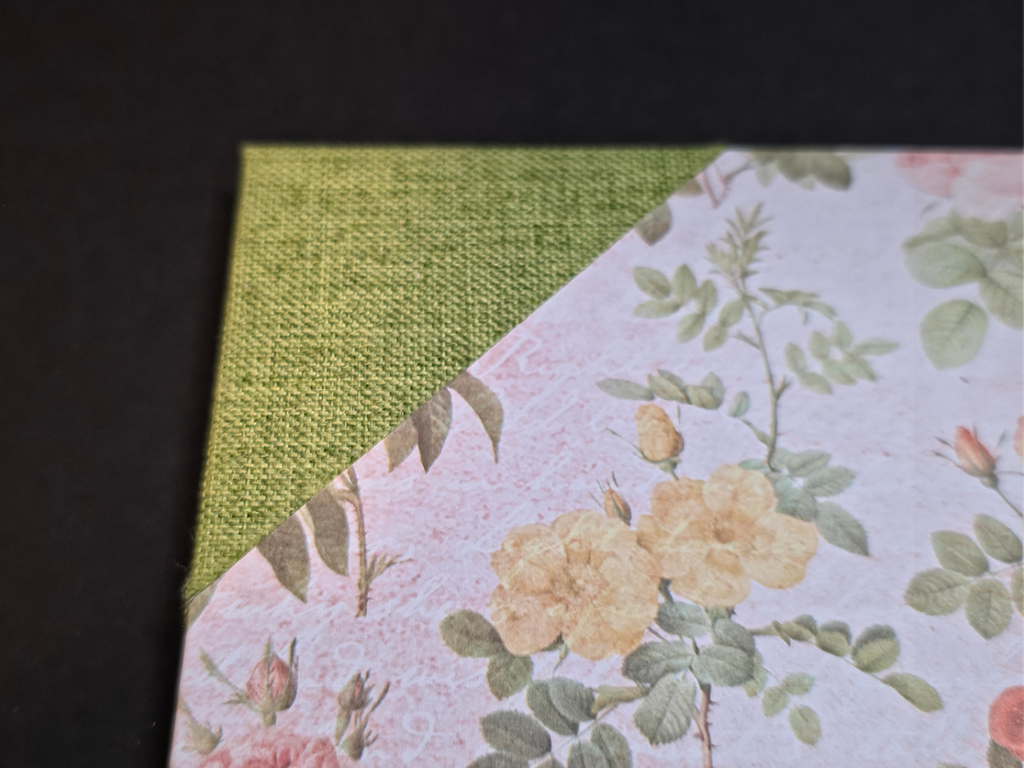
Book 3 (half binding – corner): The spine fabric was prepared and glued the same as book 1, and the corners were likewise prepared and glued to the boards with the inside up. The spine was trimmed to 20mm and turned in head and tail, then the corners were trimmed to 20mm head/tail, and foredge, and the corners clipped to 3mm. Each corner was then turned in, head/tail, and foredge. The assembly was flipped over, outside up. The fill papers were set down dry overlapping the spine fabric 1mm and weighted to prevent movement as the edges of the board were pressed into the paper creasing it. The corners were carefully turned up to crease the paper with a 1mm overlap of the corner fabric. The corners of the paper were then cut off and the papers fit checked before gluing. The paper was then glued and placed carefully at spine overlap, then smoothed down to the corners. The assemble was then flipped, inside up, and the head tail and foredge of the paper trimmed to 20mm and turned in. The assembled cover was then pressed.

The three text blocks were pared to their covers and cased in one at a time using the same process. The text block was set down, back of the block to the inside of the back cover, and placed with even squares, approximately 3mm. The front cover was laid over the front of the text block, and the squares checked again, also looking for alignment of the head, tail, and foredge of the front of the cover to the back. The spine was set up against the spine of the case. When everything is aligned, a waste sheet is placed in the fold of the endpaper to protect the text block side of the endpaper and text block, the endpaper facing the cover is then pasted, starting at the spine holding the cotton fabric away from the paper. Once the past extended beyond where the cotton lay, the cotton was smoothed down into the paste on the paper and additional paste put onto the cotton evenly. The rest of the endpaper is then pasted, the waste sheet removed, and the cover carefully closed. After checking the alignment and squares, the assembly is turned over, and the pasting process is repeated to paste the back endpaper to the back cover. This entire process is repeated for each book.

Analysis

Book 1: Quarter Binding

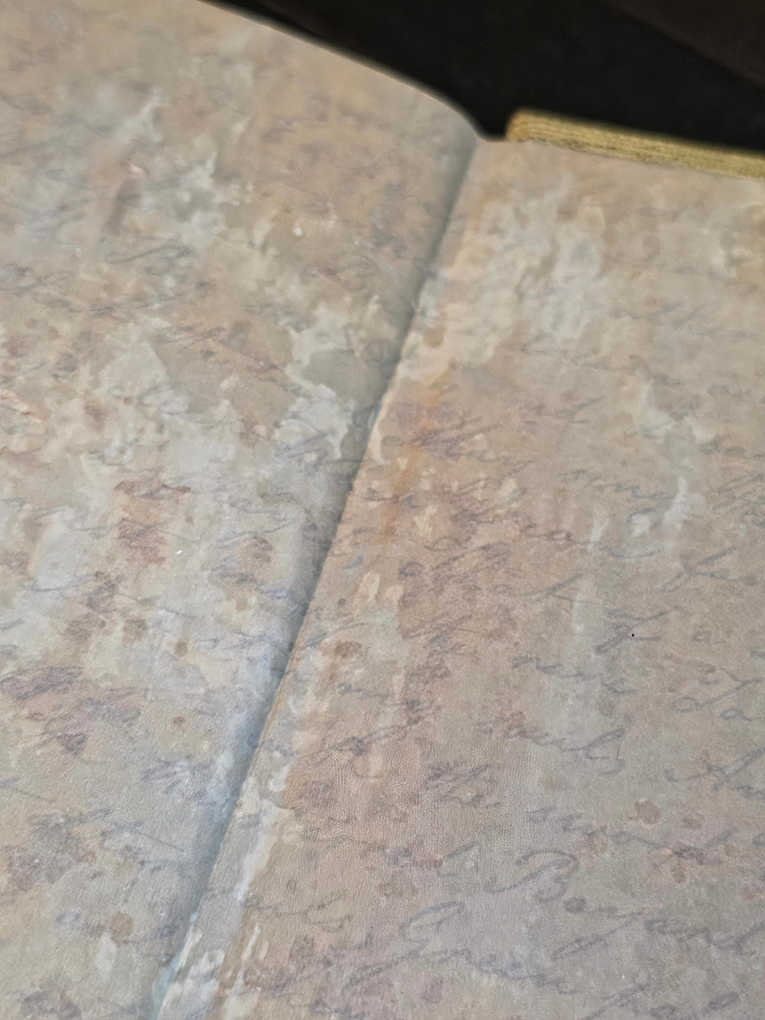
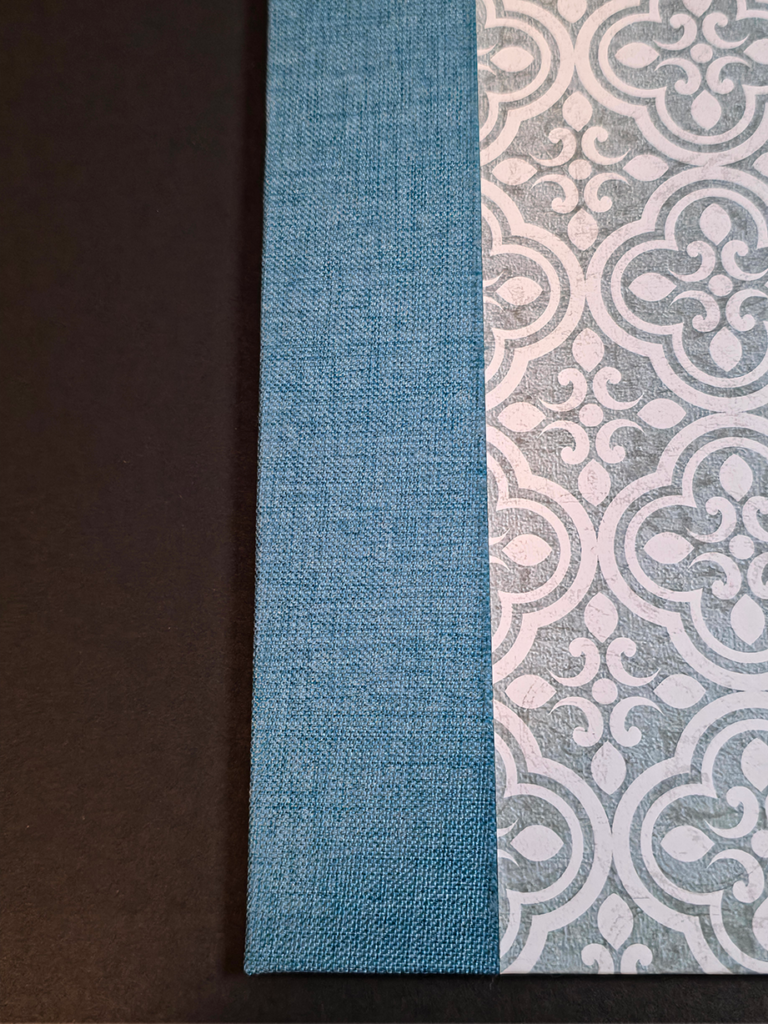
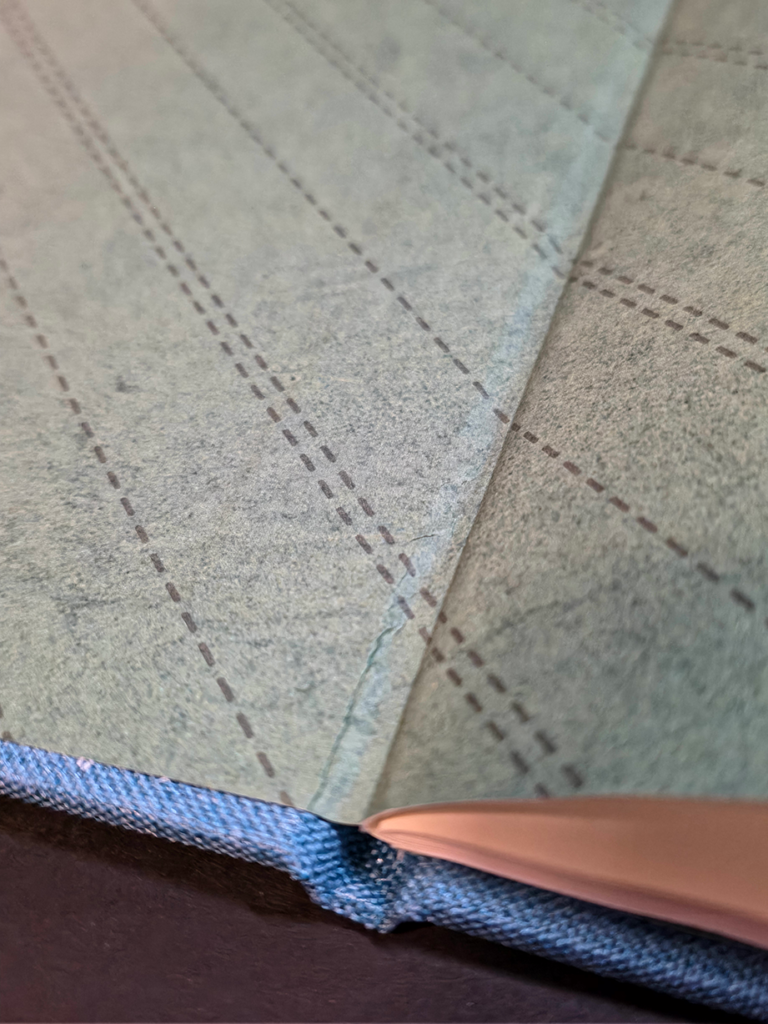
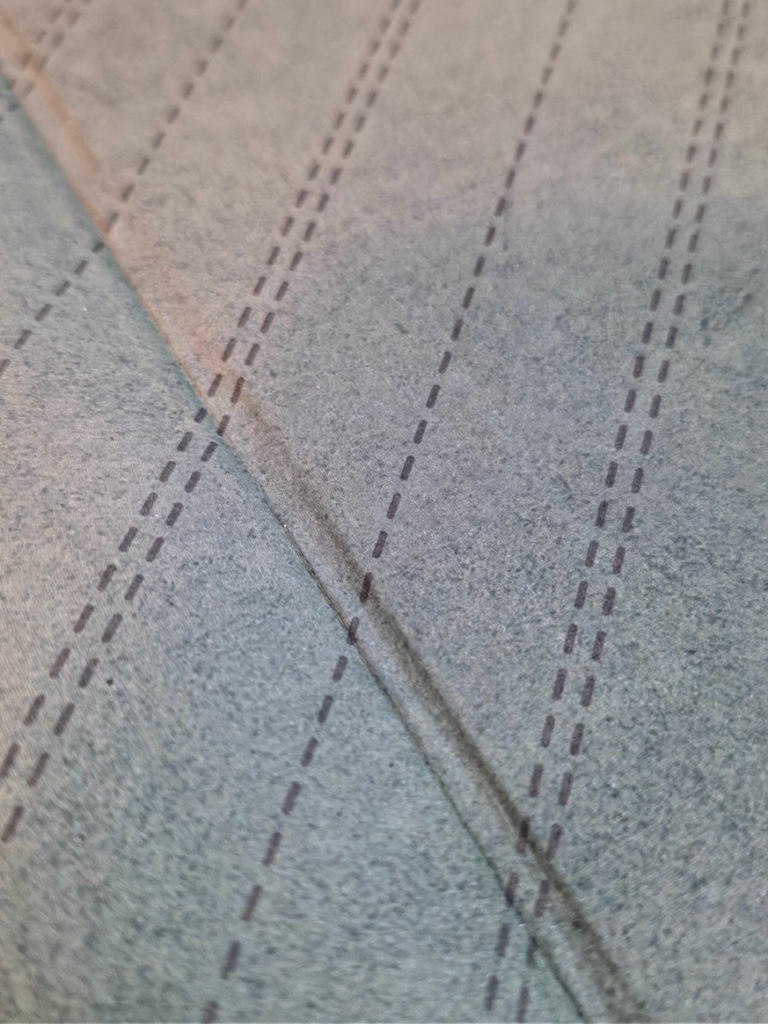
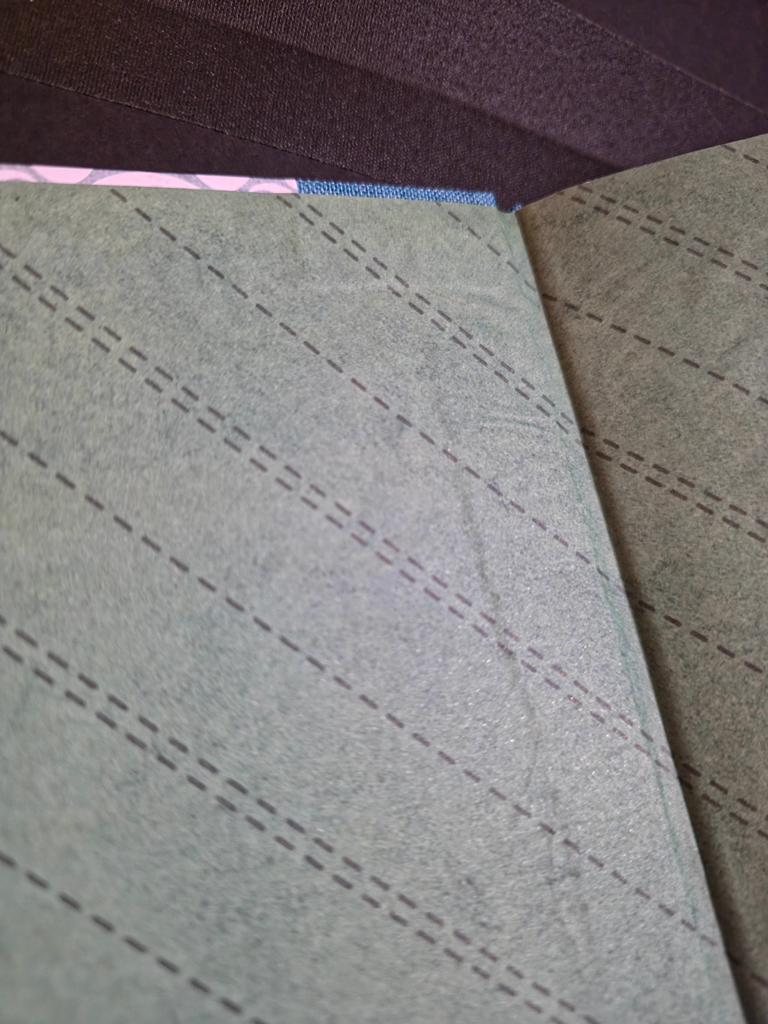
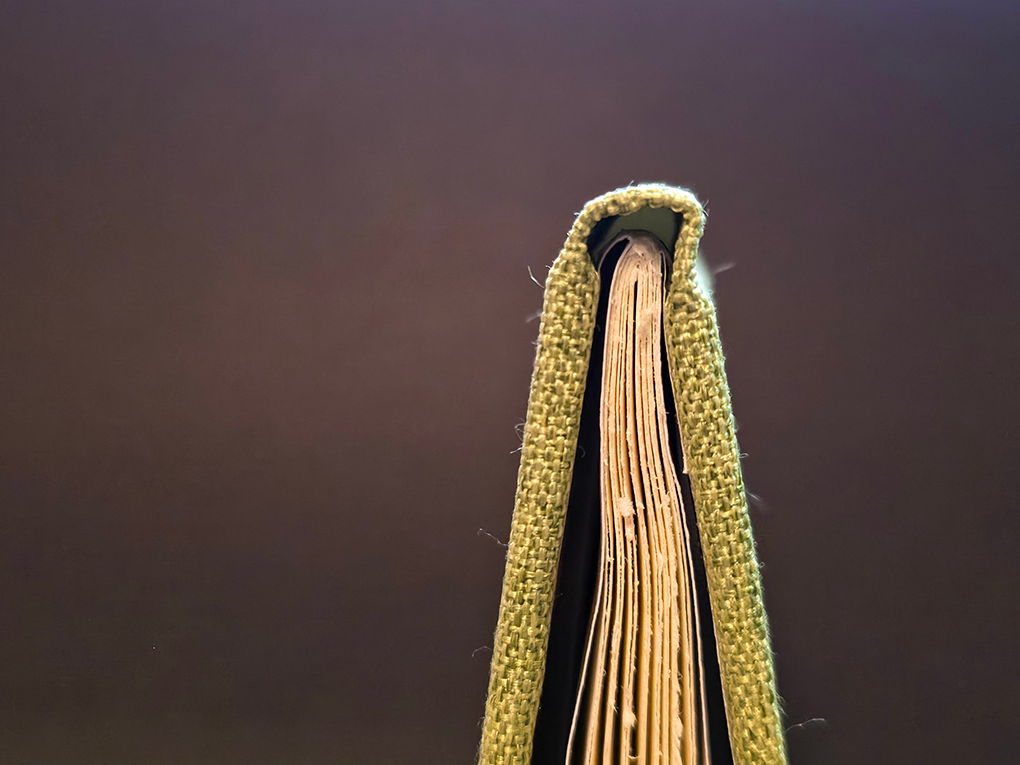
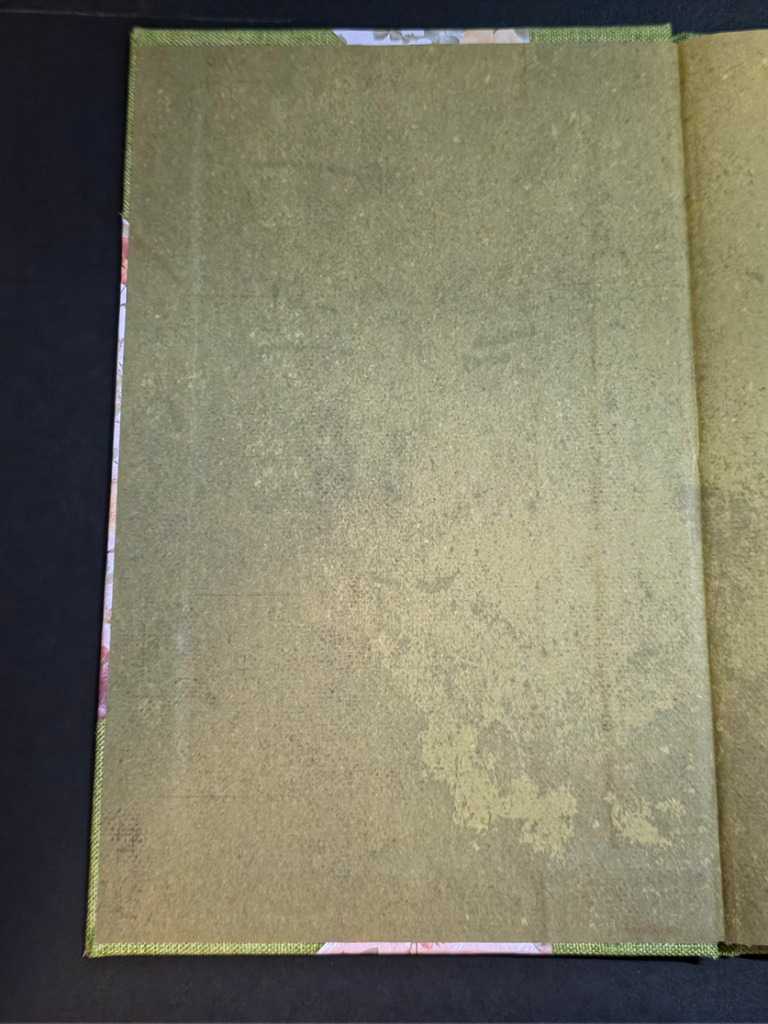
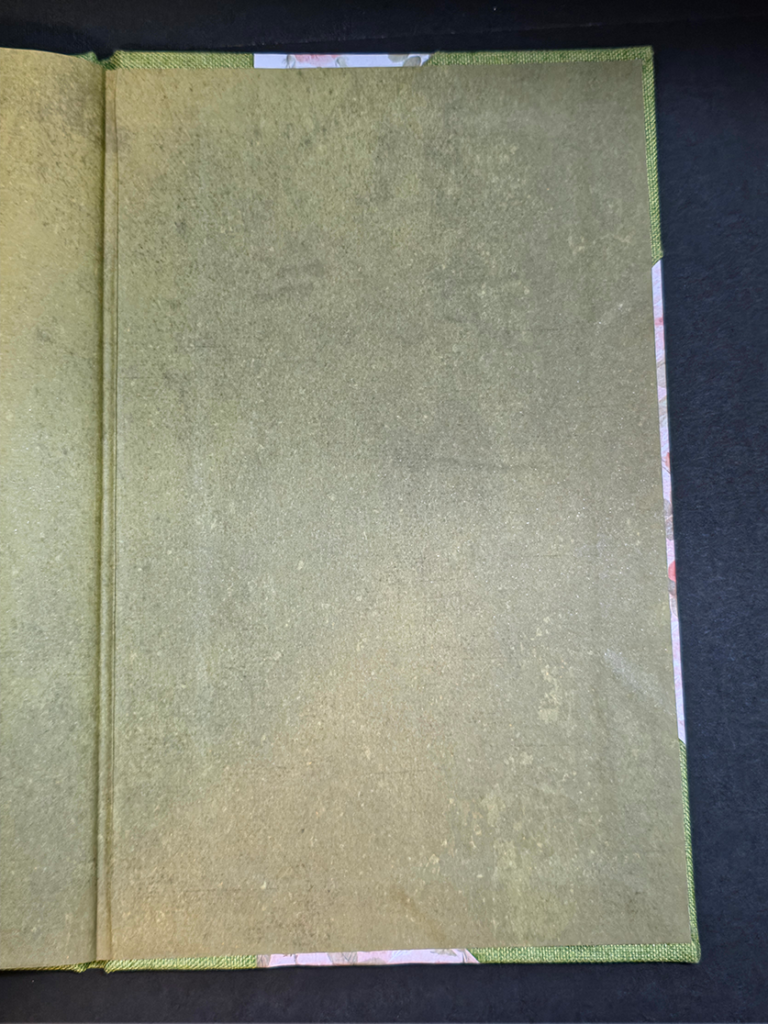
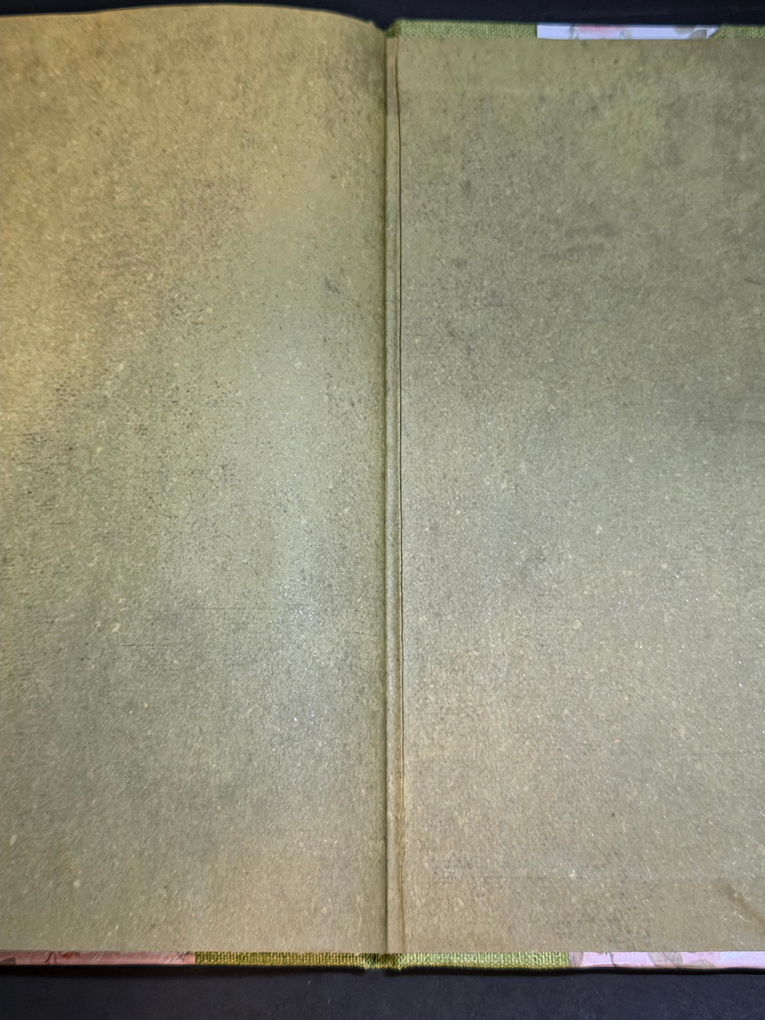
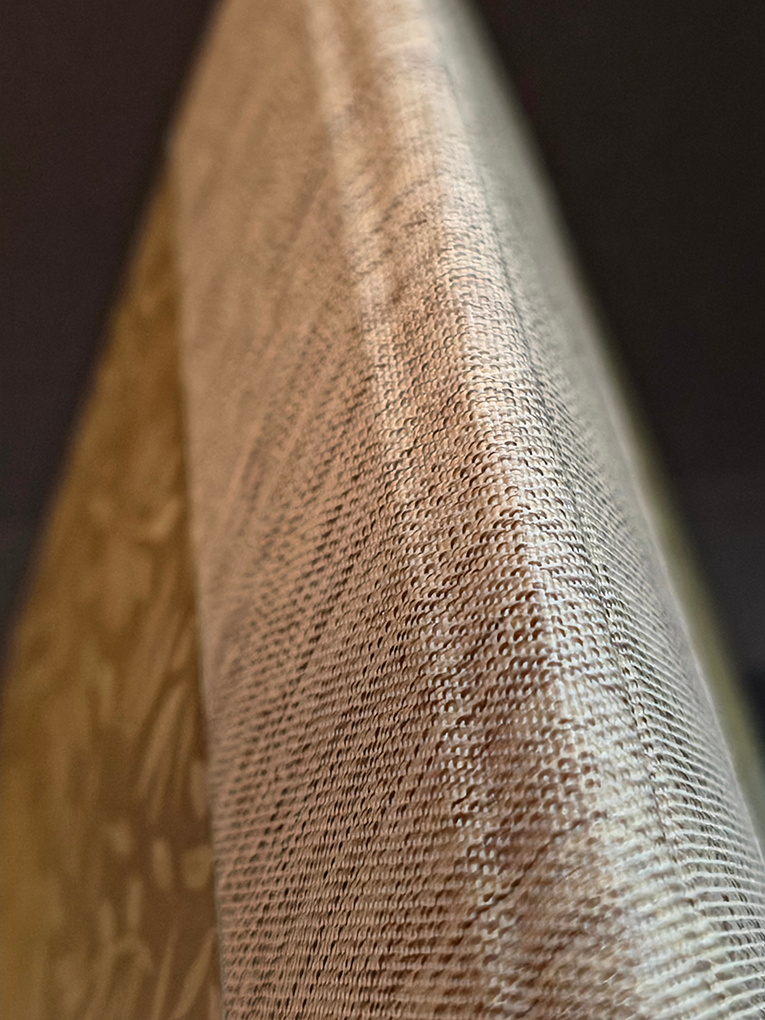
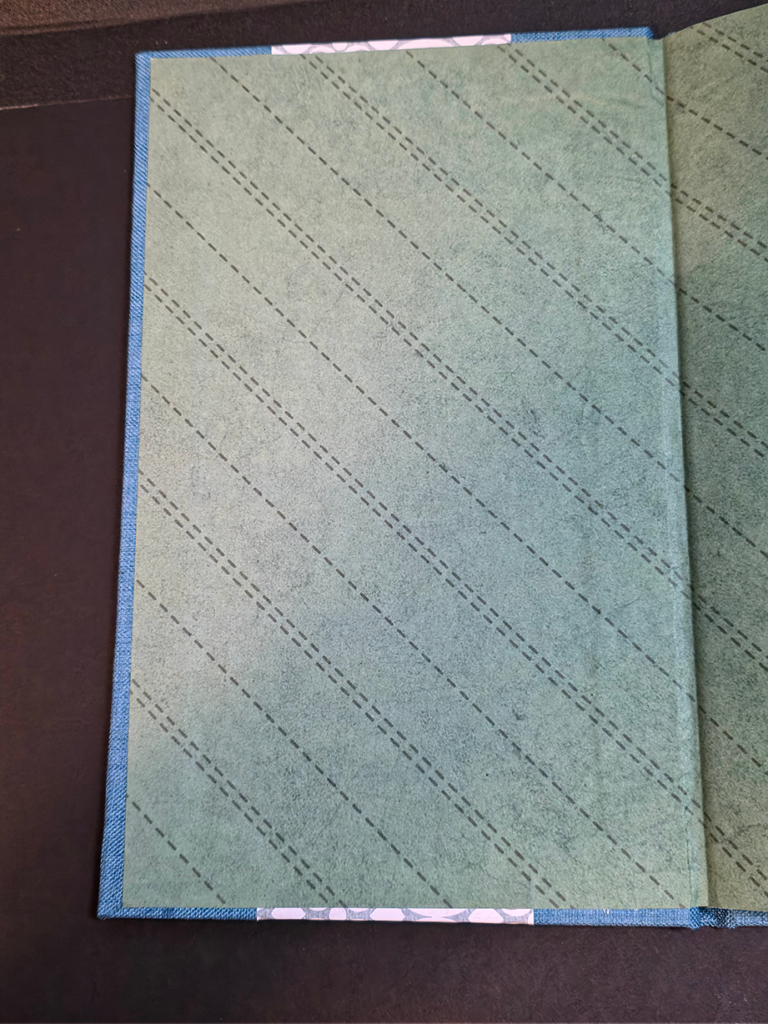
Due to the quality of the book cloth, and having only glued one side of the spine at a time, the book cloth deformed slightly which resulted in a slight curve in the alignment lines before the boards could be set down. this resulted in a slight deformation to the spine. Also due to the thinness of the book cloth, it creased easily which produced some visible crease lines in the spine. The cover papers, being thinner than optimal had a tendency to stretch if pulled on, or bunch if shifted. With care, the cover papers did go on smoothly. The end papers, also thin, easily bunched up. This is more evident in the front cover hinge than the back. With casing in, the text block did not seat as deeply as it should have into the spine. The text block also shifted slightly in position when the back cover was closed . The front cover has nice even squares. This text block was the only one that had a moisture barrier in the fold of the endpapers when pressing. This prevented cockling of the text block.
Book 2: Half Binding – Foredge

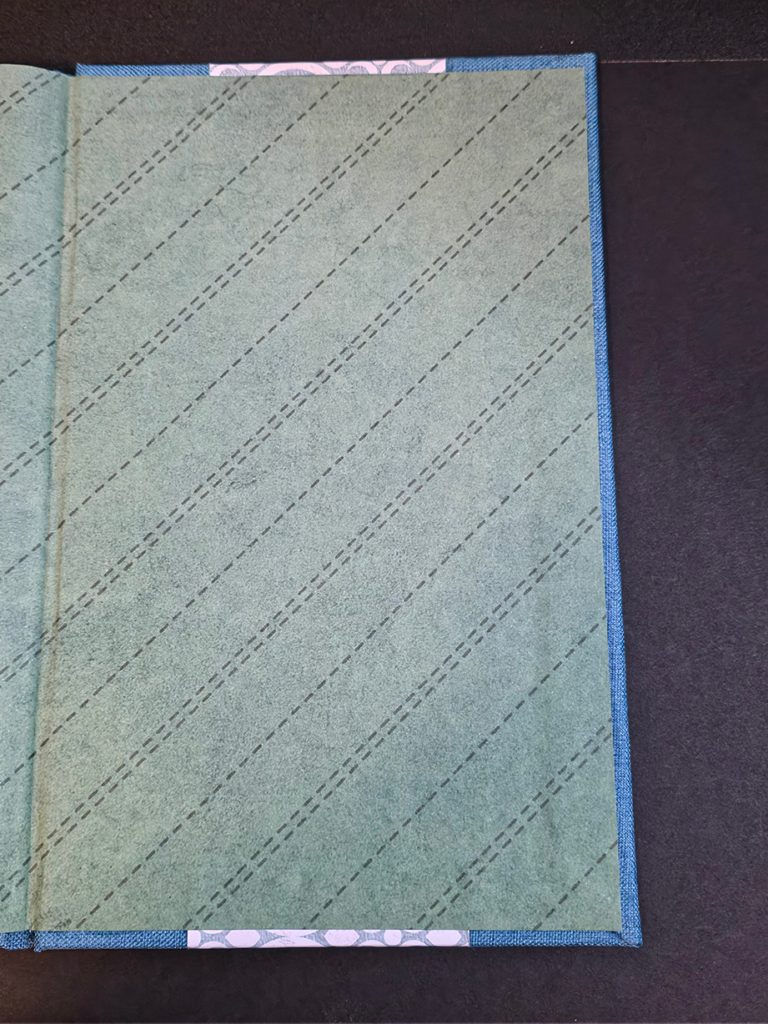
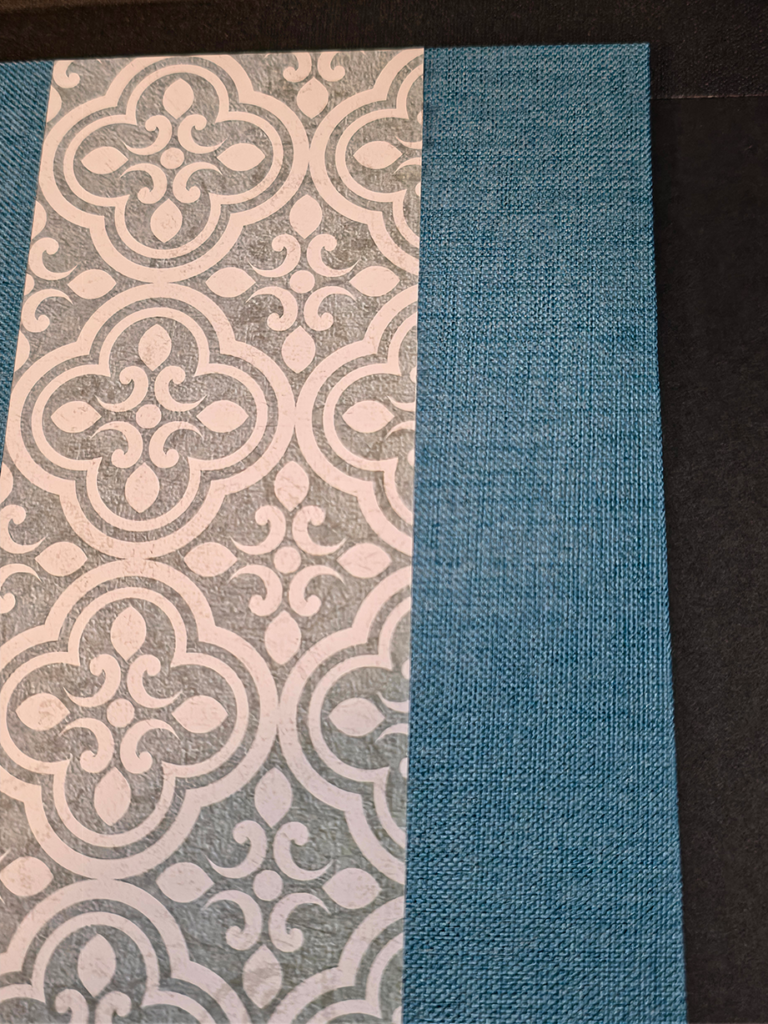
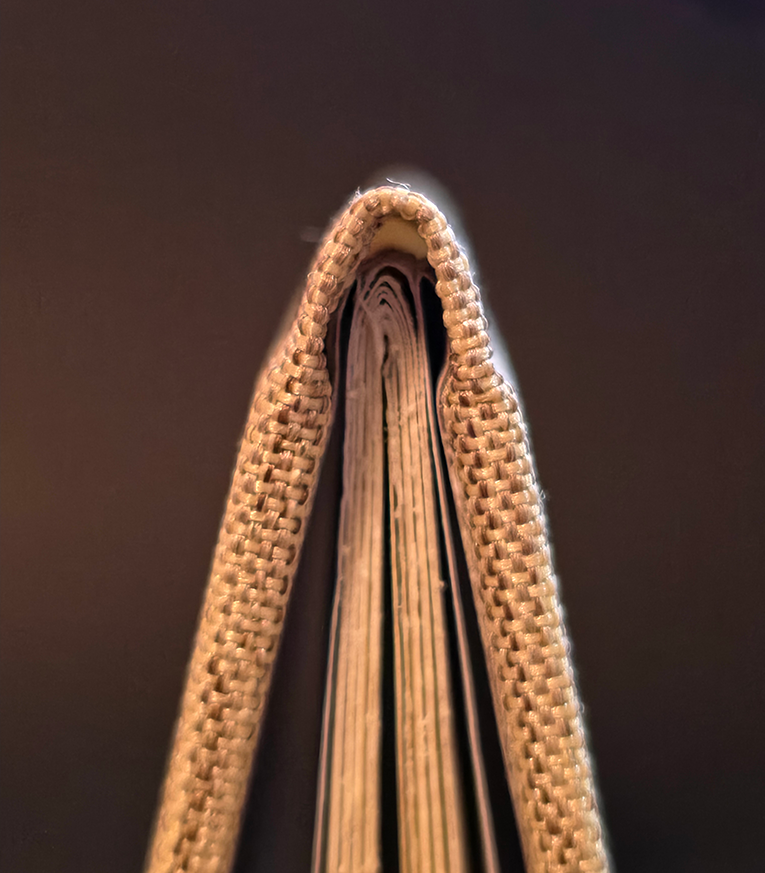
This is likely the best of the three bindings. The text block is seated to the back of the spine, the hinges are clean front and back, and the squares are even front and back. The book cloth did deform slightly and a curve in the fabric grain is visible in the foredges. A smaller pattern in the cover paper would probably look nicer, but the front and back match in positioning so it is uniform. There is a small bit of bunching on the back endpaper at the spine. Because of the thinness of the endpapers, the book cloth, cover paper, and hinge reinforcement fabric do stand out a little stronger than usual. The text block is slightly cockled because a moisture barrier was not placed in the endpaper fold when pressed.
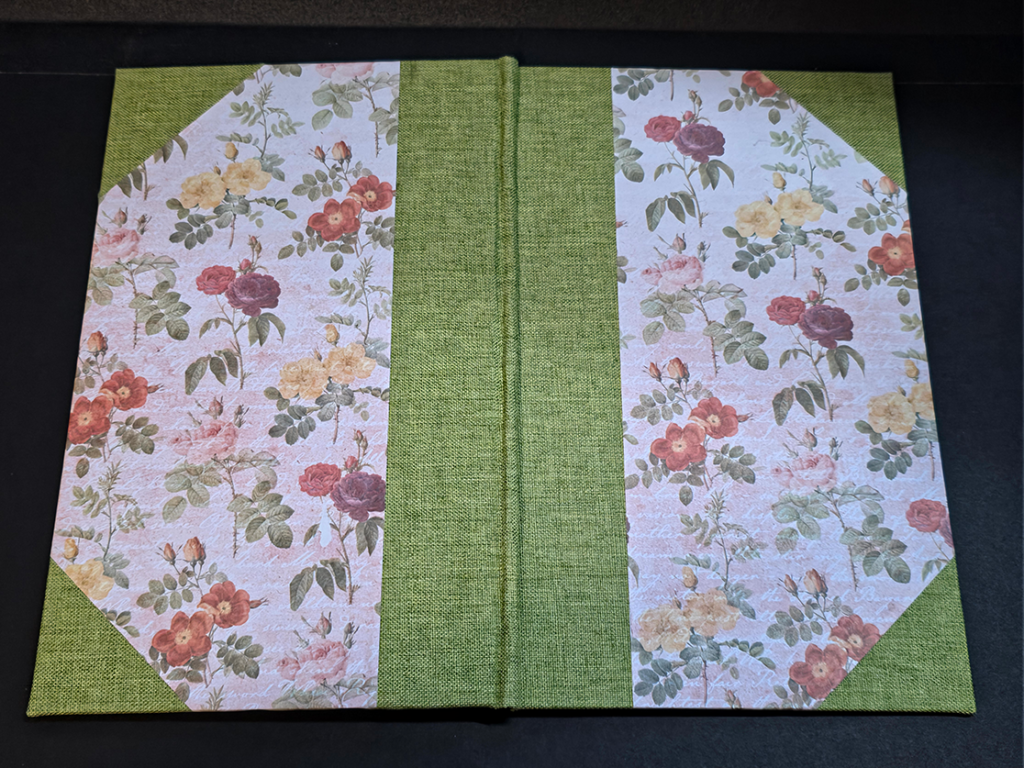
Book 3: Half Binding – Corners

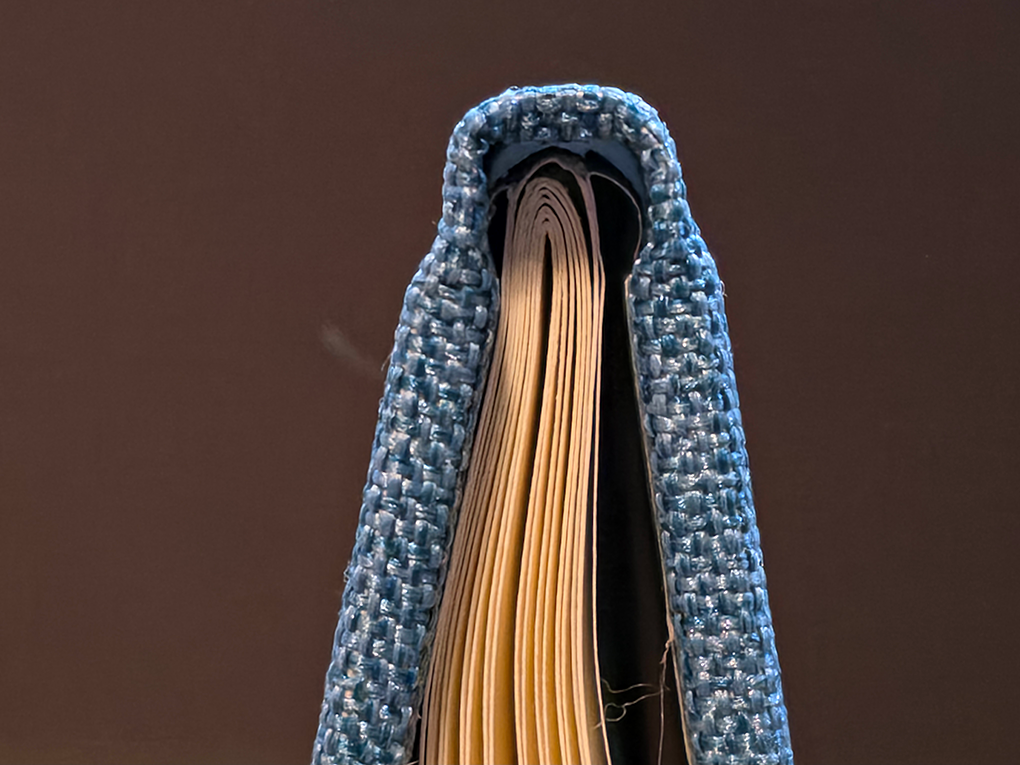
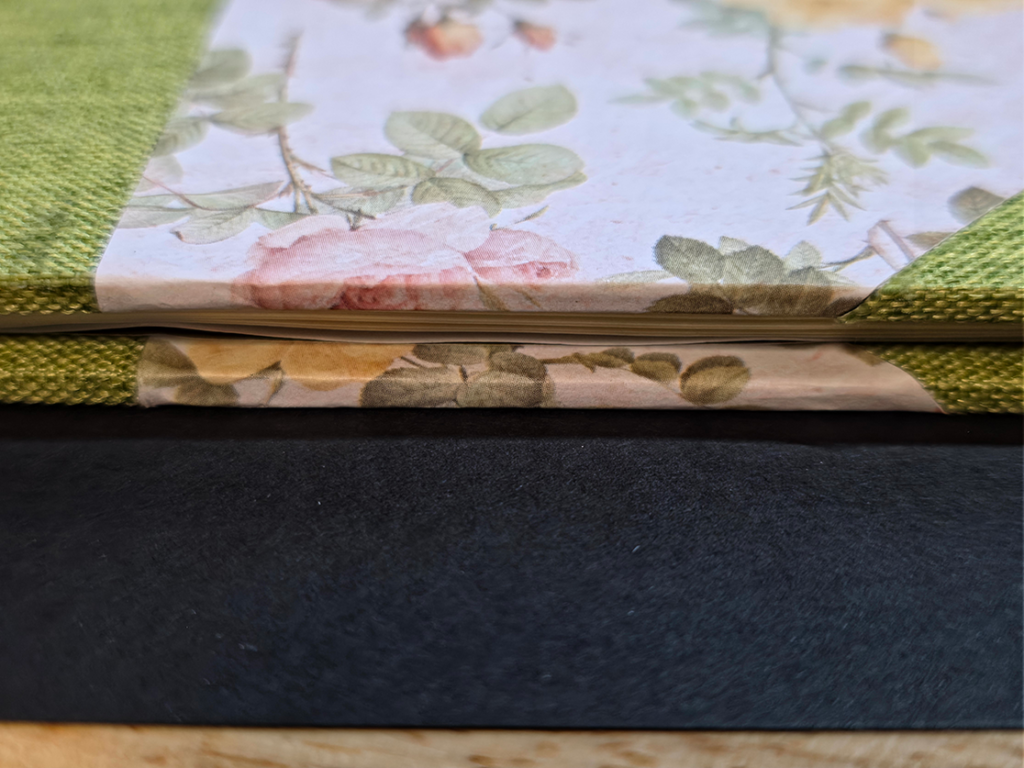
The cover looks good. The book cloth grain is mostly straight and matches across the spine and corners, front and back. The cover paper is clean and tight on the spine front and back, and the front corners. The head end back corner paper is cut a hair off and doesn’t quite overlap the entire corner. The outer edges fall right at the edge of the book cloth. The text block did not stay in place when cased in. It shifted head to tail and spine to foredge on the front cover and the back cover is also head to tail and spine to foredge but skewed slightly in both. The skew appears to be due to some bunching at the hinge, more at the head than tail. Like book 2, the text block is cockled.
Conclusion

Over all, the three projects turned out fair. Each binding has its flaws and there were a few process lessons learned. The books are functional, and if not looked at too closely, most of the defects might be overlooked. The biggest issue with the materials is common across all of them, they are too thin. The book cloth easily shifted if pulled even slightly, as did the paper. The cover paper and endpapers were from the same 12″ x 12″ scrapbooking pad. These papers are not appropriate for this application. As for processes, trying to assembly-line covers is a bad idea, at least for me, and at this time. It is far too easy to make measuring mistakes, mixing grain directions, and getting careless. A slower, careful pace makes precision more likely. There was only one instance when not all of the materials was ready for use but this did cause some frustration and a need to redo something.

The biggest takeaways from this exercise are: use the best materials you can get your hands on, walk through the operation “dry” before committing to actually doing it, and take your time working through each process.

Sources

Abbott, Kathy. Bookbinding: A Step-By-Step Guide. The Crowood Press, 2010. 30-41.

Research, Study, Labs, & Community

Research, study, labs, and community are crucial areas that need to be a part of any book arts career path. After years in the academic environment, post-graduate study and practice can take some getting used to. In my practice, with my academic background in history and public history, I have some training in preservation and conservation, but little academic lab work, and it’s been decades since I spent any quality time bookbinding; filling the lab gap is a big concern. For me, the best path forward is to develop a graduate-level book history program with labs focused on a traditional bookbinder’s apprenticeship path with contemporary best practices. This should provide a portfolio of examples to demonstrate skill as well as a collection of essays on the history of bookbinding forms.

The lab work has already begun with a print and binding project centered on the book “The Art of Bookbinding” (1890) by Joseph W. Zaehnsdorf. The text was printed in quarto on quality matte 13 in. x 19 in. (A3+) and works out to a traditional octavo 6 in. x 9 in. book in size. The block has been printed and sewn. Endpapers were designed and printed, and the boards were glued to the fabric cover. The binding will be a cased flat back. A post about this project will be forthcoming. Progress photos have been taken for the project post.

It will take some time to develop and document the curriculum, as it is being put together on the fly and there is already a pile of rebinding and conservation projects to incorporate into the course workflow. I would prefer not to slow too much in the service of academic program development and kill the momentum. The initial reading list is as follows, in order:

  • Abbott, Kathy. Bookbinding: A Step By Step Guide. The Crowood Press, 2010.
  • Cockerell, Douglas. Bookbinding and the Care of Books. Lyons & Burford, 1991.
  • Hollander, Tom and Cindy. Introduction to Bookbinding and Custom Cases. Schiffer Publishing, 2019.
  • Johnson, Arthur W. The Thames and Hudson Manual of Bookbinding. Thames & Huson, 1981.
  • Towne, Laurence. Bookbinding By Hand For Students and Craftsmen. Faber and Faber, 1963.
  • Masson, John. The Art and Practice of Printing: Bookbinding and Ruling. Vol. 5. New Era Publishing, 1940.
  • Diehl, Edith. Bookbinding. Dover Publications, 1980.
  • Cockerell, Douglas. Bookbinding and the Care of Books. Lyons & Burford, 1991.
  • Middleton, Bernard C. The Restoration of Leather Bindings. American Library Association, 1972.
  • Szirmai, J.A. The Archaeology of Medieval Bookbinding. Routledge, 2017.
  • Keile, Headdy. The Art of the Fold: How to Make Innovative Books and Paper Structures. Laurence King Publishing, 2018.
  • Lindsay, Jen. Fine Binding: A Technical Guide. Oak Knoll Books, 2024.
  • Burdett, Eric. The Craft of Bookbinding: A Practical Handbook. David and Charles, Newton Abbot, 1978.

As reading and lab work progress through the first few textbooks, a project list should develop. Along with the skill development projects, rebinding projects on the bench will also be incorporated into the lab work. Research paper topics should also present themselves and be incorporated into the program. Along with research and lab work, I will be engaging more with the book community through social media on BlueSky (@jwwanzer.bsky.social) and here. As article possibilities present, I will also submit to field journals. In all honesty, the community aspect is the most difficult for me. My graduate programs were in the online environment, and my academic/social circles are small. More to come as things progress.

The Impecunious Bibliophile

My earliest memories contain books; if not central to the memories, they are adjacent to or on the periphery of them. My grandmother was an avid and studious reader, a librarian, and a teacher by trade. There were always piles of books on her desk at home, most from one library or another. On rare occasions, she would bring a special book home from work that needed extra care in its repair and return to service. She was not, to speak, a collector of books, nor did she keep many at home. Her preservation techniques were distinctly focused on returning books to library service, not the fastidious preservation of a curator or collector. Books did not become a key element of my memories of my mother until later in her life, when she began to accumulate books of interest. At this time in her life, she was wheelchair-bound, and library trips could be difficult. This was likely a factor in her choice to buy rather than borrow. Though she was not as curious in a broad sense as my grandmother, she did find herself going down rabbit holes on occasion. One could say, I come by my afflictions honestly.

Books can bring many things to those who appreciate them. For most, they provide a sense of escapism in one form or another. For many, it is to inform or educate. For others, it is to reinforce their worldview. Others seek wisdom and inspiration in the writings of great thinkers. It is likely, dear reader, that you find some comfort in each of these from time to time. A rather small and obsessed group finds the medium itself to be the most fascinating collection of trades and practices. It is in this small group that I find my people. Though I am at the earliest stages of my serious, dare I say professional, bibliographic journey, I find myself counting gatherings and looking for chains, formulating how the text block was constructed, and how it was cased. Who published this volume? Who printed it? What edition and pressing? What are its points?

The making of books has always been of great interest. From the laying of paper and sizing, pressing it to wood and metal, transferring pigment, folding and stitching the gatherings into a text block. Treatment of the text block, cut or not, opened or not, gilded or painted edges, how will it be cased, and with what materials? All decisions that will affect the owner’s relationship with the volume, on their shelf, in their hand, and in their hearts. That I would collect and deal in these jewels of humanity was a foregone conclusion, as is the need to have a closer, more intimate relationship with the form; to bring new volumes to life, yes, but also to preserve and protect those already formed.

Books and history, history and books. The path is broad and open. Where it leads is over the horizon, yet down the path I go, books in hand.

Stepping Back

It is a few days into April, which was intentional, so there would be no confusion about this post and subsequent site changes as a prank. It is time to step away from doctoral studies, at least for now. Having many areas of interest has turned out to be a net negative in the doctoral process. With so many options, the necessary passion and focus to complete a dissertation has been too diluted. After spending several weeks attempting to clarify and distill a research question with little success, it has become clear that now is not the time to be attempting to produce a dissertation. The possibility of returning to a doctoral program is still on the table at some future date. Moving forward, research will continue in a broader form while seeking rabbit holes to dive into and write about. If one of these rabbit holes becomes an all consuming passion the doctorate may be reconsidered. Bibliography building in subject areas of interest will continue along with the research. The reading log will also continue with a broader material base of research material and general interest reading. Other activities may also find their way into this space as things progress. For now, it’s time to clean up the office and research stacks, take some time off, and get back to reading and woodworking.

Intentionality

by Jonathan Wanzer

This site and blog were planned to be strictly professional, with little to no personal material that wasn’t directly related to historical pursuits. This has, however, changed slightly. The blog will instead be a moderated personal reflection, which will enhance the overall site as a portfolio by providing personal context. Efforts will be made to keep the content relevant to the academe, history, genealogy, cultural heritage, and museum studies, and to avoid posts on hobby interests in aviation, maritime, and communications unless they are directly relevant to the former. Discussions in the realm of politics and religion will likewise be moderated to their relevance in the historical and cultural spaces.

One of the key elements of the previous post was the submission of an application to another educational institution. That institution was Johns Hopkins University, and the application was for entry into their M.A. Cultural Heritage Management program in the fall, which was accepted. Classes start August 15th. This promises to be an exciting program with some interesting classes, including Issues in Intangible Cultural Heritage and Culture as Catalyst for Sustainable Development, both of which will be taken in the fall term.

With teaching at the university level off the table for now, the focus will be on expanding skillsets and networking. Time will also be set aside for site work with the local, local history museum. The intention is to develop a broad range of skills centered around museology and cultural heritage. Graduate certificates in fields like cultural anthropology, archaeology, political science, African American studies, Native American studies, and other similar subjects that can be worked on while employed in the field are a good option. JHU has a good Museum Studies program that may be an option after completing the current program. Doing history, public or otherwise, requires a continuous broadening of context. Continuing education and community engagement are the best ways to do this.