Single-Section, Hard-Back Binding

Project Parameters

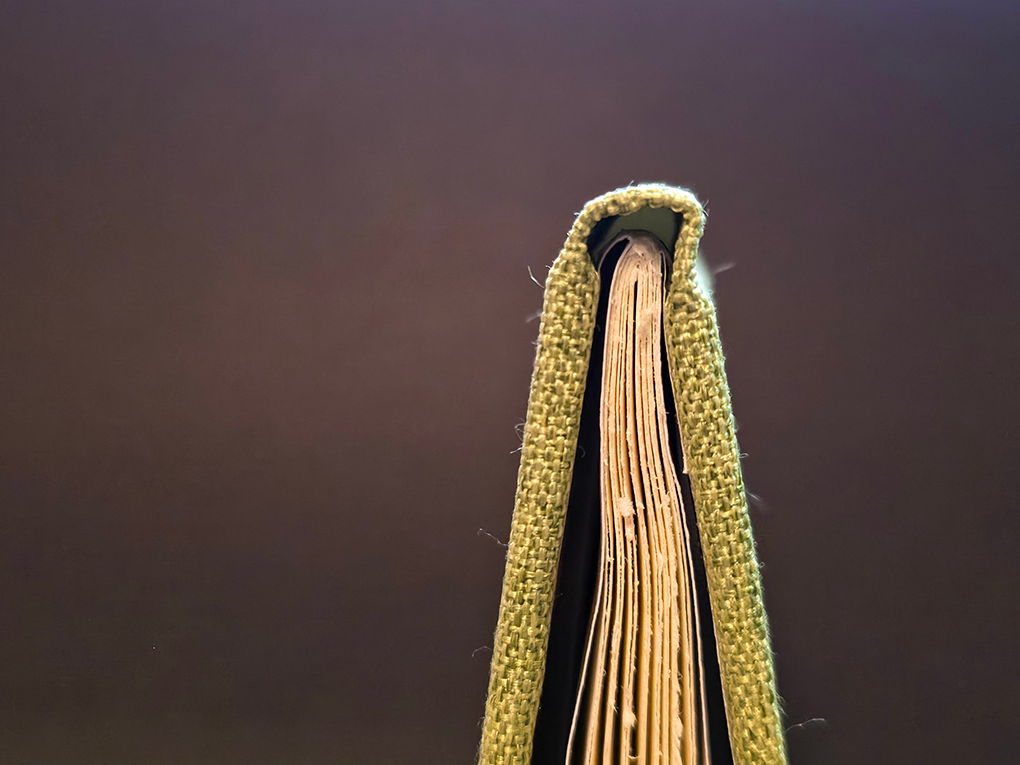
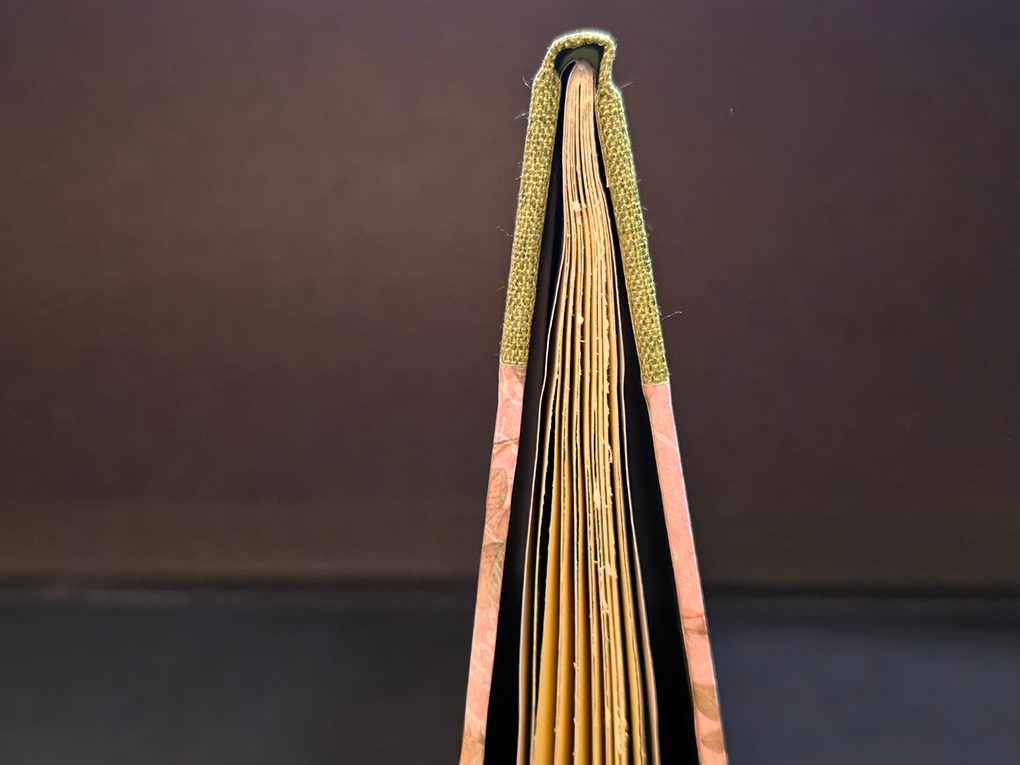
This second project from Abbott’s Bookbinding: A Step-By-Step Guide takes the pamphlet stitched text block and cases it in a hard cover. The project utilizes the quarter binding and both the foredge and corner variations of the half binding producing 3 hard bound volumes. The brief calls for 4 to 6 folios of 80-130gsm text paper and two sheets of 100-130gsm colored paper for endpapers. It builds on the previous pamphlet stitched project by adding tipping on the endpapers and reinforcing the spine of the text block with Fraynot, the construction of the hard cover using 1.5-2.0mm millboard, book cloth, and 100-130gsm decorative paper with PVA, and casing in the text block to the cover with paste.

Execution

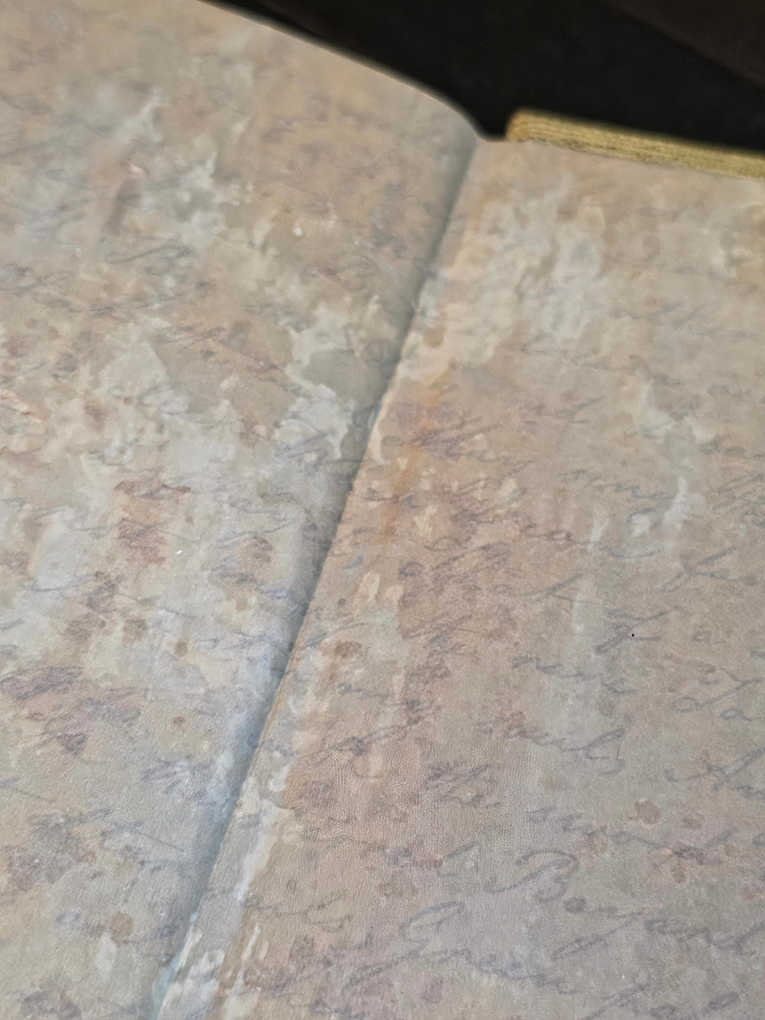
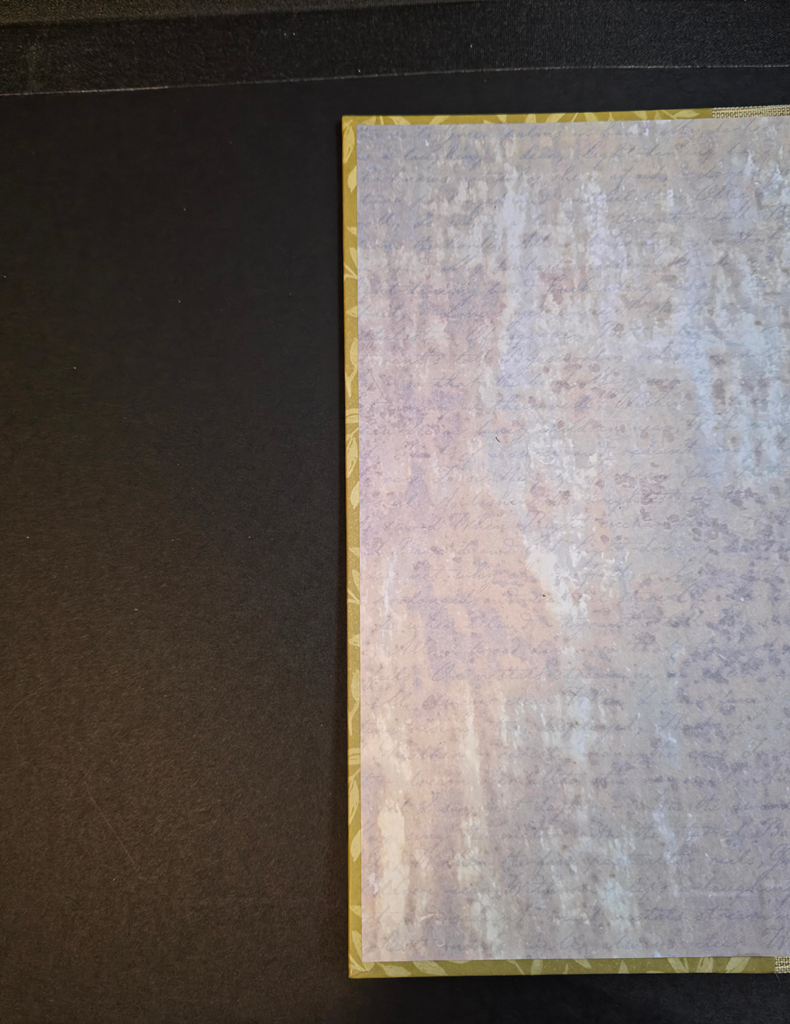
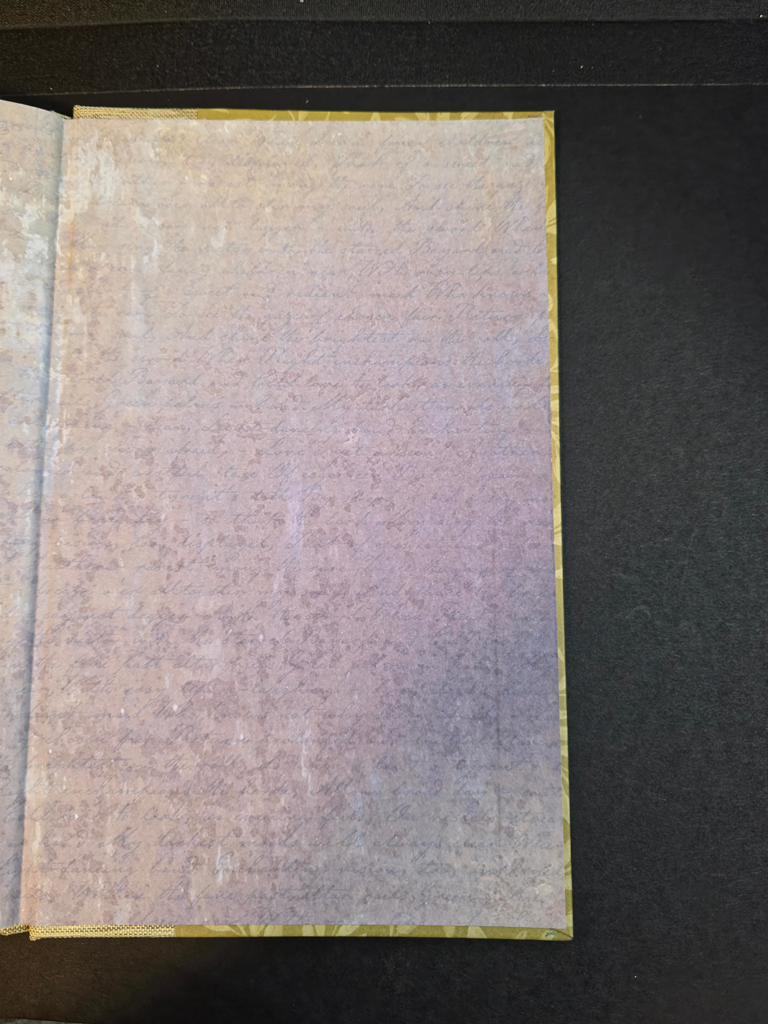
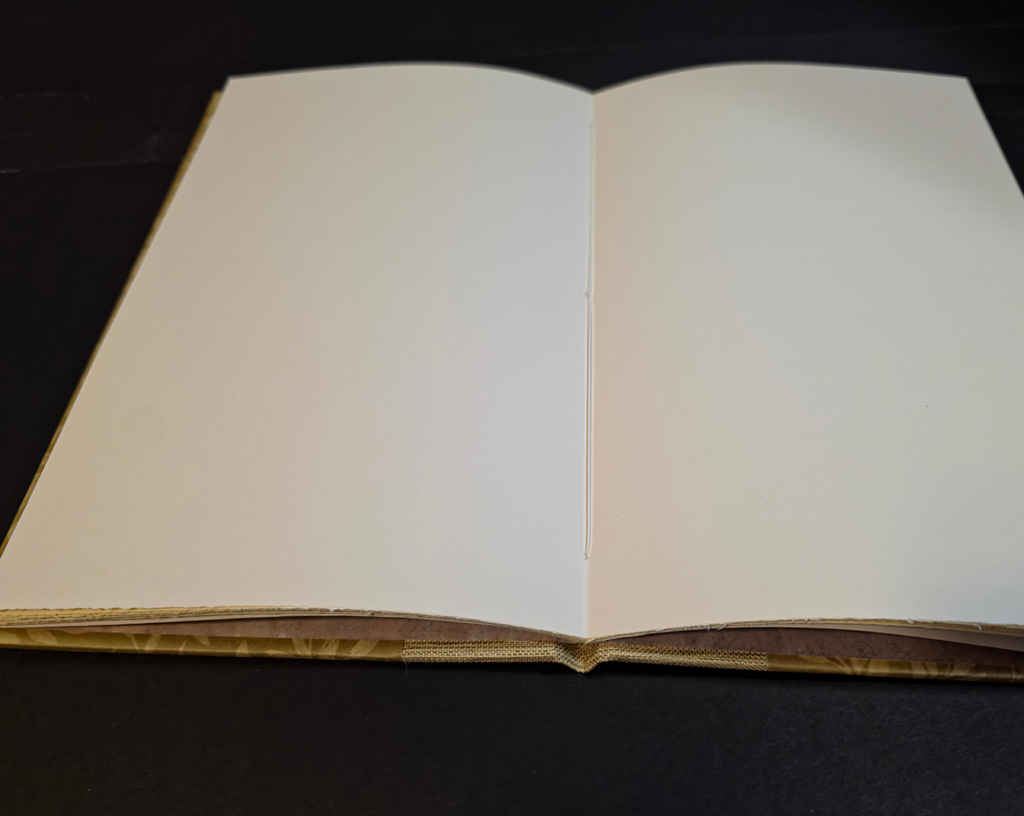
My interpretation of this project’s intent was to build on the  skills from the previous project adding spine reinforcement and a cased cover. It provides the opportunity to work with three common cover forms, the quarter cover, and half cover in both foredge and corner variations. At this point I had received some of the paper ordered and was able to make the textblock from a quality 80gsm laid linen paper. The text blocks were made from 4 sheets (8 folios) of 11″ x 17″ paper. The board used is a low cost/quality common 1.5mm grayboard. Fraynot wasn’t reasonably available so a light weight, loose weave (not as loose as scrip) cotton fabric was used. The book cloth is a low cost/quality thin cloth. And the endpapers and cover paper are 90gsm printed scrapbooking paper. The PVA is an archival neutral PH, and the past is Nori cornstarch paste.

All three text blocks were folded, cut, and sewn at the same time and pressed. The endpapers were all folded and tipped onto the text blocks and pressed. The casing boards and cloth were cut at the same time. Cover papers were cut last as needed. Each case was assembled individually in order.
Book 1 – Quarter Binding

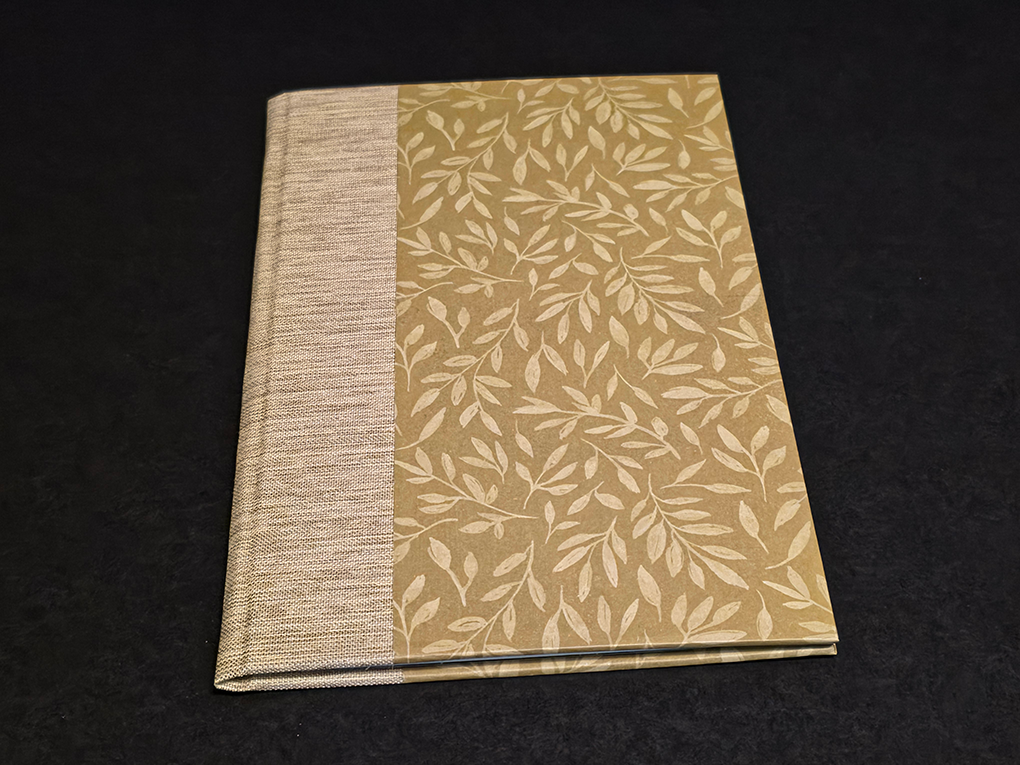
Book 1 (quarter binding): The spine fabric was measured and marked with board edges and the spine allowance of 35mm. The boards were glued to the spine fabric, inside up, and trimmed to 20mm, and turned in. The assembly was flipped over, outside up. The papers were not cut until after they were glued to the board’s outsides with a 1mm overlap, once glued the assembly was flipped over, inside’s up. The papers were trimmed to 20mm from head, tail, and foredge. The corners were clipped to 3mm before turning in head, tail, and foredge in order. The assembled cover was then pressed.
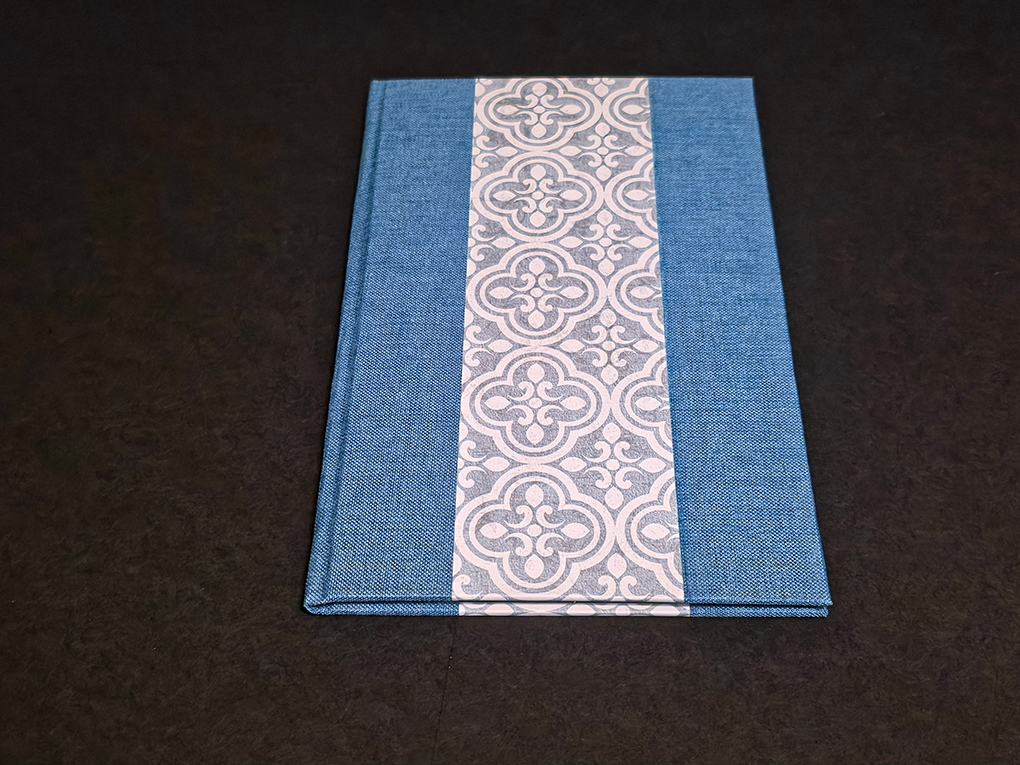
Book 2 – Half Binding – Foredge

Book 2 (half binding – foredge): The spine fabric was prepared and glued the same as book 1, and the foredge was likewise prepared and glued to the boards with the inside up. The spine was trimmed to 20mm and turned in head and tail, then the foredges were trimmed to 20mm head, tail, and foredge, and the corners clipped to 3mm. The head, tail, and foredge were then turned in, in order. The assembly was flipped over, outside up. The fill papers were then cut to width before gluing to the board’s outsides. After gluing to the outside of the boards, overlapping the fabric 1mm, the assembly was flipped over, inside up, and the head and tail were trimmed to 20mm before turning in head and tail. The assembled cover was then pressed.
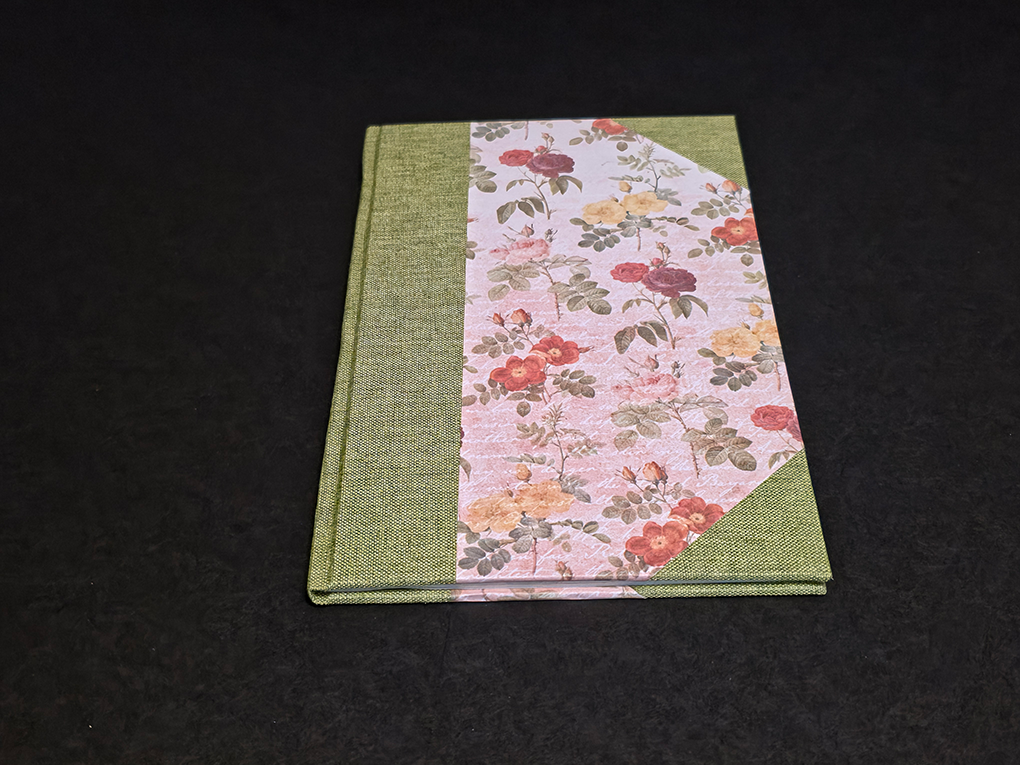
Book 3 – Half Binding – Corners

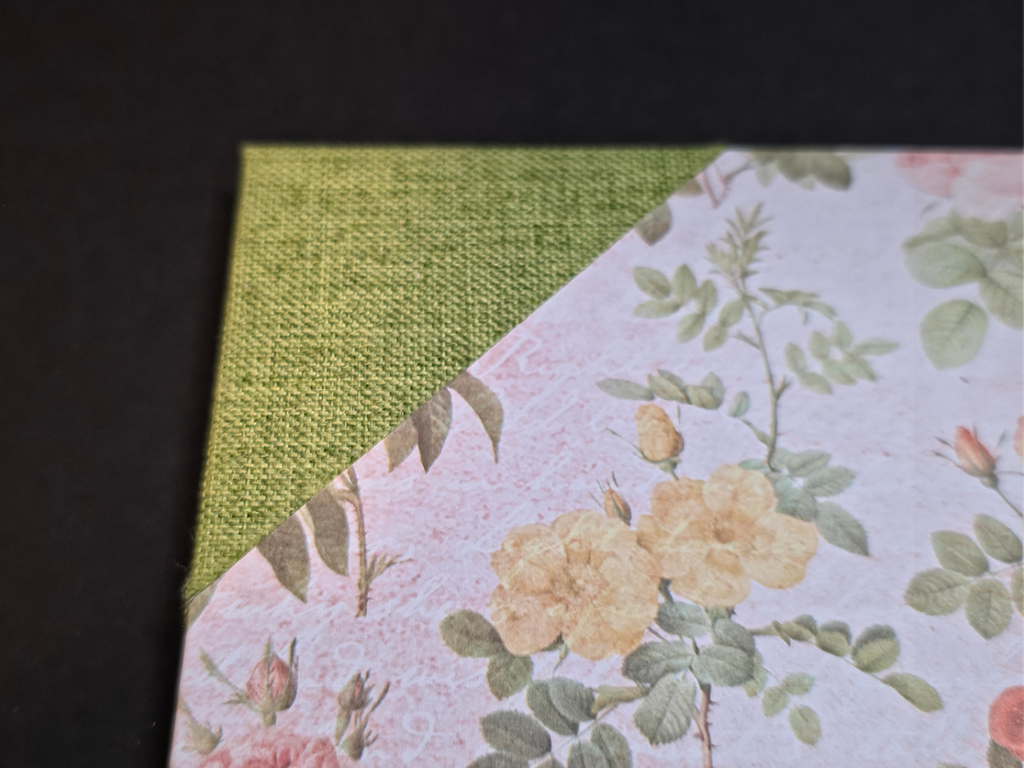
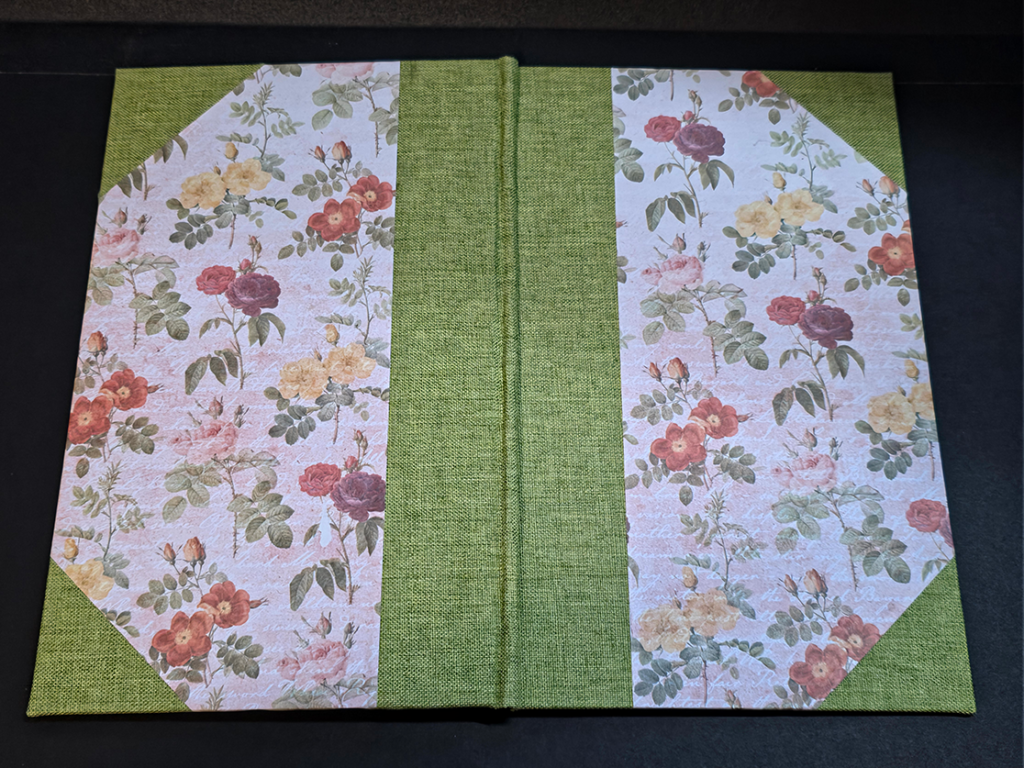
Book 3 (half binding – corner): The spine fabric was prepared and glued the same as book 1, and the corners were likewise prepared and glued to the boards with the inside up. The spine was trimmed to 20mm and turned in head and tail, then the corners were trimmed to 20mm head/tail, and foredge, and the corners clipped to 3mm. Each corner was then turned in, head/tail, and foredge. The assembly was flipped over, outside up. The fill papers were set down dry overlapping the spine fabric 1mm and weighted to prevent movement as the edges of the board were pressed into the paper creasing it. The corners were carefully turned up to crease the paper with a 1mm overlap of the corner fabric. The corners of the paper were then cut off and the papers fit checked before gluing. The paper was then glued and placed carefully at spine overlap, then smoothed down to the corners. The assemble was then flipped, inside up, and the head tail and foredge of the paper trimmed to 20mm and turned in. The assembled cover was then pressed.

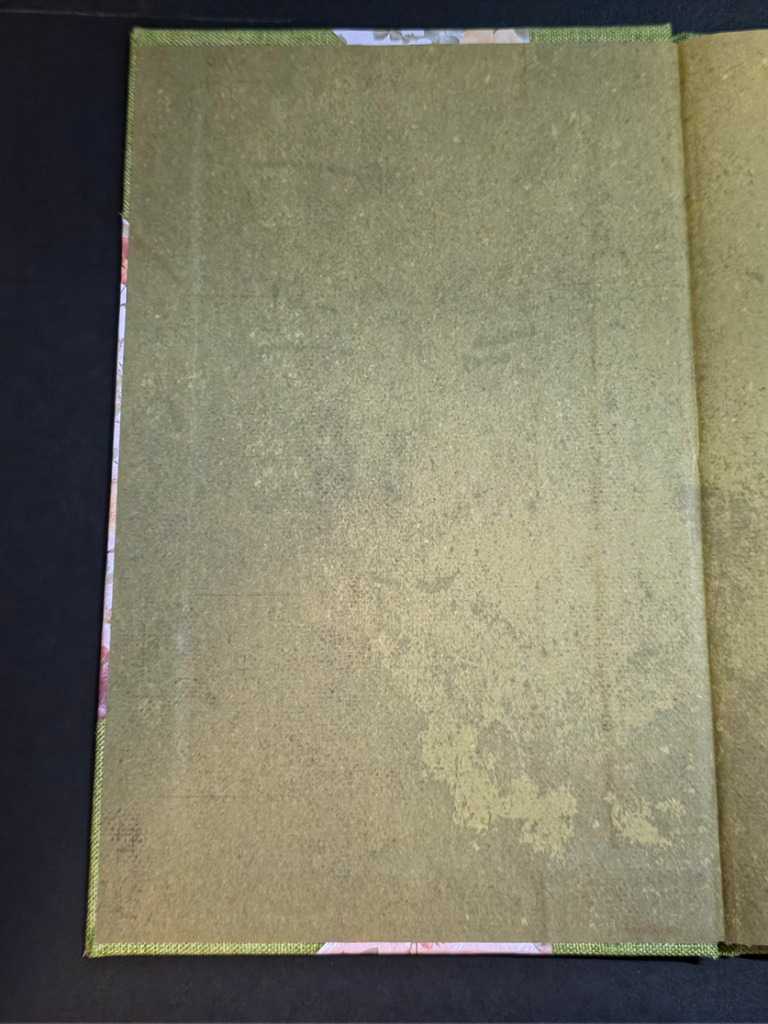
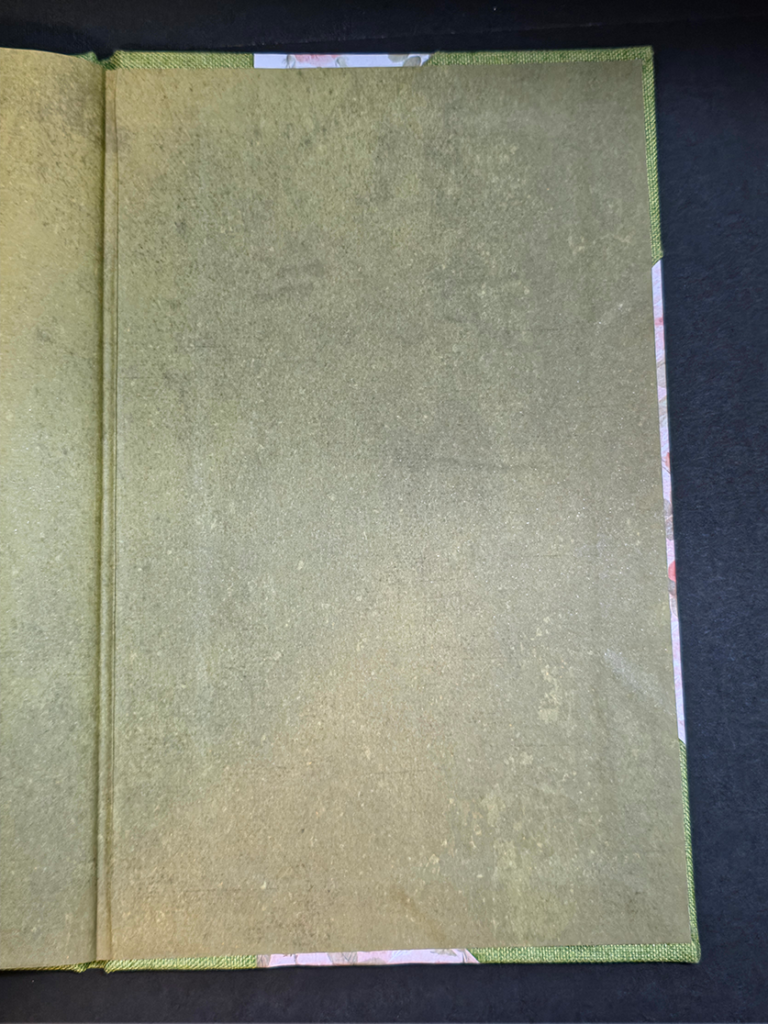
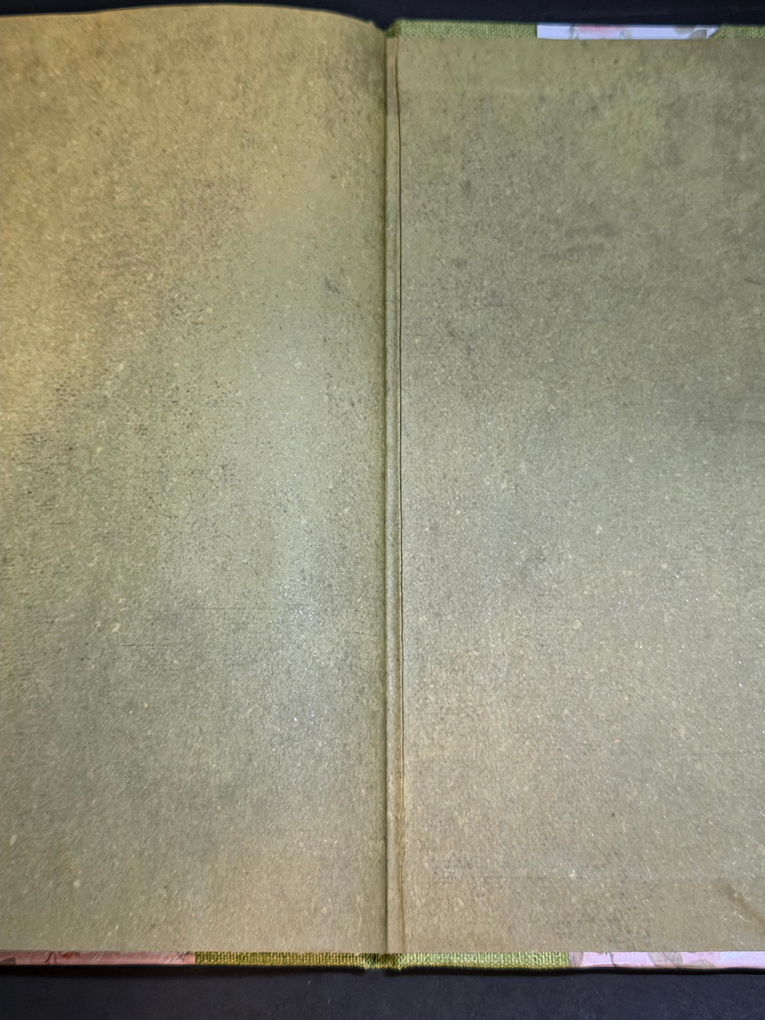
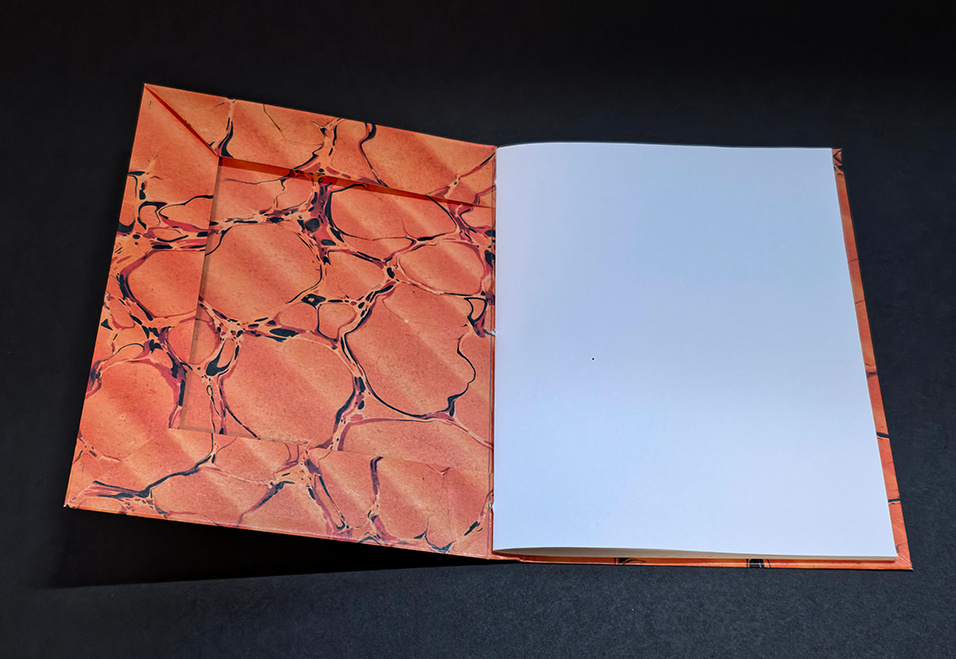
The three text blocks were pared to their covers and cased in one at a time using the same process. The text block was set down, back of the block to the inside of the back cover, and placed with even squares, approximately 3mm. The front cover was laid over the front of the text block, and the squares checked again, also looking for alignment of the head, tail, and foredge of the front of the cover to the back. The spine was set up against the spine of the case. When everything is aligned, a waste sheet is placed in the fold of the endpaper to protect the text block side of the endpaper and text block, the endpaper facing the cover is then pasted, starting at the spine holding the cotton fabric away from the paper. Once the past extended beyond where the cotton lay, the cotton was smoothed down into the paste on the paper and additional paste put onto the cotton evenly. The rest of the endpaper is then pasted, the waste sheet removed, and the cover carefully closed. After checking the alignment and squares, the assembly is turned over, and the pasting process is repeated to paste the back endpaper to the back cover. This entire process is repeated for each book.

Analysis

Book 1: Quarter Binding

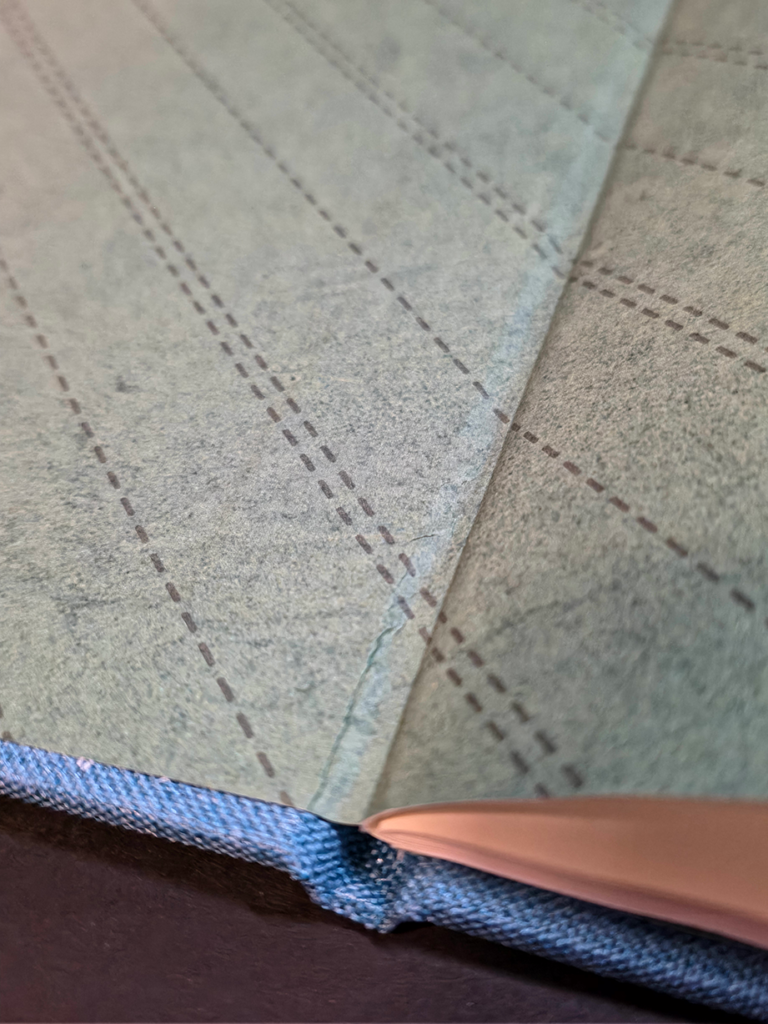
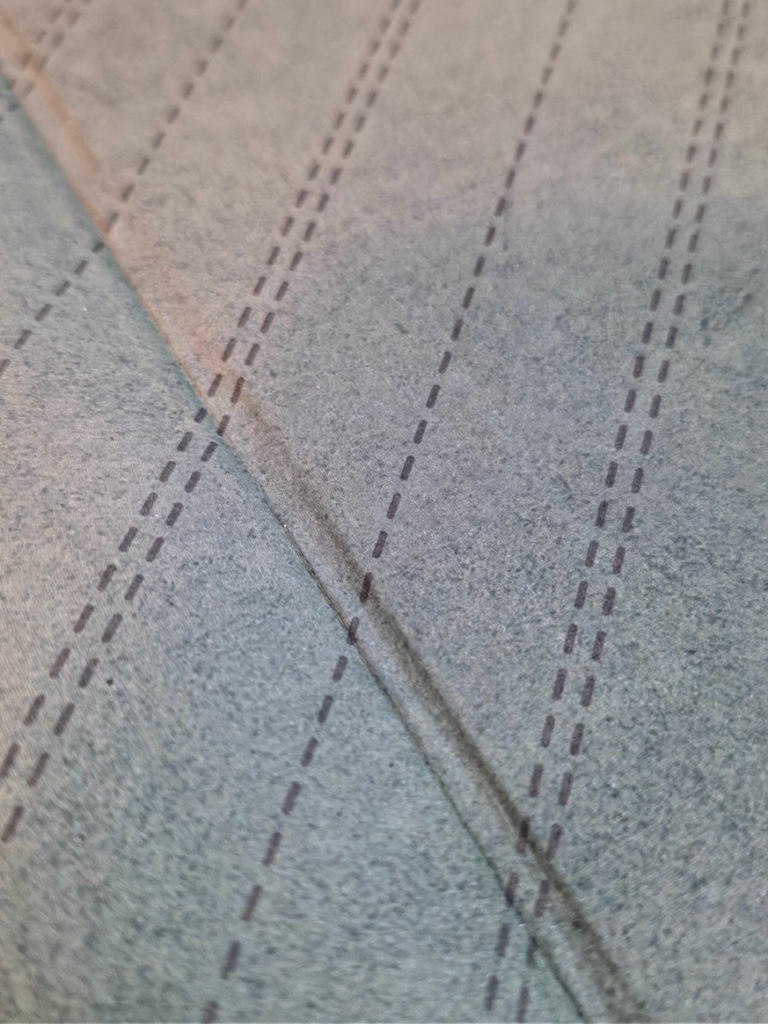
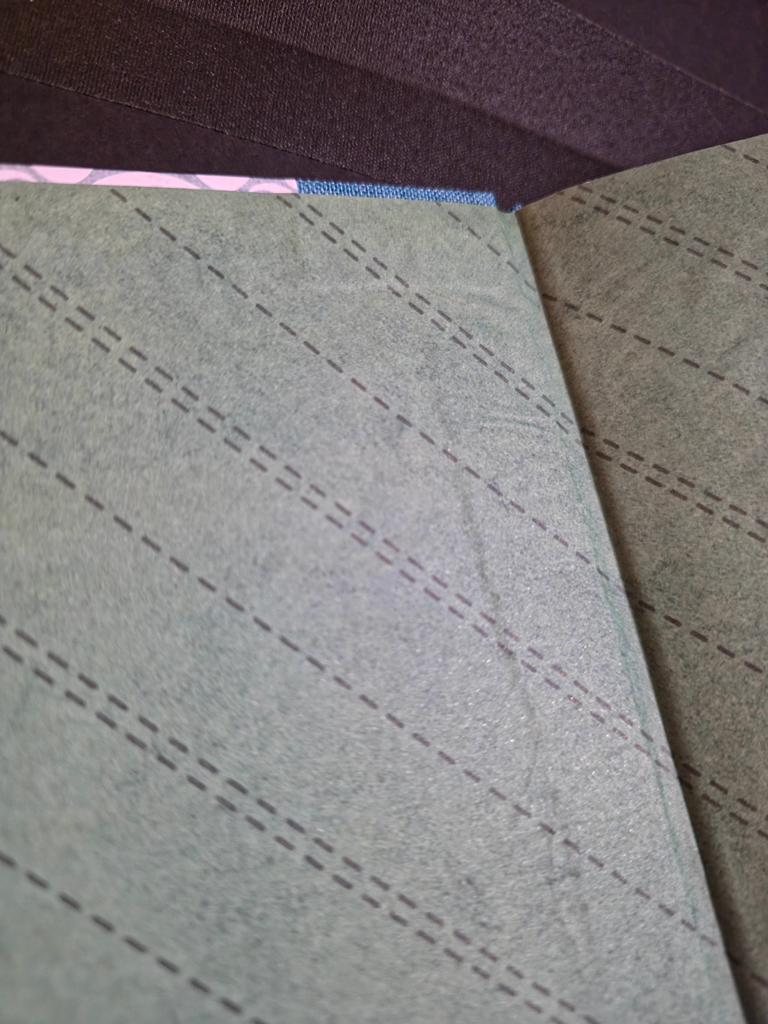
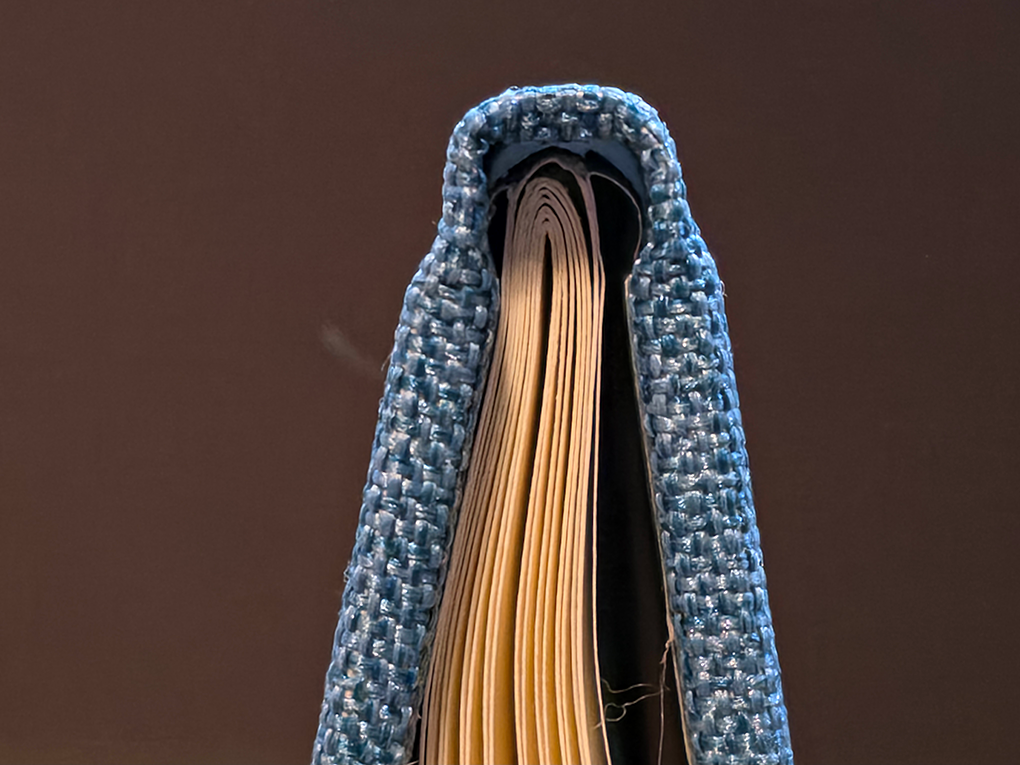
Due to the quality of the book cloth, and having only glued one side of the spine at a time, the book cloth deformed slightly which resulted in a slight curve in the alignment lines before the boards could be set down. this resulted in a slight deformation to the spine. Also due to the thinness of the book cloth, it creased easily which produced some visible crease lines in the spine. The cover papers, being thinner than optimal had a tendency to stretch if pulled on, or bunch if shifted. With care, the cover papers did go on smoothly. The end papers, also thin, easily bunched up. This is more evident in the front cover hinge than the back. With casing in, the text block did not seat as deeply as it should have into the spine. The text block also shifted slightly in position when the back cover was closed . The front cover has nice even squares. This text block was the only one that had a moisture barrier in the fold of the endpapers when pressing. This prevented cockling of the text block.
Book 2: Half Binding – Foredge

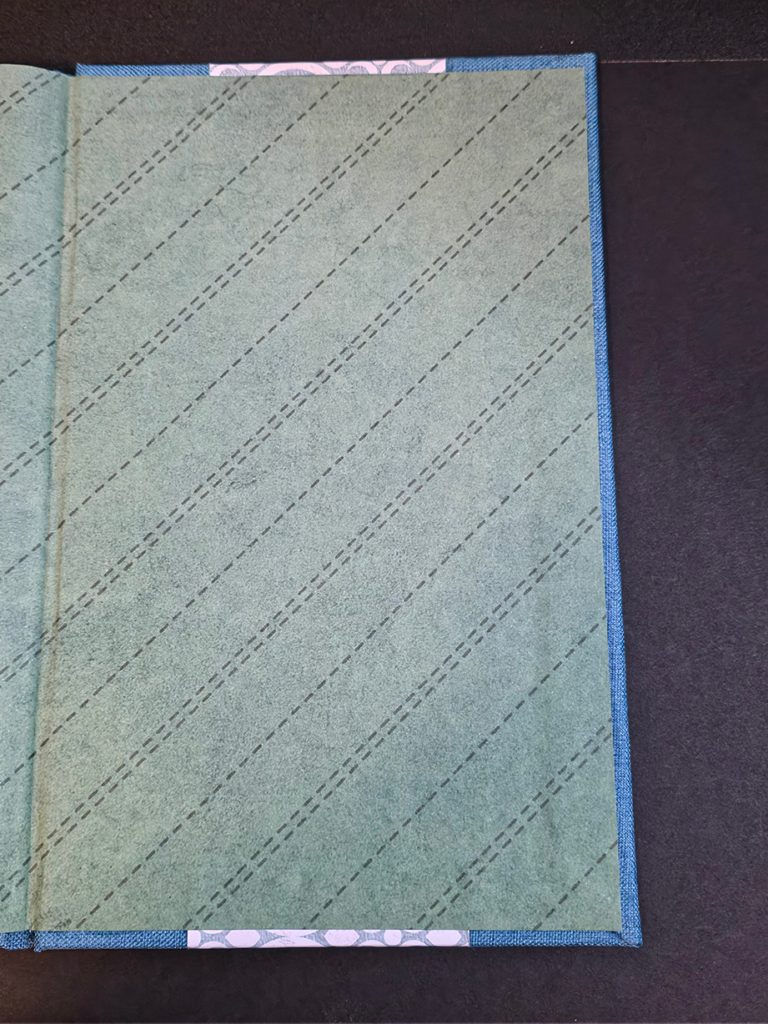
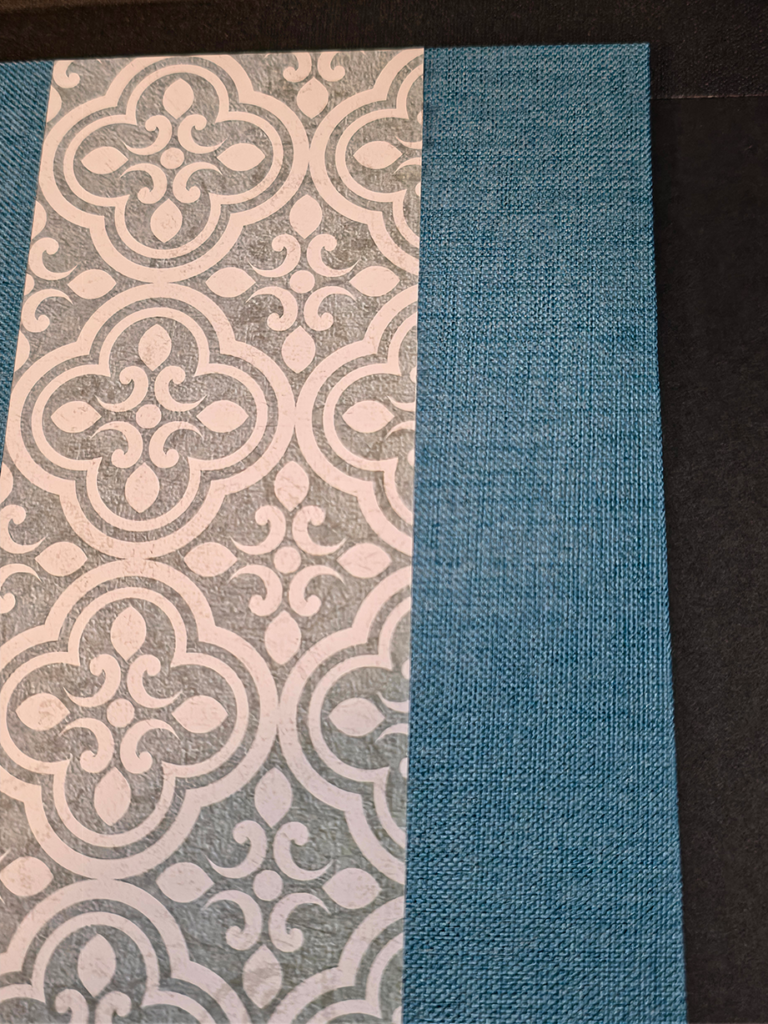
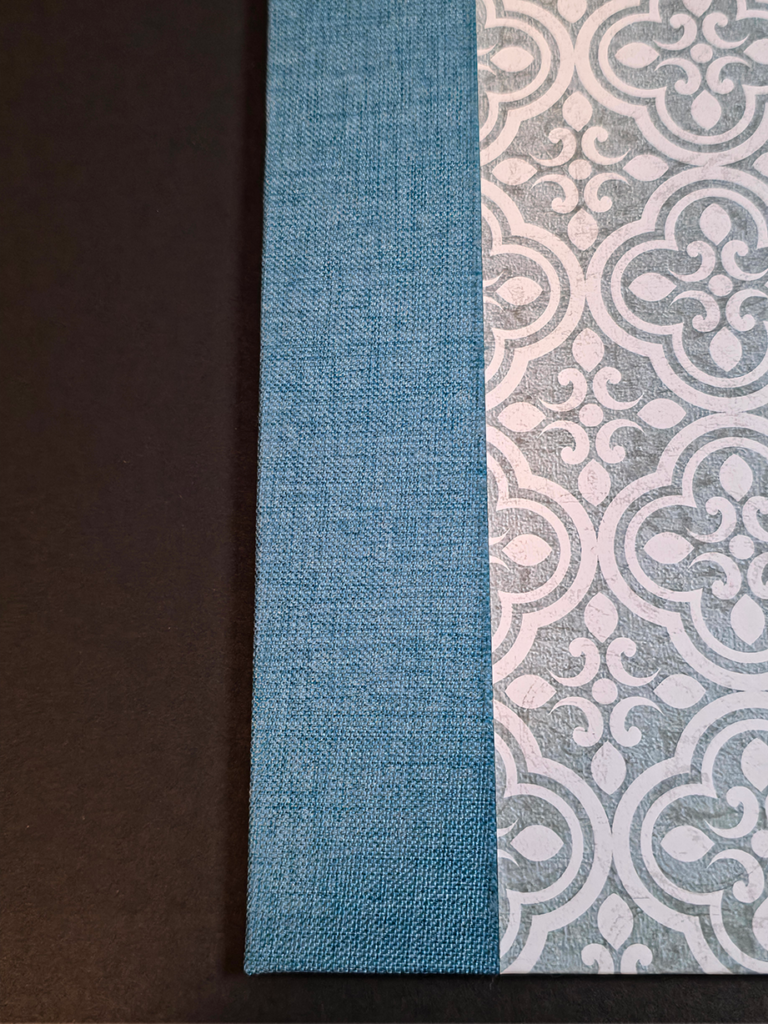
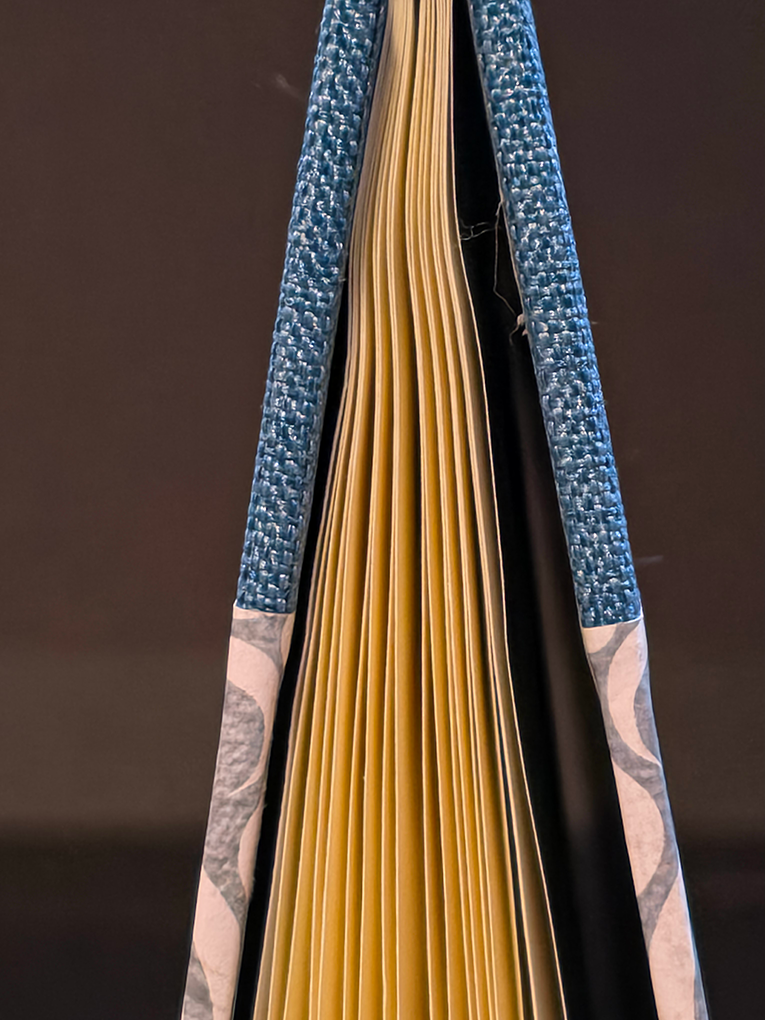
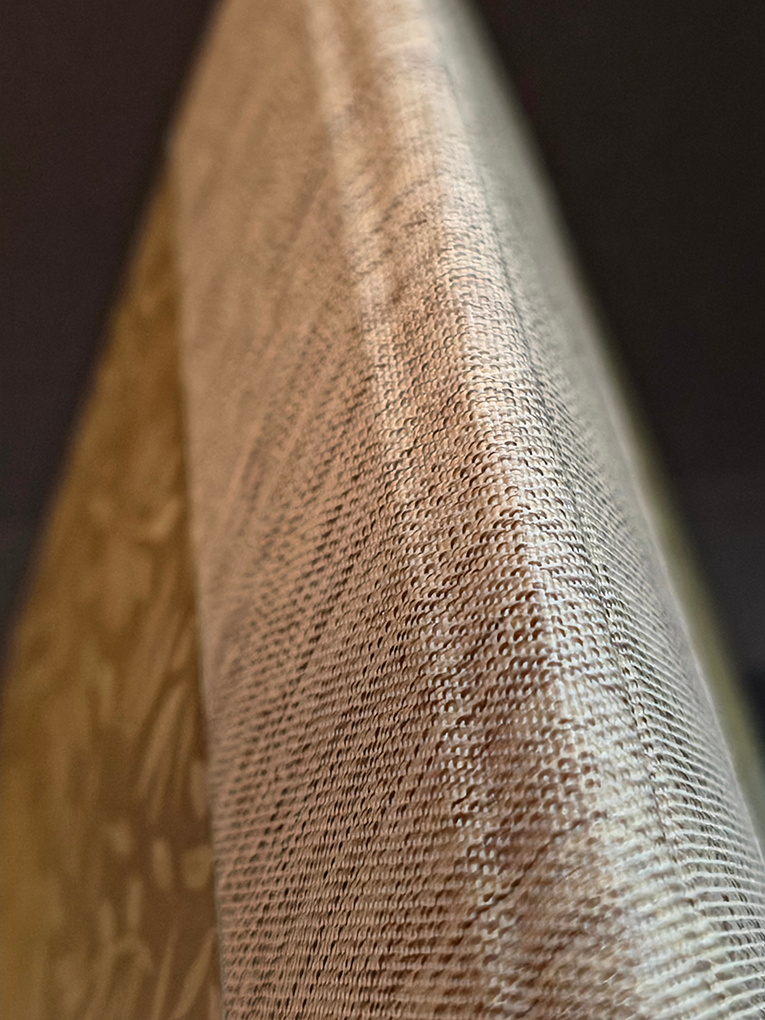
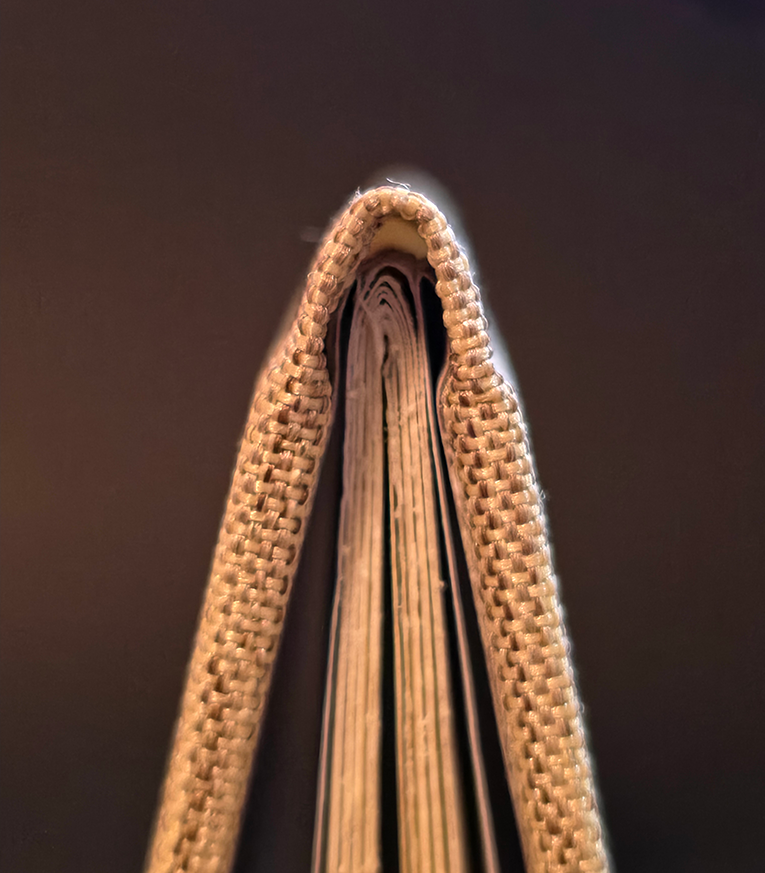
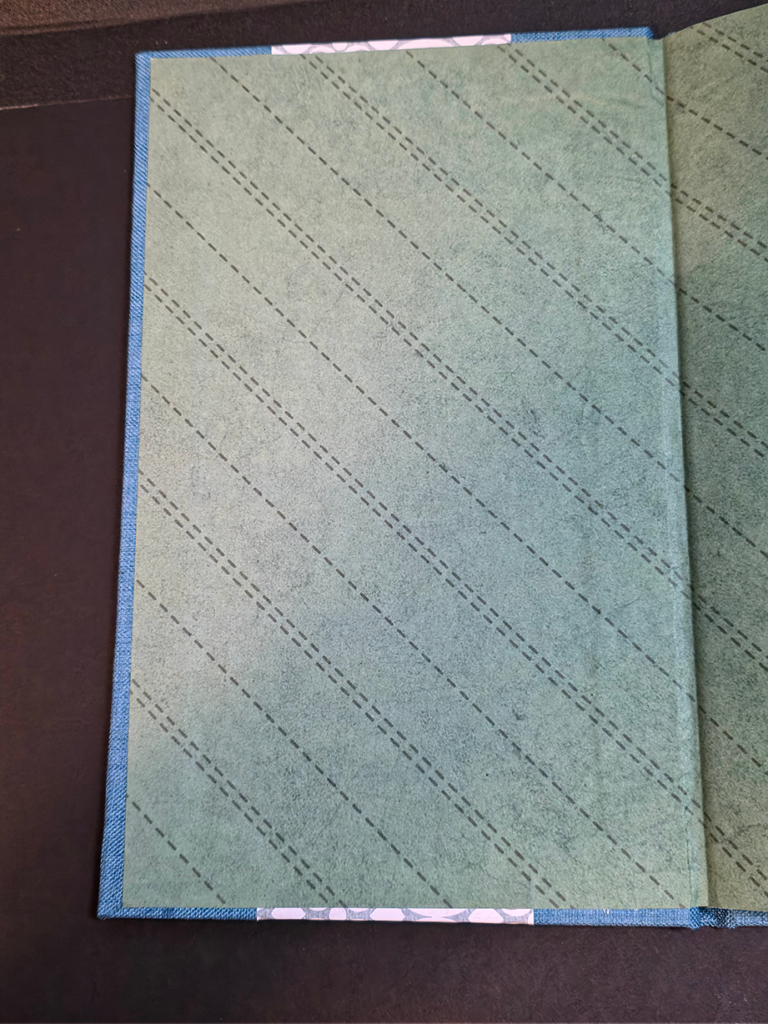
This is likely the best of the three bindings. The text block is seated to the back of the spine, the hinges are clean front and back, and the squares are even front and back. The book cloth did deform slightly and a curve in the fabric grain is visible in the foredges. A smaller pattern in the cover paper would probably look nicer, but the front and back match in positioning so it is uniform. There is a small bit of bunching on the back endpaper at the spine. Because of the thinness of the endpapers, the book cloth, cover paper, and hinge reinforcement fabric do stand out a little stronger than usual. The text block is slightly cockled because a moisture barrier was not placed in the endpaper fold when pressed.
Book 3: Half Binding – Corners

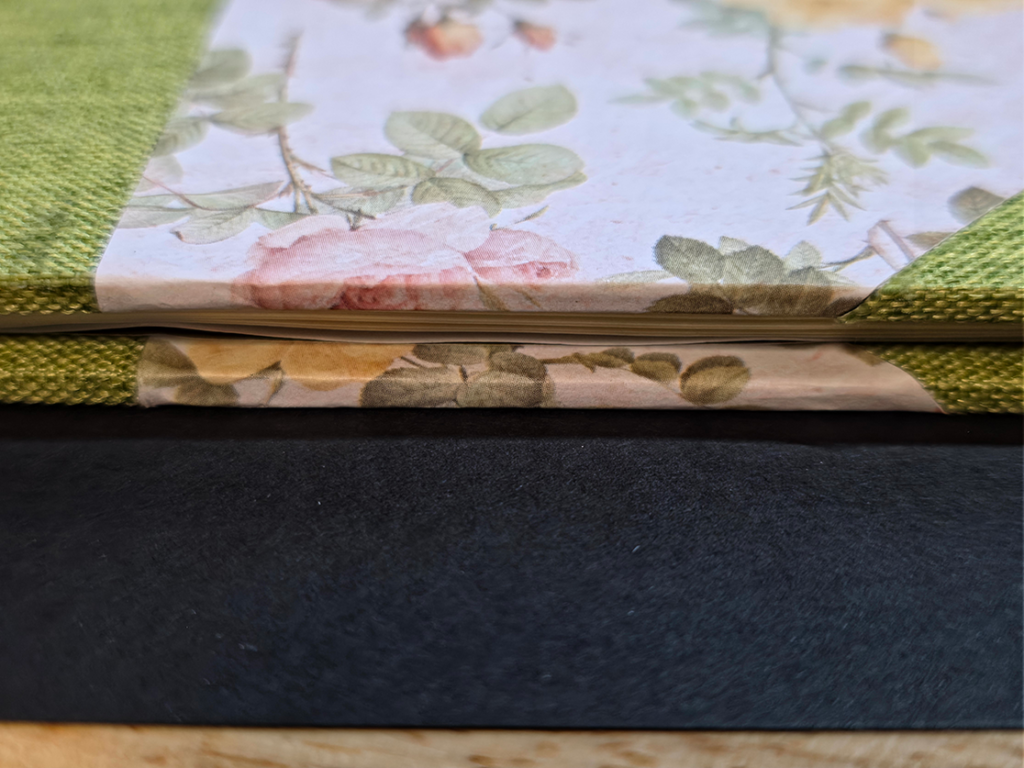
The cover looks good. The book cloth grain is mostly straight and matches across the spine and corners, front and back. The cover paper is clean and tight on the spine front and back, and the front corners. The head end back corner paper is cut a hair off and doesn’t quite overlap the entire corner. The outer edges fall right at the edge of the book cloth. The text block did not stay in place when cased in. It shifted head to tail and spine to foredge on the front cover and the back cover is also head to tail and spine to foredge but skewed slightly in both. The skew appears to be due to some bunching at the hinge, more at the head than tail. Like book 2, the text block is cockled.
Conclusion

Over all, the three projects turned out fair. Each binding has its flaws and there were a few process lessons learned. The books are functional, and if not looked at too closely, most of the defects might be overlooked. The biggest issue with the materials is common across all of them, they are too thin. The book cloth easily shifted if pulled even slightly, as did the paper. The cover paper and endpapers were from the same 12″ x 12″ scrapbooking pad. These papers are not appropriate for this application. As for processes, trying to assembly-line covers is a bad idea, at least for me, and at this time. It is far too easy to make measuring mistakes, mixing grain directions, and getting careless. A slower, careful pace makes precision more likely. There was only one instance when not all of the materials was ready for use but this did cause some frustration and a need to redo something.

The biggest takeaways from this exercise are: use the best materials you can get your hands on, walk through the operation “dry” before committing to actually doing it, and take your time working through each process.

Sources

Abbott, Kathy. Bookbinding: A Step-By-Step Guide. The Crowood Press, 2010. 30-41.
Paper-Cover Single-Section

Project Parameters

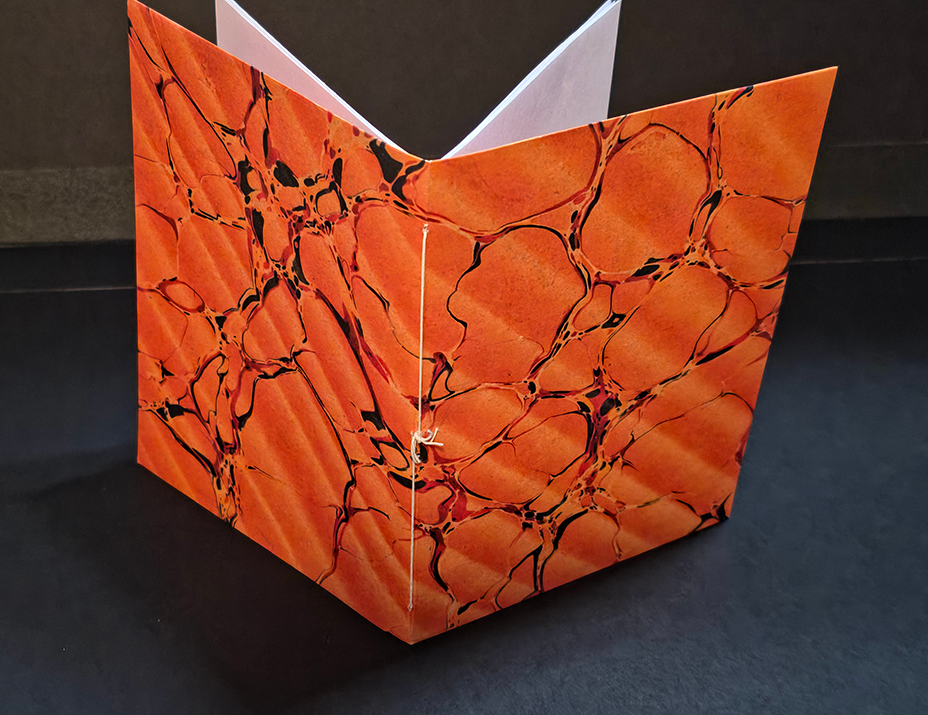
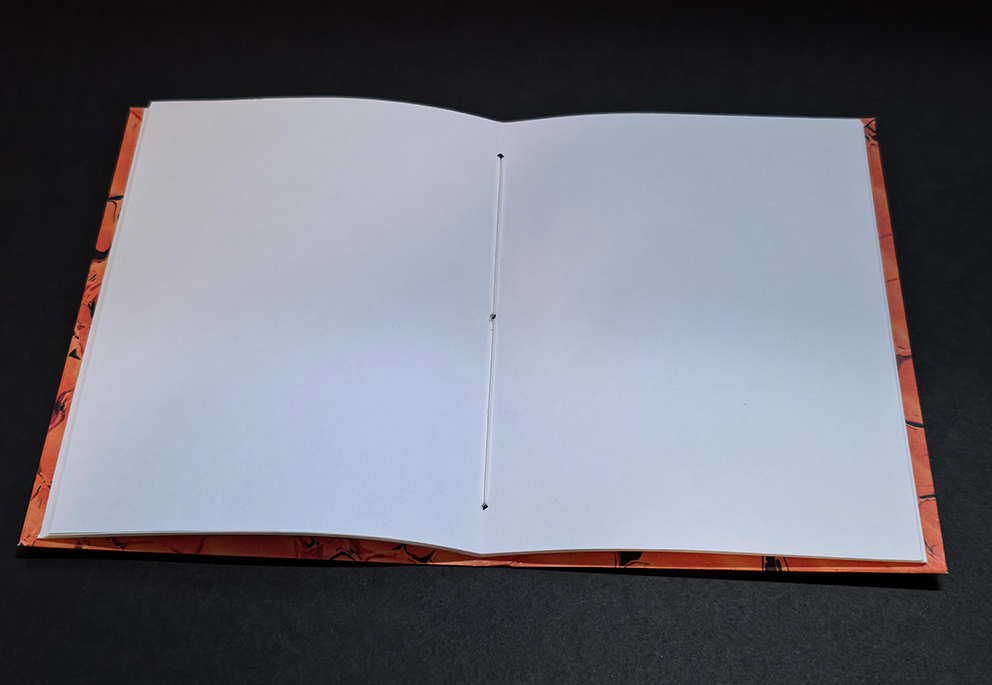
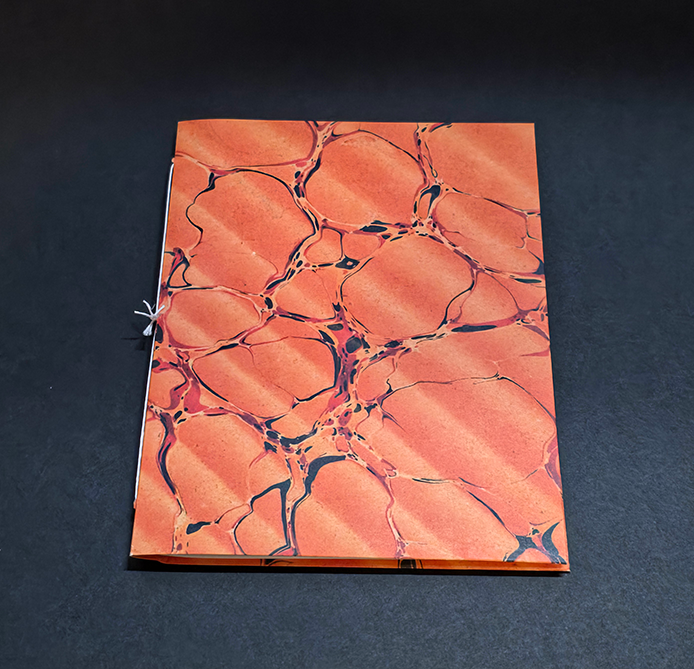
This is the first project from Abbott’s Bookbinding: A Step-By-Step Guide. It is a simple single-section, or gathering, composed of three sheets of A4 (80-130gsm) text paper folded quarto with a cover made from a single sheet of A4 (150-180) cover paper. The cover if folded to the section size plus a 2mm square at the head, tail, and foredge. The cover and text block together are sewn with a three-hole pamphlet stitch.

Execution

My interpretation of this project’s intent was to practice the basic skills of folding a text block from a larger sheet to a smaller form, and to provide a protective outer cover of similar paper. When working on this project,

several paper orders were still pending, and as the interpreted intent was skill building rather than the object itself, I opted to use 20 lb. 8.5″ x 11″ printer paper for the text bock, and a piece of scrapbook printed marbled paper, also 20 lb.

Analysis

The execution was relatively smooth. The text block paper was thinner than that specified in the project documentation. A thicker and better quality paper would have produced a more useful and better quality end product. The cover paper was thinner than that specified as well. A thicker cover paper better resist damage and provide a less floppy feeling to the booklet. The sewing was well executed. The text block and cover are tight and uniform, but not too tight. The pages don’t show any resistance to movement parallel to the hinge-line and resist any perpendicular movement.

Conclusion

The form has many application possibilities. Certainly a higher quality paper, sized for a specific purpose or standard form would produce a useful form. Likewise, a quality cover paper of appropriate weight would provide protection for a pamphlet or booklet. A protective coating such as beeswax on the cover material could further protect the contents.

As a conservation or preservation, the form could be used to provide extra protection for a fragile pamphlet that already needed resewing or would be best served with sewing and covering, possibly one that required guarding to restore the hinge fold. In this form, an object so preserved could remain accessible for historical research.

Sources

Abbott, Kathy. Bookbinding: A Step-By-Step Guide. The Crowood Press, 2010. 24-29.

Research, Study, Labs, & Community

Research, study, labs, and community are crucial areas that need to be a part of any book arts career path. After years in the academic environment, post-graduate study and practice can take some getting used to. In my practice, with my academic background in history and public history, I have some training in preservation and conservation, but little academic lab work, and it’s been decades since I spent any quality time bookbinding; filling the lab gap is a big concern. For me, the best path forward is to develop a graduate-level book history program with labs focused on a traditional bookbinder’s apprenticeship path with contemporary best practices. This should provide a portfolio of examples to demonstrate skill as well as a collection of essays on the history of bookbinding forms.

The lab work has already begun with a print and binding project centered on the book “The Art of Bookbinding” (1890) by Joseph W. Zaehnsdorf. The text was printed in quarto on quality matte 13 in. x 19 in. (A3+) and works out to a traditional octavo 6 in. x 9 in. book in size. The block has been printed and sewn. Endpapers were designed and printed, and the boards were glued to the fabric cover. The binding will be a cased flat back. A post about this project will be forthcoming. Progress photos have been taken for the project post.

It will take some time to develop and document the curriculum, as it is being put together on the fly and there is already a pile of rebinding and conservation projects to incorporate into the course workflow. I would prefer not to slow too much in the service of academic program development and kill the momentum. The initial reading list is as follows, in order:

  • Abbott, Kathy. Bookbinding: A Step By Step Guide. The Crowood Press, 2010.
  • Cockerell, Douglas. Bookbinding and the Care of Books. Lyons & Burford, 1991.
  • Hollander, Tom and Cindy. Introduction to Bookbinding and Custom Cases. Schiffer Publishing, 2019.
  • Johnson, Arthur W. The Thames and Hudson Manual of Bookbinding. Thames & Huson, 1981.
  • Towne, Laurence. Bookbinding By Hand For Students and Craftsmen. Faber and Faber, 1963.
  • Masson, John. The Art and Practice of Printing: Bookbinding and Ruling. Vol. 5. New Era Publishing, 1940.
  • Diehl, Edith. Bookbinding. Dover Publications, 1980.
  • Cockerell, Douglas. Bookbinding and the Care of Books. Lyons & Burford, 1991.
  • Middleton, Bernard C. The Restoration of Leather Bindings. American Library Association, 1972.
  • Szirmai, J.A. The Archaeology of Medieval Bookbinding. Routledge, 2017.
  • Keile, Headdy. The Art of the Fold: How to Make Innovative Books and Paper Structures. Laurence King Publishing, 2018.
  • Lindsay, Jen. Fine Binding: A Technical Guide. Oak Knoll Books, 2024.
  • Burdett, Eric. The Craft of Bookbinding: A Practical Handbook. David and Charles, Newton Abbot, 1978.

As reading and lab work progress through the first few textbooks, a project list should develop. Along with the skill development projects, rebinding projects on the bench will also be incorporated into the lab work. Research paper topics should also present themselves and be incorporated into the program. Along with research and lab work, I will be engaging more with the book community through social media on BlueSky (@jwwanzer.bsky.social) and here. As article possibilities present, I will also submit to field journals. In all honesty, the community aspect is the most difficult for me. My graduate programs were in the online environment, and my academic/social circles are small. More to come as things progress.

Wood

From a historical perspective, books and woodwork are closely connected. Before the days of wood pulp paper, the tools of the book trades were made primarily of wood. From the vats used to pulp linen rag in the paper trade, the printing press with woodcut pictures and wood text blocks in the printing trade, to the stitching frame and presses used in the binding trade. To this day, many of the bookbinder’s tools are wooden. As a hand tool woodworker, this makes establishing a traditional hand bindery an exercise in experimental history.

I am embarking on a long-term and expansive set of projects in the book arts and bibliography as an experimental historian. The first phase is to get the workshop back to a hand tool wood shop. This involves scaling back in several areas, and building the infrastructure necessary for woodworking and book arts. The primary piece of infrastructure the rest of the shop is built around is the workbench.

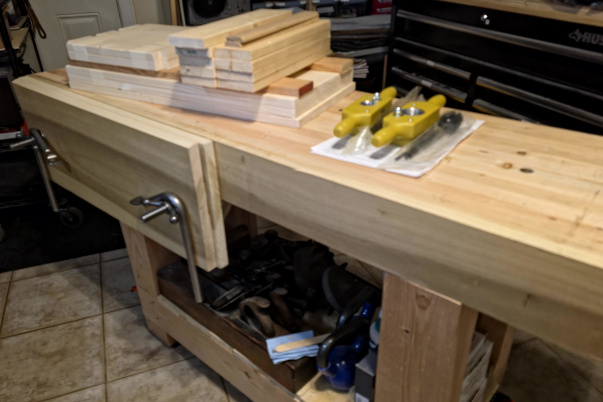
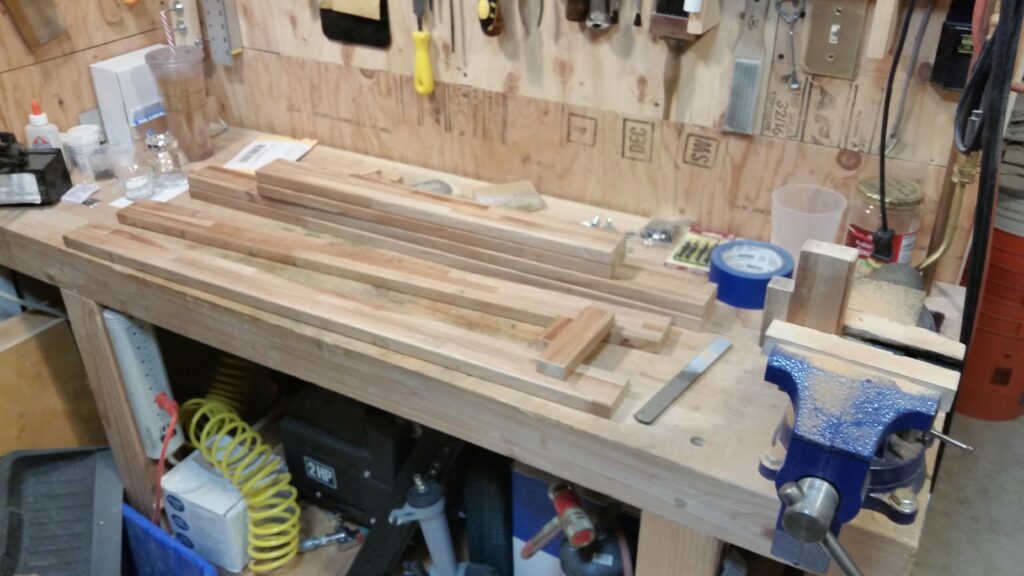
This joiner’s bench has a Moxon-style face vise with 24 inches between the screws. It is a relatively small bench at just 5 feet long and 17 inches wide. A typical joiner’s bench is 7 to 8 feet long; some are as long as 12 feet or more, and the typical joiner’s bench is 24 to 30 inches wide. This bench is made from Douglas Fir except for the face board and vise, which is Maple; it still weighs in at over 300 pounds unloaded. The workshop space available is small, just over 150 square feet of usable space, this set the scale of the bench.

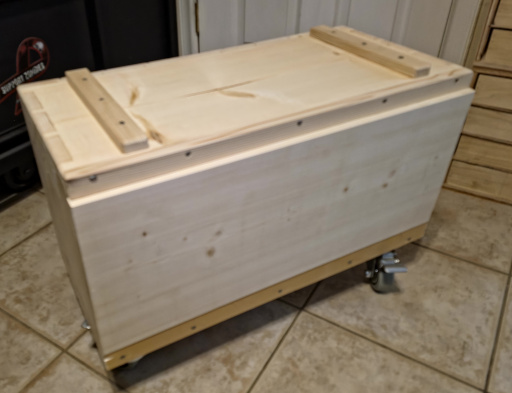
The second step is to remove all of the existing factory-made shop furniture and replace it with options that save floor space and are custom-designed for the space and the work at hand. The first project is a Dutch tool chest.1 The chest being built is a little different from the ones in the book in that this chest has two smaller detached chests under the double shelf version of the main tool chest. The one pictured below is the bottom chest with heavy-duty casters. This chest is 27 inches wide, 14 inches tall, and 12 inches deep. The middle chest is the pile of cut lumber sitting on the workbench and is 27 x 13 x 12. That build starts tomorrow. The top chest build should start within the next two weeks; its final dimensions have not yet been determined, but should come in around 27 x 31 x 12. The total height of the three should be between 60 and 65 inches.

Once all three sections of the tool chest are completed, the factory-made furnishings can be emptied, either into the Dutch chest(s), or into temporary storage containers. The factory tool chest and rolling cabinet/bench will be sold, and the workshop’s cabinetry projects can begin.

The keen observer might have noticed the two wood tap and die sets on the workbench to the right of the lumber. These will be for a set of parallel projects. The 1-inch tap and die is for making the wooden screws for a stitching frame, and the 1 1/2 inch set is for the screws of a finishing vise and trimming frame. A small nipping press will also use a 1 1/2 inch screw. The factory-made wood tap and die sets were purchased for expediency. Down the project path, there will be a need for 2-inch, 4-inch, and 6-inch tap and die sets that will be shop-made. These large shop-made tap and die sets will be substantial projects in and of themselves. As one might expect, the projects requiring such large wood screws will be epic adventures.

Between the cabinetry and bookbinding workshop infrastructure projects, research will continue with an emphasis on bookbinding and bibliographically adjacent subjects as the workshop and bindery come into their own. The workspace and bindery are just the beginning. The journey will be filled with research and experimentation with materials, processes, and equipment. Along the way, conservation and preservation projects will be popping in from time to time, expanding opportunities. I have several 18th, 19th, and 20th century books and documents that need some love and should start making appearances this summer.

Things are beginning to take shape. It will be a very interesting and informative long and windy road. ‘Tis an adventure to my liking.

  1. Fitzpatrick, Megan. Dutch Tool Chests. Lost Art Press, 2004. ↩︎

A Soft Spot for Newspapers

I have always had an affinity for newspapers, the physical medium, more so than the content. In many ways, it is like my affinity for books, the physicality of the medium. As long as I can remember, I have been interested in manual printing presses and the early small-run automated presses of the late 18th and early 19th centuries. I am not much of a journalist, but I have done ad and magazine design work as well as photography, along with the digital processing of text and visual components. Over the last year or so, my affinity for the idyllic small-town press has grown—the kind of paper you might find in Andy Griffith’s Mayberry.

My research on propaganda has me doing background on the history of newspapers in America. The two have been close companions since the introduction of broadsheet media, soon after the invention of the printing press. America’s entire history includes propaganda in newspapers from the colonial period to the present. I have an assignment due Sunday on how the turn of the 20th-century newspaper industry was affected in a business sense by the Committee on Public Information’s engagement with the press in both selling America on the war and disseminating information during the war.

One of the first illusions shattered by this research was the idea of the idyllic small-town paper. When they did exist, they were likely a political or special-interest paper from around 1800-1880. By the 1900s, mass-market press, muckrakers, and yellow journalism were already well established. The press lords began to dominate the newspaper industry shortly after the penny-press movement started in the 1830s. Their reign would continue through the Gilded Age, well into the 1930s.

Aside from bringing historic reality into focus, this research has furthered my interest in the restoration of manual and semi-manual presses from the 19th and early 20th centuries. It is also furthering my interest in producing limited press runs of broadsides. What has been added to my list of potential interests is journalism. Journalism from the perspective of that idyllic small-town newspaper, or just maybe, some contemporary journalism flavored with a bit of sass and humor in the spirit of the younger Franklin brother in Philadelphia.

Low-Background AI

Low-Background Steel AI is a term used by John Graham-Cumming[1] that draws from the terminology and practice of the recovery of steel manufactured before the Trinity nuclear tests that began in 1945. The recovery of pre-test steel was necessary because the known background radiation present in steel manufactured before 1945 was a relative constant. After Trinity testing began, the background radiation in steel was contaminated on a worldwide scale. Developing and manufacturing sensitive radiological test equipment required Low-Background Steel with predictable radiological properties. Equipment manufactured with post-Trinity steel would be unreliable due to the unstable background radiation. This condition persisted throughout the Cold War period and beyond. Some time, well after the Limited Nuclear Test Ban Treaty of 1963 had been signed, background radiation levels began to normalize, making the practice unnecessary around 2008. There is a correlation between the Trinity tests and the advent of AI in November 2022. Since then, text, photographic, and video sources have become contaminated by AI. The proliferation of “AI slop”[2] has been accelerating at an alarming pace ever since and can be readily seen on social media platforms across the internet, and is not limited to social media. Thus, Low Background AI is material created before November 2022, when content was human created.

Cash Grab or Propaganda

This is not the first time concerns like those posed by post Low-Background AI have arisen. Leaders of political and religious movements have often set out to intentionally purge human created material that presented an ideological opposition to their movements throughout human history. In fact, it has been a common trait in individuals and movements that not only seek victory, they also seek to obliterate the memory of their perceived enemy, to change history, to silence challenges to their version of history, and to commit cultural genocide. From the burning of the Temple of Artemis by Herostratus (356 BCE), the British burning of Benin City (1897), Mao’s destruction of ancient temples (1966-1976), Nazi destruction of Jewish heritage and art (1933-1945), to the modern destruction of heritage sites at Palmyra and Nimrud by ISIS (2015). The difference between these past atrocities and AI lies in scope, speed, and intention. The scope is worldwide and in all accessible mediums. The speed is frighteningly fast and without precedent. AI slop is on track to outpace human submissions on several platforms in a short time. According to The Guardian,[3] over 20% of the videos YouTube’s algorithm shows to new users is AI slop. “The video-editing company Kapwing surveyed 15,000 of the world’s most popular YouTube channels – the top 100 in every country – and found that 278 of them contain only AI slop.”[4] Which brings us to the third difference, intention. While much of the AI-generated slop is purely for profit,[5] there are other motivators. In today’s mixed-slope market, money, attention, and ideology are the dominant motivators. Slop is used extensively in disinformation and propaganda campaigns on social media because it is a fast, easy, and cheap way to get agenda messaging into the wild[6] with little attention being paid to dispute claims, and there is the sheer volume of slop being pushed, saturation of the message is all but guaranteed, regardless of fact-checking and follow-up refutation.

Ready for Primetime?

OpenAI flipped the switch on April 10, 2025, turning on ChatGPT’s ambient memory training model, placing you, the user, as part of the AI’s training by remembering personal details about you, the user, to predict how you will act in your use of the AI. This goes well beyond using generative AI tools to help edit a photo or video that you create, or searching for synonyms, or rewriting a particular phrase in a manuscript. It sets up the conditions for an unrestrained, active learning environment. When AI has the opportunity to choose its learning data, is unrestrained, or is given an unsuitable dataset for learning, the results have not been good. From ChatGPT being involved in murder and suicide cases, Replit rewriting code and lying about it, Grok becoming a white supremacist, MyCity encouraging illegal activities, ChatGPT AI “authors” writing factually incorrect articles, and a wide range of reports where AI agents created or referenced data that never existed, it is clear that there are significant issues with the technology.[7] This begs the question, why? Why are tech companies so invested in forcing AI on the general population? What is the motivation for AI being used for content generation? What is the justification for providing such powerful tools to trolls and provocateurs?

A Reckoning

There is a bright spot on the horizon. AI slop has been pushed so hard by opportunistic revenue generators and ideological provocateurs that a majority of potential consumers on social media have grown tired of AI’s proliferation and are paying less attention to AI-generated content. To be sure, there are still niche markets for this kind of ideological propaganda. In conspiracy theory spaces, AI materials are consumed voraciously, but these are much smaller consumer bases. The general population’s attention, though initially captured, seems to be developing a resistance to further inculcation.[8] The backlash has already begun. Conversation on AI-generated content proliferates public discourse online and off, including concerns over intellectual property rights, and the dangers and ease of the rapid deployment of disinformation. Somewhat in line with the Skynet discussion of physical dangers posed by autonomous AI systems,[9] there are tangible issues with AI, cognitive offloading, and potential for cognitive decline in humans are major concerns. Sat Singh proposes in his TEDx presentation[10] that there is something we can do to prevent cognitive decline due to AI: Resist Unthinking, or resist offloading our thinking responsibilities, and spend time actively building cognitive skills. When given the option, decline to use AI tools to create content, or any other task you can do yourself.

What This Means for History and Historians

Historians must recognize that this is a period of unreliable sources. Until the long-term effects of the early age of AI are known and understood, all content and information created in this time should be considered unreliable as fact or as an account of events for future historians producing historical content of this period. Without clear provenance, provable data integrity of photographs, audio, and video, without eyewitness documentation, the ability to discern fact from AI fiction is not possible. Historians and archivists in this period must pay particular attention to including metadata and documentation on the authenticity of their work and their sources. Exhaustive sourcing of anything produced in this period must be a primary concern if the facts and truthful accounts of this period are to make the journey into the future. Historians face an unprecedented task; we know, without reservation, our data will and rightfully should be suspect. We must include the tools future historians will need to sus out fact from AI fiction.


[1] Ben J. Edwards, “Scientists once hoarded pre-nuclear steel: now we’re hoarding pre-AI content,” ARS Technica, June 10, 2025, https://arstechnica.com/ai/2025/06/why-one-man-is-archiving-human-made-content-from-before-the-ai-explosion/.

[2] Anna Furman, “Merriam-Webster’s word of the year for 2025 is AI ‘slop’,” PBS News, December 15, 2025, https://www.pbs.org/newshour/nation/merriam-websters-word-of-the-year-for-2025-is-ais-slop.

[3] Aisha Down, “More than 20% of videos shown to new YouTube users are ‘AI slop’, study finds,” The Guardian, December 27, 2025, https://www.theguardian.com/technology/2025/dec/27/more-than-20-of-videos-shown-to-new-youtube-users-are-ai-slop-study-finds.

[4] Emphasis added by author

[5] Ann-Derrick Gaillot and Anna Amarotti, “What the Rise of AI Slop Means for Marketers,” Meltwater, November 27, 2025, https://www.meltwater.com/en/blog/ai-slop-consumer-sentiment-social-listening-analysis.

[6] Kevin Collier, “Large online propaganda campaigns are flooding the internet with ‘AI slop,’ researchers say: Researchers at Graphika say that online propaganda campaigns have flooded the internet with low-quality, AI-generated content,” NBC News, November 19, 2025, https://www.nbcnews.com/tech/security/online-propaganda-campaigns-are-using-ai-slop-researchers-say-rcna244618.

[7] Thor Olavsrud, “10 famous AI disasters,” CIO, December 17, 2025, https://www.cio.com/article/190888/5-famous-analytics-and-ai-disasters.html.

[8] Chase Varga, “AI Slop: When the Internet Drowns in Synthetic Junk,” ListenFirst, September 9, 2025, https://www.listenfirstmedia.com/ai-slop/.

[9] Michael LaBossiere, “Sci-Fi AI: Skynet Threat,” Florida Agricultural and Mechanical University, Accessed December 30, 2025, https://www.famu.edu/academics/cypi/hewlett-cyber-policy-institute-blog/sci-fi-ai-skynet-threat.php.

[10] Sat Singh, “AI, Skynet, and why humans are losing the battle,” TEDx Rancho Mirage, September 4, 2025, https://www.youtube.com/watch?v=oYG2kFC2_D4.

The featured image for this article was AI generated using Adobe Firefly.
The prompt was “A photo-realistic visual representation of an AI writing a non-fiction book about the dangers of using AI to create propaganda disinformation.”

Two Years and Ten Days

December 1, 2023, was the first post on this site when it was reimagined, and it has been a very busy two years. I started and completed my second master’s, applied and was accepted into a doctoral program, considered withdrawing from the doctoral program, applied for and was accepted into a third master’s program at Johns Hopkins, before deciding to recind my application to that program, and now, waiting for the start of the Spring term to re-engage with the doctoral program already underway. This reengagement was only possible after taking the fall term off to seriously reevaluate whether or not I would continue with this doctorate. In all honesty, the majority of the ‘drama’ has been between last July and September. However, it is official, I am enrolled in the spring term for my last academic class, HIUS 713 American Entrepreneurship Since 1900, and my first dissertation class, HIST 901 Doctoral History Research. I still have three Comprehensive Examination and Reading classes, HIUS 911 Early America, HIUS 912 Modern America, and HIEU 914 Modern Europe, before starting the formal dissertation phase, when I can consider myself a Doctoral Candidate and not just a Doctoral Student.

I have a wide range of interests, which has been both a blessing and a curse. On the positive side, it is relatively easy to shift from one subject to another and to learn new methods for presenting research. It also allows for a broader perspective to view subjects of research. This is great as a student in the academic setting, less so outside the academe. In a time where increasing specialization is the preferred mode, being a generalist can be disadvantageous. On the negative side, falling down a new rabbit hole is all too easy. It can be difficult at times to set the blinders and focus on one thing. This has been a contributing factor in not having fixed on a specific topic for the upcoming dissertation.

As a maker, my perspective on history is often guided by how things were done. Understanding how things were done and how the processes of doing have evolved can open up many avenues of inquiry in the historical record. At the core of making, for me at least, is knowing how things function and how they were made. Thus, my broad interests in machinery, transportation, communications, engineering, architecture, and design. Woodworking is one of the root trades for all of these categories. From Archimedes’ water screw to wind and water mills, wagons & carts, the printing press, early long-distance mechanical visual communications systems, and of course, the shelter and furnishings of our ancestors for thousands of years. Woodworking is also a self-supporting craft with tool-making historically being a key skill learned by the apprentice early on, making their own tools, chests, and benches, all being made in whole or in part from wood.

Before moving north from the San Francisco Bay Area to the Klamath Basin, a fair amount of time was spent building a workshop space that focused on bookbinding, restoring old tools, and woodworking.

One thing that did not make the move was the workbench. Proper positive workholding is one of the most important keys to effective and safe workshop processes in wood, metal, plastic, or any material. Without a proper workbench since moving, many cherished shop skills have languished in disuse. This week marks a reversal, a new heavy bench is now under construction.

The new bench is an interpretation of the traditional hand tool joiner’s bench. The list of projects that will rely on this bench includes the cabinetry and chests that will replace all of the current shop furniture, making specialized hand tools, making workholding & pressing tools for book repair and binding, and furniture making. Most of these projects will also have a historical component to them, particularly the tool and furniture projects.

One of the concepts under consideration for a dissertation includes developing and employing a framework for Experimental History, using period-appropriate tools and methods to replicate an object of importance to a specific line of research inquiry, whether as an artifact or process. If this concept is to be included in the upcoming dissertation, there will most certainly be a need for tool and pattern making, as well as the construction of the object of inquiry itself. This requires the re-establishment of a working shop, the joiner’s bench being the anchor of the shop.

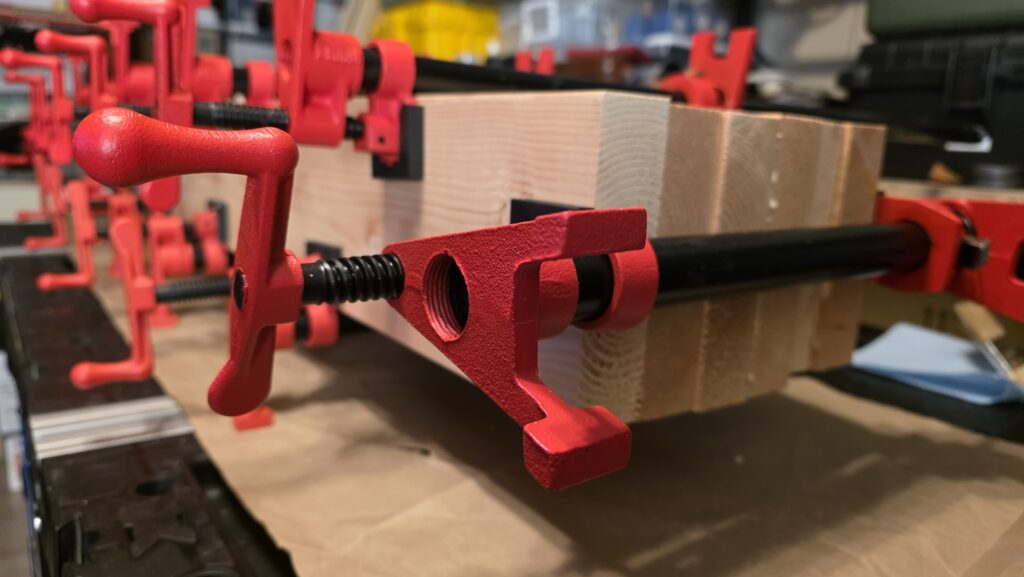
Between shop projects and the possibility of employing Experimental History, the urgency of getting a working hand tool shop up and running is high. To that end, the materials for the bench were acclimating in the shop last week: (10) 2″ x 8″ x 10′ nominal fir construction lumber, and a 6/4 – 14″ x 12′ maple slab. Two days ago, the materials were milled down from nominal lumber to near-dimensional boards, and yesterday, glue-ups started for the major components in rough sizes: (4) legs 5″ x 4″ x 36″, (4) stretchers 5″ x 3″ x 48″, and (1) bench top 5″ x 20″ x 60″. By the end of next week, all of the glue-ups should be done, and final dimensioning can begin. The target size for the bench is a 5″ thick bench top, 20″ deep, 60″ wide, standing 32″ tall, with a 1″ thick fir shelf about 7″ from the floor, inset into the stretchers. The draw-bore mortise and tenon joinery should be all marked out and cut next weekend over the winter solstice. Installation of the mapleface, back, and ends, along with a Moxon-style face vise, tail wagon-vise, the hold-fast and dog holes, and finishing should be done over Christmas week. The plan is to be finished and dressed by January 1st, so work can begin with the new year.

Experimental History

My current research is a historiographical pursuit to determine if Experimental History exists as a subfield of history. If it does exist, the research will seek out its methodologies and practices. If it does not already exist as a sub-field of history, the research will be to define working parameters and define appropriate methodologies. This will include acknowledging the similarities and differences between Experimental History and Experimental Archaeology.

I discovered this week that the term Experimental History has often applied to a philosophy applied to the study of Natural History in the 17th and 18th centuries by Francis Bacon who dubbed the philosophy “Natural and Experimental History.”1 Bacon’s use of this term has nothing to do with the practice and study of doing history as we think of it today. Searching for academic journal articles on JSTOR,2 the vast majority of search results for “Experimental History” refer to or relate to Bacon’s “Natural and Experimental History.”

A couple of relevant results did come up, one is an article in the journal The History Teacher, “A Pedagogical Trebuchet: A Case Study in Experimental History and History Pedagogy”3 from 2012 that utilizes Experimental History in the classroom to answer questions that would otherwise be unanswerable other than through hypothetical assertions.

My interpretation of Experimental History as a sub-field can, on the research end, help in producing improved tools and materials for Experiential Learning. Anyone who has worked with elementary school kids will likely have plenty of anecdotal experience with the potential of experiential learning. I came to my interpretation of what Experimental history could be through Experimental Archaeology, and one of the reasons I became interested in Experimental Archaeology was my own experience in experiential learning. This is how I learn best, through doing, and following that up with teaching someone else. The process of learning through experimentation and then turning around and teaching what you have learned through papers and presentations is the cornerstone and heart of Amateur Radio. The process works.

The idea behind Experimental History, in my interpretation, is for the researcher to engage in experiential learning, using experimentation along with traditional research to answer questions about the subject, and to apply the physicality of the experimentation and research contextually and physically to generate the resulting products of their research, which should include materials for pedagogical use. I am inclined toward producing products that can be applied in the public history sphere but are not limited to that environment. While the physicality of Experimental History can provide context to traditional outputs, that physicality shouldn’t be lost in the translation, Experimental History, as I interpret it, wants to bring the physicality to all interpretive environments, in the presentation, in the museum, and in the classroom.

This historiographical look at Experimental History and its applications in research and pedagogy is the foundation of my current work and is in its initial stage to understand what the literature is, if any, and to enumerate and evaluate the available sources if such sources exist. As literature emerges I will post it to a designated area of the site.

  1. Anstey, Peter R. “Locke, Bacon and Natural History.” Early Science and Medicine 7, no. 1 (2002): 65–92. http://www.jstor.org/stable/4130409. ↩︎
  2. https://www.jstor.org/ ↩︎
  3. Brice, Lee L., and Steven Catania. “A Pedagogical Trebuchet: A Case Study in Experimental History and History Pedagogy.” The History Teacher 46, no. 1 (2012): 67–84. http://www.jstor.org/stable/43264074. ↩︎